The Expo Disc
/
The Expo Disc may seem like an odd topic when talking about "looking for light in all the right places", but once you have a solid understanding of what this little gem does for you, I am hopeful that it will make more sense.
I purchased an Expo Disc early on in my photography career, when I was in the "sucker for facebook ads trying to sell me every nifty gadget possible stage." We all remember that stage right? Or are possibly still right in the middle of it? Don't worry I have another post regarding presets and actions coming in the future...everyone who has spent too much money on presets/actions, raise their hand!!
Ok put your hand down now and get back to learning about this tool that I honestly believe makes your life as a photographer easier. I know very successful photographers who swear by expo discs, I know very successful photographers who roll their eyes when they hear of them mentioned, but either way, this tool does DO something!! Let's take a look at what it does and then we can all go on to make our own informed choices about how we want to run our business. No judgement, pinky swear!

All about that white balance
If you are pretty versed in all things white balance you can probably skip this next section. If the term "white balance" is relatively new to you or you just enjoy my writing SO MUCH that you couldn't possibly imagine skipping over some sentences...then by all means...let's discuss some white balance, shall we?
Light in general ranges in temperature and tint (blue to orange, green and pink) Our eyes are really good at reading light and making adjustments to the color of the light to render (to us) a true white under most circumstances. Cameras are obviously not as skilled as our naked eye, so when a digital photo is snapped, crazy light colors may remain and true white is no where to be found.
Have you ever seen someone post a photo online that looks remarkably blue or orange? Or sometimes even a little green-ish or pink-ish? (I won't make you raise your hand again...but we ALL have, right?)
This is a white balance problem and it can oftentimes the bane of a photographers existence. Everything we do deals with light...we ain't go not time for crazy colors up in our photos ruining everything!
There are MANY ways to deal with white balance issues in digital photography. Your camera has numerous settings that you can mess around with to see visually what ends up looking the best. You can change your white balance in post processing, especially if you are shooting RAW, its a relatively easy thing to adjust once you are at the editing stage. You can use a grey card when shooting or you can manually adjust Kelvin temps right in your camera to assist nailing that perfect white balance in camera. I could talk forever and forever (snoooozefest!) about all of those methods, but TODAY we are talking about my preferred method...the Expo Disc.
ENTER THE EXPO DISC
The general purpose of the expo disc is to measure the light falling ON your subject. It also compensates for ALL angles as opposed to light coming from one direction. In addition to assisting your camera determine proper white balance for the light you are in, it also works similarly to a incident meter, which basically helps you determine "proper exposure". {I often put proper exposure in quotes because what is "proper" when it comes to exposure is so incredibly subjective that I just can't for the life of me say it without the quotes, however, if you know how to dial to 0 for exposure on your DSLR...you know what I mean. }
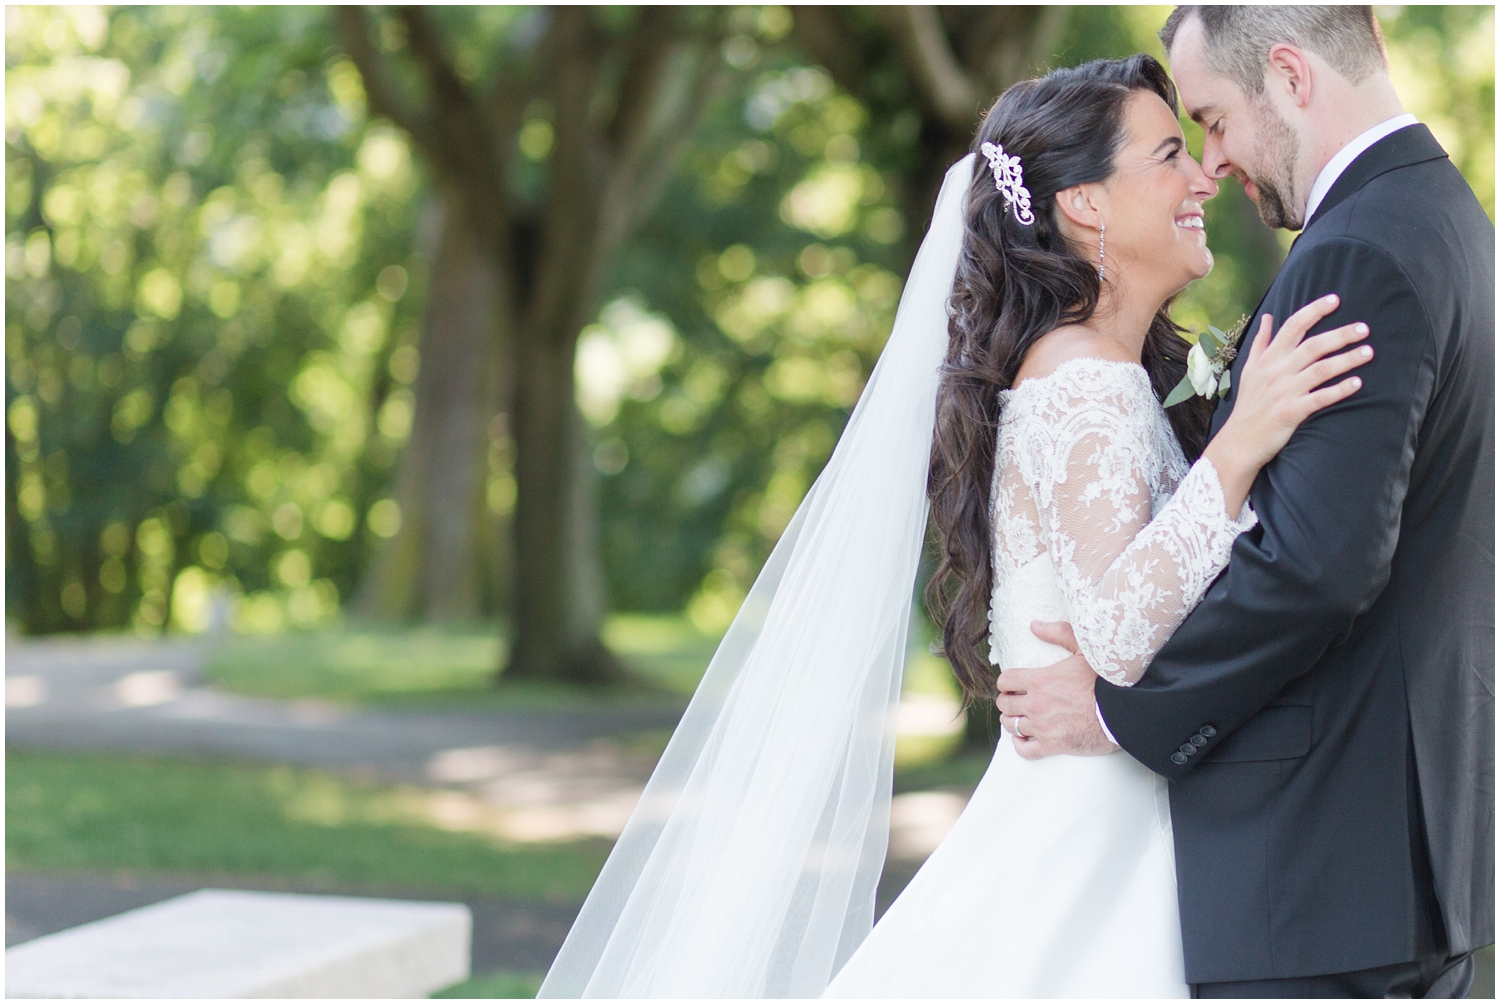
Before I continue, let's look at an image taken in the same light, same settings. The first image was taken with the cameras Auto White Balance setting and the second was taken after using the Expo Disc (which I will explain how to do further in this post.)
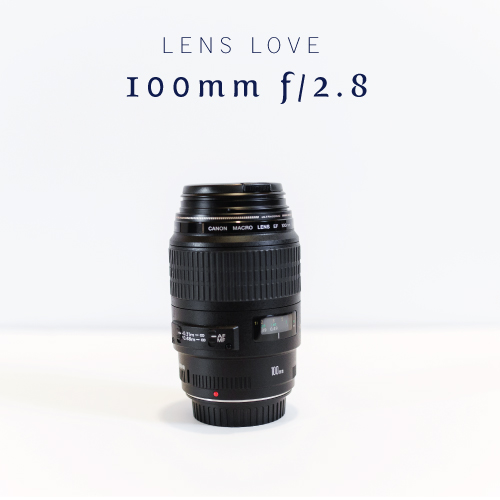
I just got a 100mm macro lens (WOO HOO let's party!!) {more on that later btw}...and Paul and I were out walking the pups in our new neighborhood, so I thought I would be the weird-neighbor-who-shoots-photos-of-her-husband-while-they-are-walking and take some example photos for this post. Hey, a blogger gotta do, what a blogger gotta do right?
The settings for the below photos are: 100mm, ISO 200, f/2.8, 1/160.
The only difference between the two? The use of an expo disc to set white balance.


The top photo doesn't look "horrible" right? Please say right. There IS a lot of green going on in the background and his shirt but if you never saw the 2nd image...the 1st image would probably be "acceptable right?
But when you see that 2nd image and can see the difference in his skin, it changes everything. It looks much more natural and normal and doesn't have a slightly green-ish, drab looking appearance like it does in the first photo.
I don't know about you, but I would much rather have my images coming straight out of camera looking like the 2nd image rather than the first. So much less post processing to deal with and I can be certain that the colors represented in my photos are accurate and natural.
SO, HOW THE HECK DO I USE THIS THING?
I'm gonna be straight up honest with you. Remember how I said I got the Expo Disc early on in my photography journey? Well, I did, but I didn't really start using it until recently....and on sessions with toddlers, I still hardly use it. Even though it REALLY doesn't take a lot of time or energy, when chasing toddlers and young ones it is an extra step that makes the process more frustrating for my client, so I don't bother.
I throw my camera in AWB and hate my life during post processing. Just kidding, its never THAT dramatic. ;-)
The reason I didn't start to use it right away is because I just didn't understand how it worked. I was still busy trying to understand the exposure triangle, business taxes, how to set up my website and how to direct my clients. I just didn't have the energy to spend trying to figure out one more thing. But about eight months ago, I picked it back up after Amy & Jordan's workshop (thank God for those two!) and pretty much use it every time I shoot now. Once you get the logistics of how it works, it just flows. And its also a great conversation starter with clients too! They are always curious with a process they haven't seen before and usually ask about it so I stole A&J's line and tell them its my "magic disk that makes them look even more amazing in their photos".
People love looking amazing. Don't you?

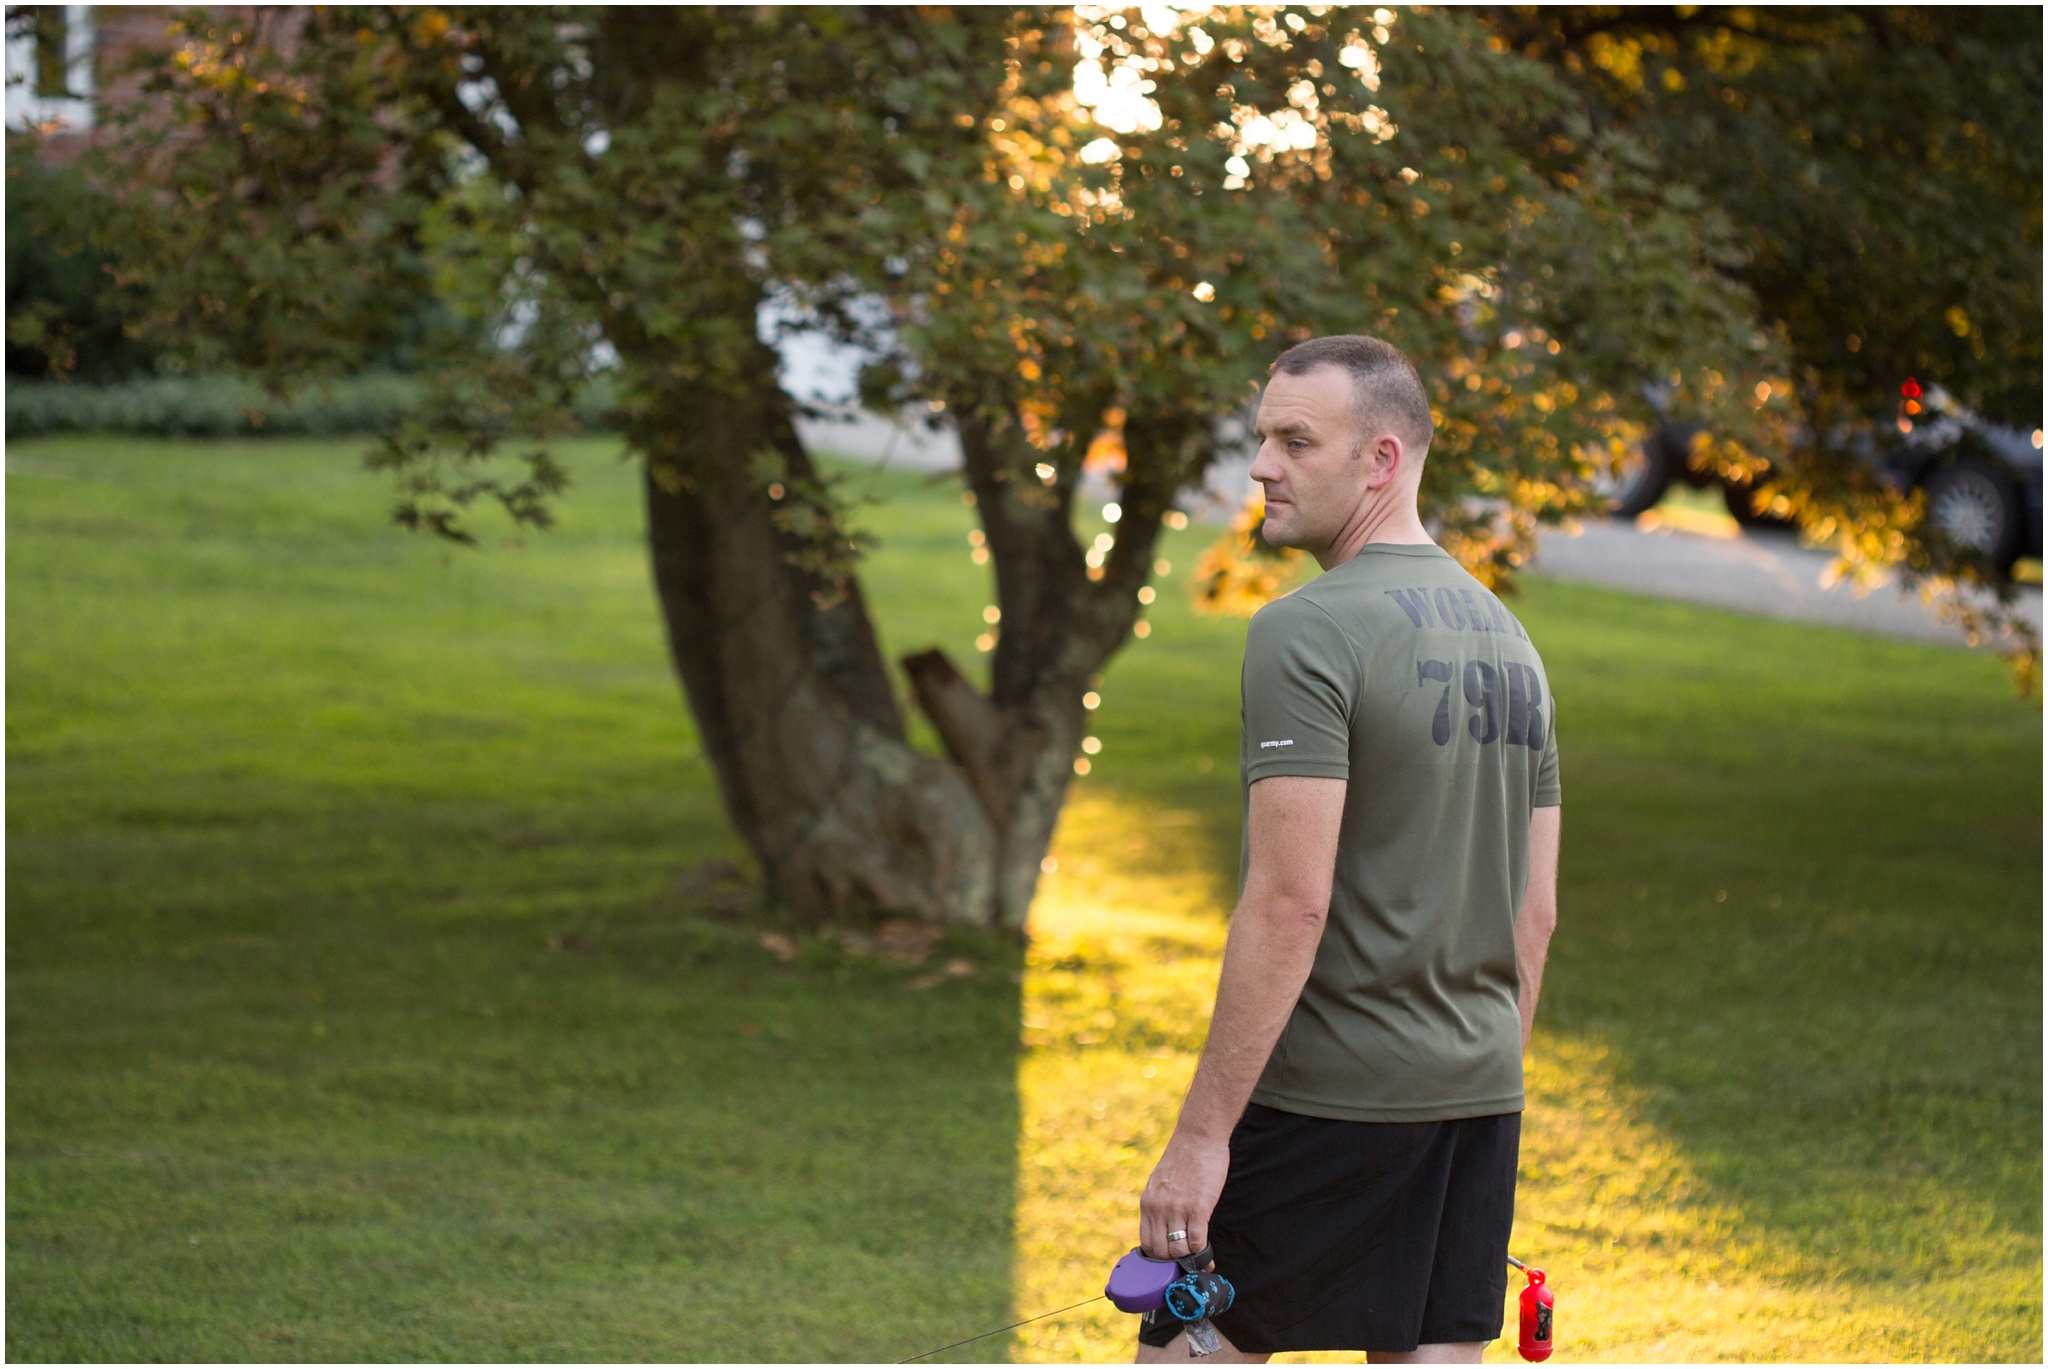
Another before & after of Paul using the expo disc on our walk. ***Note...expo discs can tend to shoot a little on the warm side, so depending on your taste and style you might have to bump your temp down slightly in post process. But from experience, you probably already know its way easier to cool off a photo than it is to warm it up! No idea why, it just is so deal with it OK?
THE NITTY GRITTY
Step by step instructions for use of the expo disc...which includes one instruction** that I had never read or heard before learning it at A&J's workshop and it CHANGED EVERYTHING about how I use the expo disc. Of course after I learned it, it seemed intuitive, but yeah, no...didn't catch on originally.
In your camera:
- Set your white balance to CUSTOM
- **Set your metering to evaluative (Canon) matrix (Nikon) (<----) this is it!!! So important!!!
To set up your shot:
- Set up your scene of what you are going to shoot. Have a good understanding of exactly where you will be standing when you take the shot. Choose your aperture and ISO.
- Take your Expo Disc and hold it over your lens (the textured side facing outward)
Important note...expo discs come in a variety of sizes, but I recommend the 77mm because it will fit over ALL your lenses. You don't want to get one that is smaller and then it doesn't cover one of your wider lenses
- Walk over to where your subject is and point the camera back to where you will be standing when you take the shot. (<-----IMPORTANT)
- Look through the viewfinder (you will see a solid grey-ish image), and set your exposure to 0 on the dial you see in the viewfinder.
- Take the shot.
- Walk back to where you want to stand in order to capture your image.
- Navigate to Custom White Balance in your camera nav menu (I highly recommend putting it into your shortcuts of favorites on your camera), hit SET
- It should pull up that last image (solid, grey) that you took, click SET
- Go through the remaining prompts to set the white balance with that image.
- Compose your image and take your shot!

A couple of things to keep in mind when using this bad boy....
- If you are constantly moving around in and out of different lighting, this may not be the best solution for you.
- If you are taking a photo of something on the ground, you don't necessarily have to get down on the ground and point the camera up, but you can point the camera in the general direction of the light source hitting your subject to attempt to get proper white balance and exposure.
- It may SEEM like a complicated process, but I promise, once you get it down, it just becomes 2nd nature.
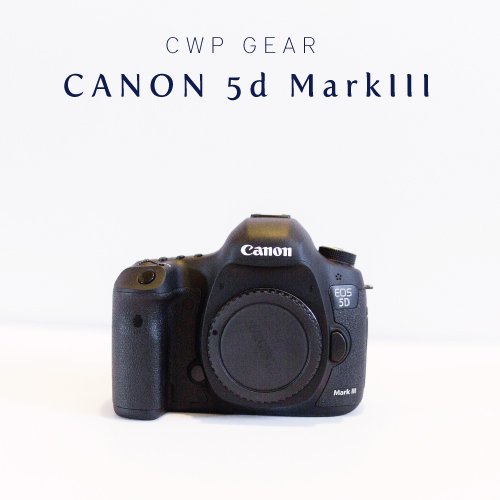
- I shoot on a Canon 6d and I typically have to overexpose by about one stop after I get the reading from the expo disc. I'm not exactly sure why and I know part of it is the fact that I like to shoot "lighter" but play around with it and see what works best for you and your specific camera.
OK! I hope that was helpful and that you have a little more information now about what an Expo Disc is and what it can do for you. You can purchase one HERE and as always let me know if you have ANY questions at all! I'm happy to answer!
Other posts in the Looking for Light in all the Right Places series:
***post does NOT contain affiliate links and I was not compensated by ExpoImaging in anyway. All opinions are my own!