The First Year // lighting

If you missed the first few posts in this series click HERE

Lighting. Where do I even start? Lighting is so integral to photography that this post could probably be about 100 pages long. Everything in photography revolves around light. Where is it coming from? What color is it? How is it being seen by the camera? How is it hitting your subject? What effect is it having on your photo or your vision for a photo? Natural lighting. Off camera lighting. Ring lights, ice lights, strobes, alien bees (yes you read that right)....and it goes on and on. 

Lighting is an aspect of photography of which I have barely scratched the surface. It is something that I will continue to learn about as long as I have a camera in my hand. 

Since I am mostly a natural light photographer, I have a better grasp at natural light than studio or off camera lighting. I am definitely interested in learning more about off camera lighting and how to mix the two (natural and off camera) to come up with even more creative and artistic looks. 

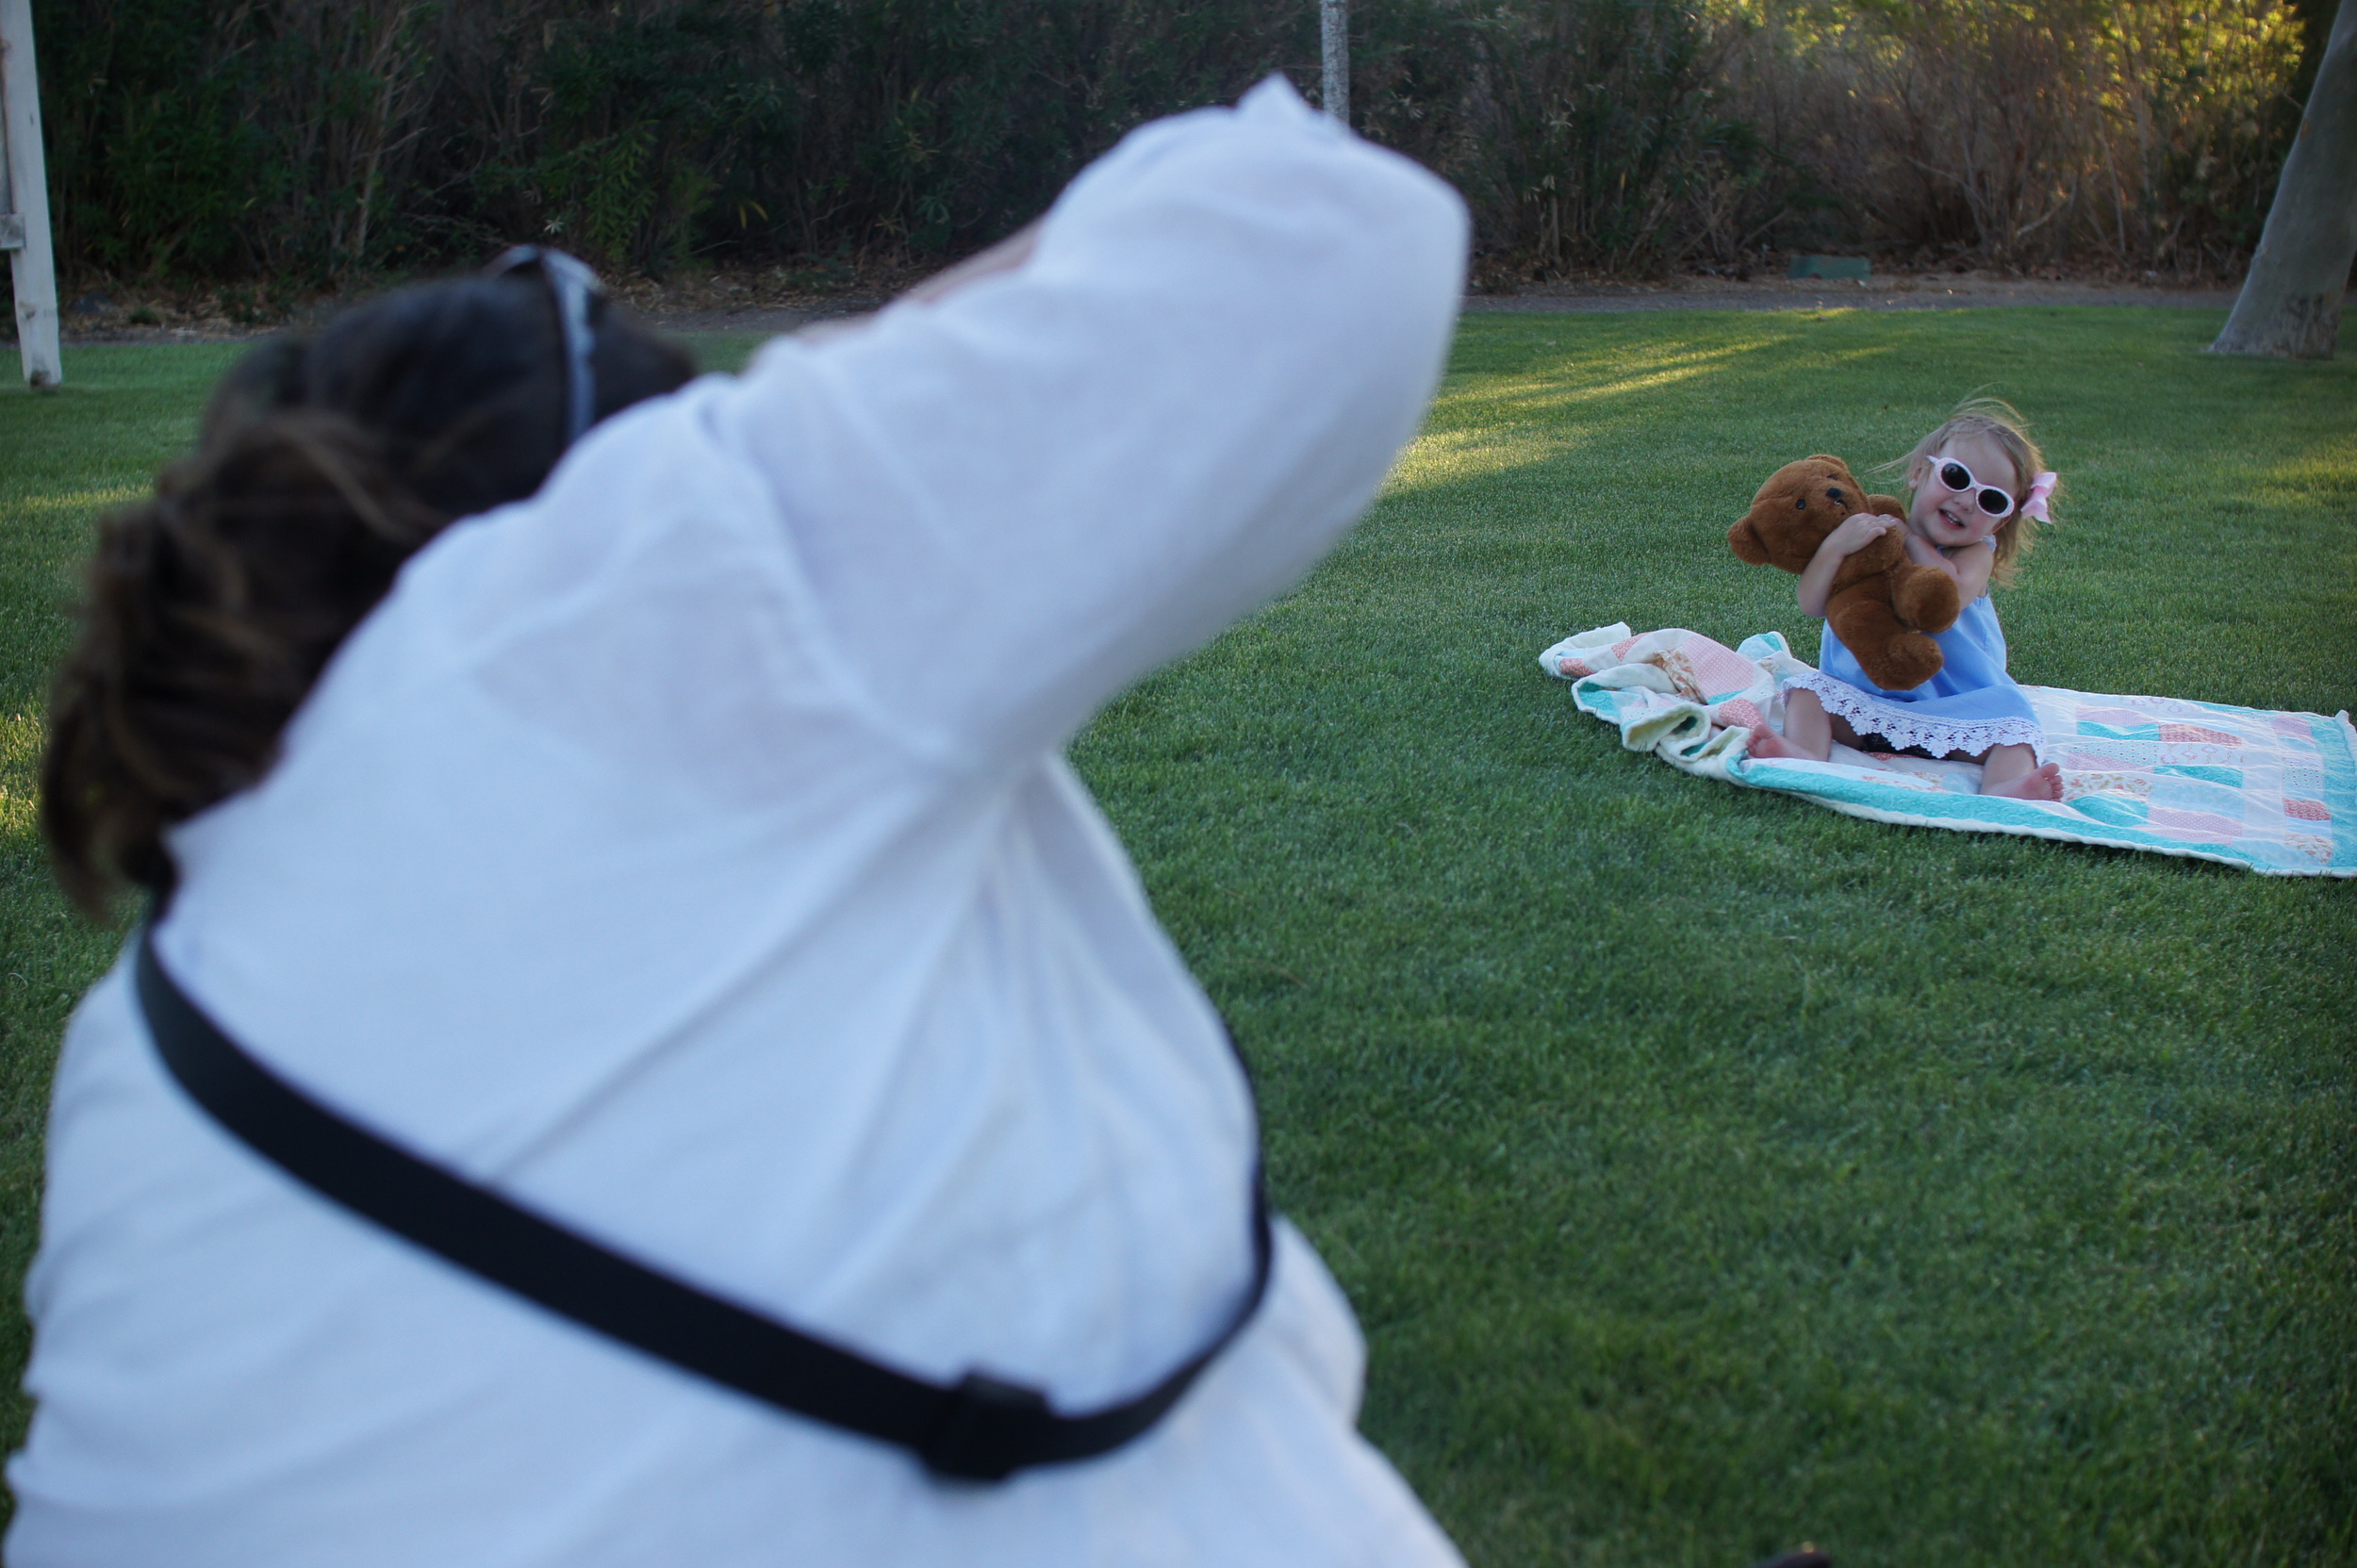
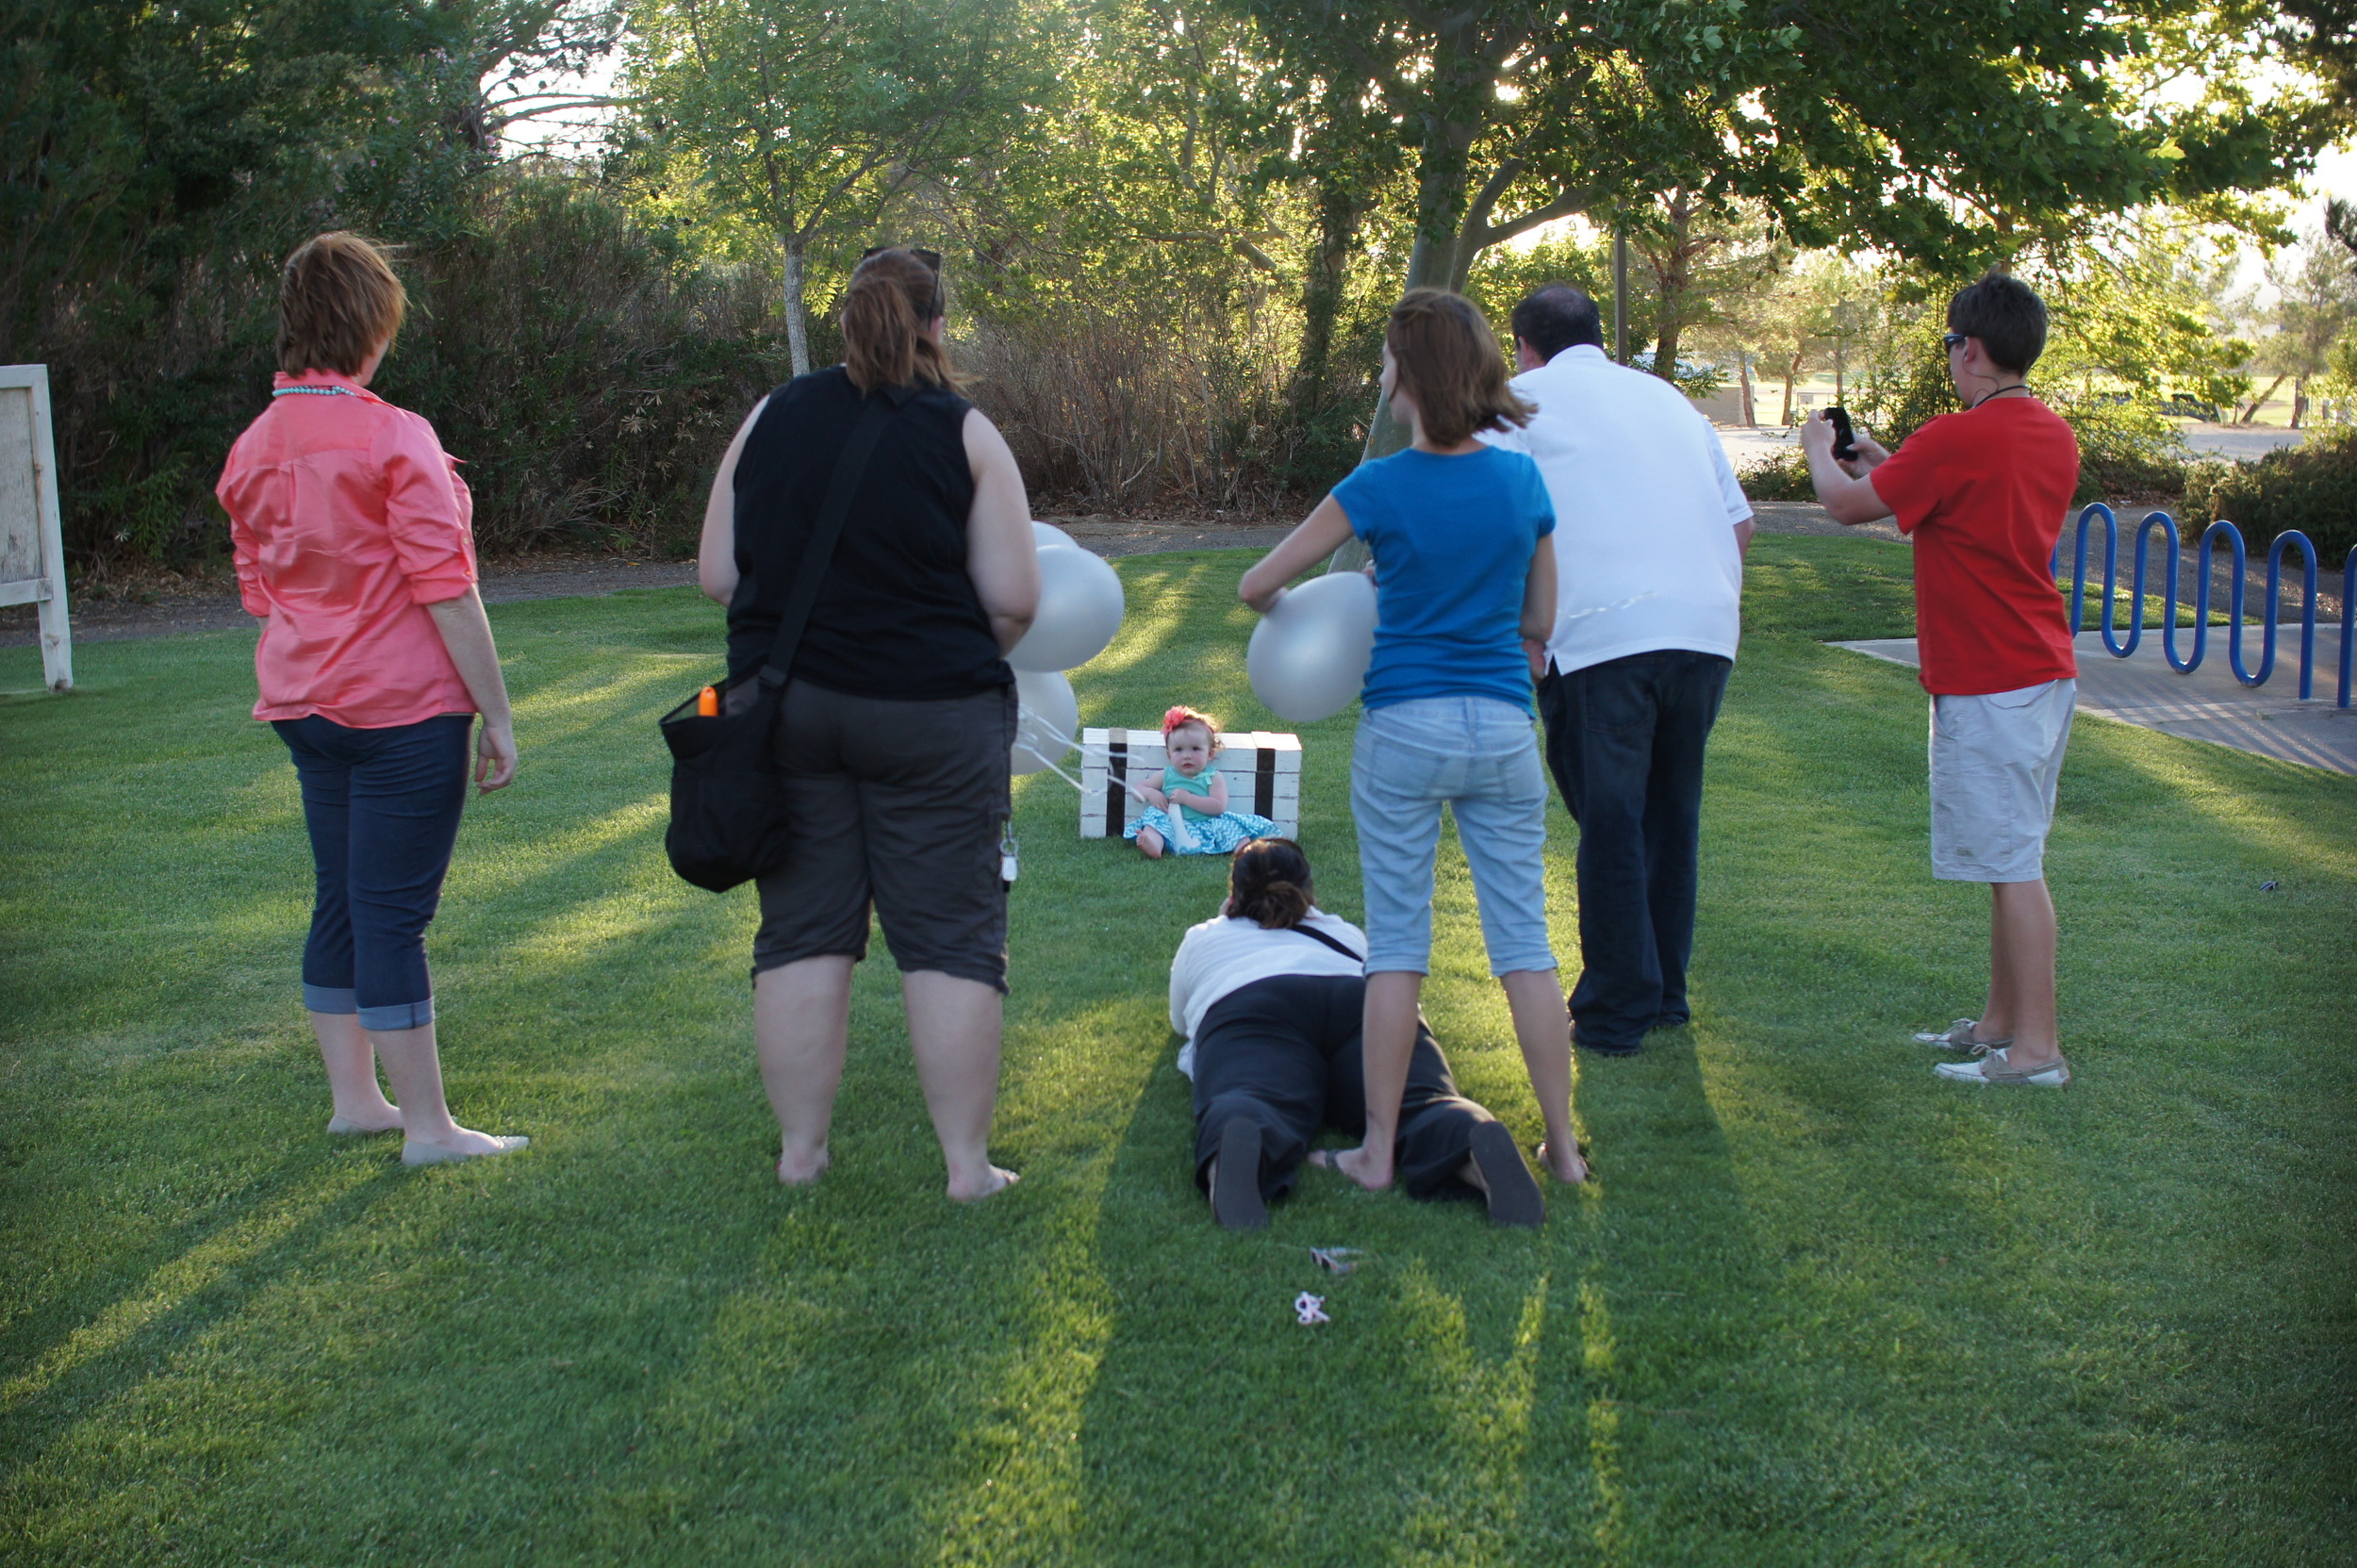
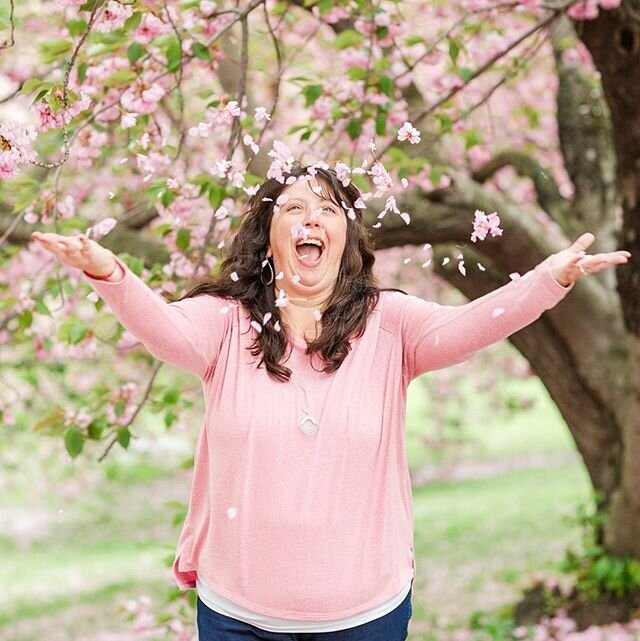
One of the first things I discovered in my early days of photography is that more sun is not necessarily a good thing. Bright, direct sun causes a lot of very harsh and unflattering shadows and, if you are photographing a person, a lot of squinty eyes.

Solution: Diffusion.

Diffusion is a great help when it comes to natural light. Its kind of the same concept as sheer window shades. They still allow the light in, but it is much less harsh and is more spread out and thus a more natural and pleasing type of light. 

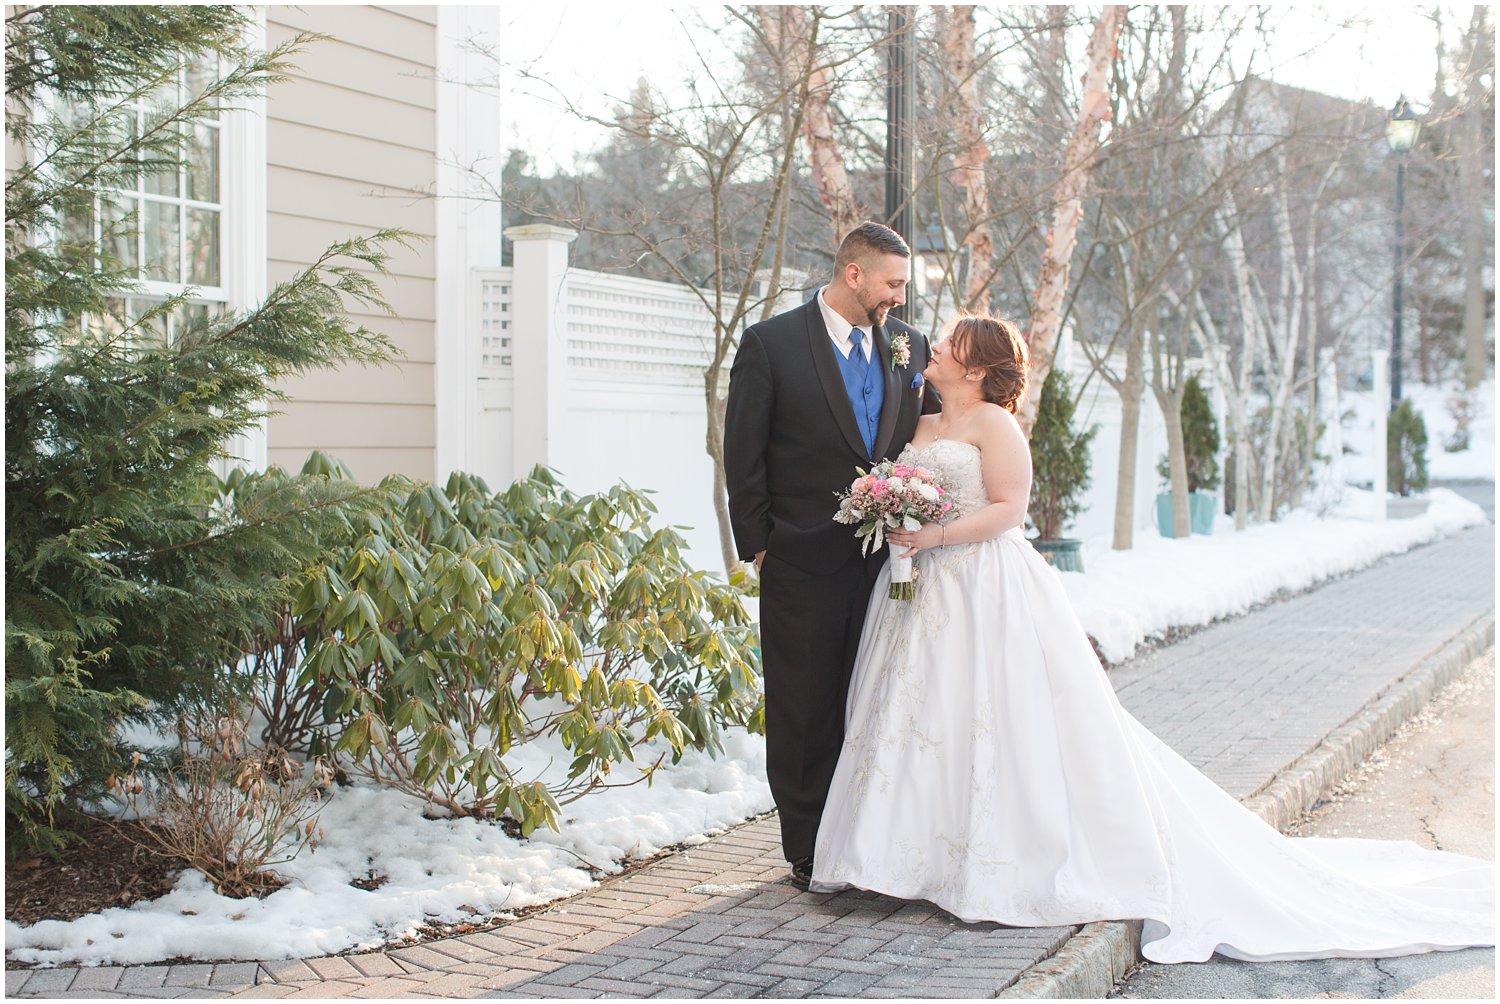
I have learned the basics about lots of different types of lighting over the past year. Backlighting, rim light, harsh light, open shade, dappled lighting, butterfly lighting and Rembrandt lighting are a just a few and the list goes on and on. 

I've learned how a reflector can help me immensely however I hardly use it because I either am shooting without an assistant, or my subjects (kiddos) are too quick! This is one of my goals for the next year...use a reflector regularly! I feel like the quality of my photos will increase greatly by implementing this technique. 

I also have an expodisc to help with white balance. I know how to use it but often don't mostly because I find that I shoot to fast. I need to slow down and take my time.

Easier said than done. 

I know about exposure compensation and bracketing and while I have a flash, triggers, umbrella stand etc...I am still very novice when it comes to off camera lighting. I am drawn to it however and know for certain it will be something I learn more and more about as the years progress. 

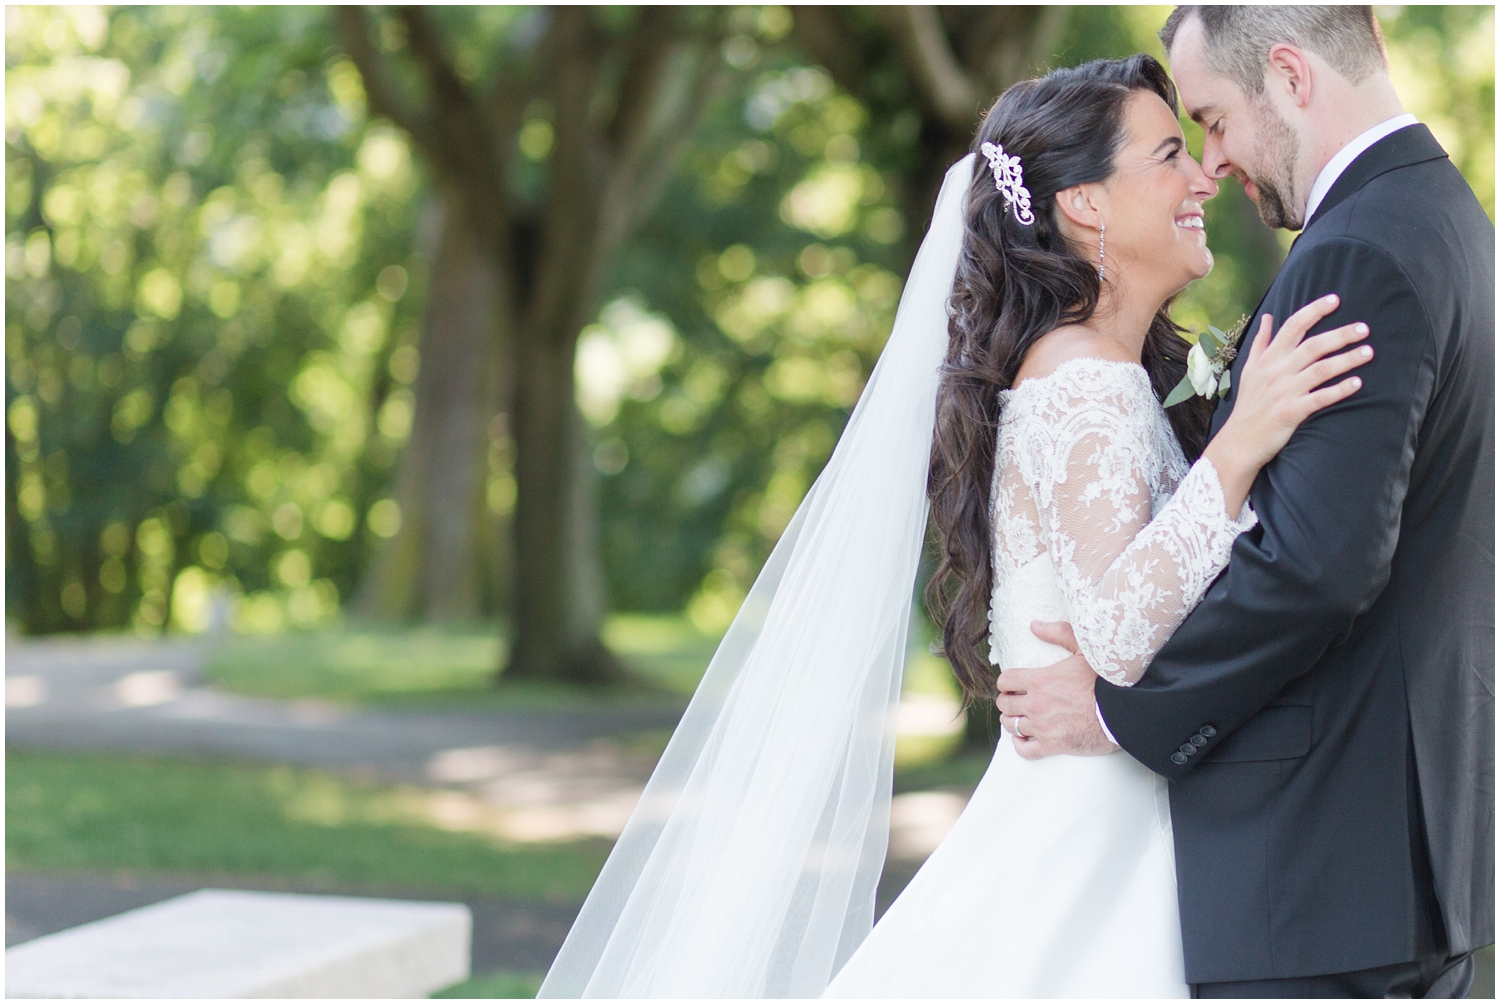
I think I speak for a lot of photographers when I say that lighting is what keeps you coming back. Nailing a beautifully lit photograph is almost addicting. You just want more and more. I know I have a long way to go when it comes to the lighting aspect of photography and I am so excited for the journey!

Behind the scenes of a family photography session

One of my favorite ways to learn is to watch someone else do what it is that I am trying to learn. I am a much more visual and tactical when it comes to learning new things and photography is no different.

Because of this, I LOVE behind the scenes shots of photography sessions. This was one of the things I googled the most when I was just starting out and surprisingly there is not a LOT of examples of this kind of thing out there on the web. 

I tried to find videos taken during a shoot to see how the photographer interacted with the client and where they were standing etc...when taking the photos. There are a few resources out there but much fewer than I expected. 

When one of the dads at the recent photo session that I did, took some shots of me during the session and then shared them with me afterward, I was elated! Not only do I enjoy critiquing myself, but I feel that information like this can be very useful to others when prepping for their own photo sessions! 

So here you go! A look behind the scenes at the recent photo shoots I did for Mairin and Abby. 

The reason I chose this spot in the photo below is because it was nicely shaded with some greenery in the background and the sun was shining beautifully through the tall trees camera right. I was using my 28-75 in this particular photo to get a wider angled shot. 

Then I switched to my 70-200 and zoomed in a bit so I could get some of the beautiful compression. I had placed her plenty far from the background so there was some really good separation going on which would set up nicely for this lens. 

One of the resulting final images. 

I sat both girls in the chair in this path to incorporate some framing. Paths and walkways are always great for framing. Some of those final images can be seen in their respective blog posts. 

I wanted to incorporate balloons into this session but it was so windy that it just didn't work out. The balloons were banging against each other something fierce and then they started popping. Major Fail. 

You can see how in this photo the image seems rather dark and flat. However in the resulting image (right below this one) you can see the light I was aiming for in the background. One of my favorites!! 

I set up momma and daddy and told him to lift her up and smile and have a great time. I keep the camera up and click throughout them doing the action to ensure I get a great shot with expression.

And this last one is probably one of my favorites, because this is soooo what a lot of shoots look like. I know some people will argue all day and say parents need to go somewhere else and not stand behind you, but I really don't mind it at all. Even if the toddler doesn't look directly into the camera for every shot it doesn't make it a bad picture. And no one can make a 1 year old laugh and smile the way their parents can, so I just go for it. 

and am very pleased with the results! 

I hope you enjoyed taking a peek behind the scenes! My hope is to do more of these in the future!