Presets vs. Actions
/In the world of post processing (ie...editing your photos after you take them) the subject of presets and actions can tend to be a dramatic one. I've seen post after post in various group forums on the subject which can oftentimes get heated. The interesting thing is that the drama doesn't usually arise based on which one is "better" but rather on...
- if either are necessary at all
- if photographers who use them aren't "skilled" and use them as a crutch
- the theory that so many photographers end up creating and selling their own versions and are taking advantage of newer photographers as a way to make easy money
Of course, I have opinions on all of those things (which I will address a little later in the post) but I think one of the more important things to talk about is what these things are, how they differ, and if they do actually provide any sort of benefit.

What are presets and actions?
Presets and actions are both editing tools. They are basically both a set of "recorded" steps that you can "apply" to your photo once it's in either Lightroom or Photoshop.
Lightroom uses presets. Actions are used in Photoshop.
How are they different?
The simplest way I can describe what a preset is, is that it's a snapshot of a series of adjustments you make in Lightroom. Let's say you were to take a RAW photo into LR, adjust the exposure, tone curve, sharpening, contrast and clarity and then snapshot what you have just done and give it a name....then you have a preset. The next photo you can simply click that preset and it will automatically do all of those steps you just did on the first photo, on the second photo. It's essentially a time saving effort to apply the same effect to multiple photos at once.
An action in PS works very similarly, but since the options effects in PS are numerous, actions tend to be a little more complicated. Everything in PS works off of a series of layers that are "stacked" on top of your original photo. One action may have 15 different layers of things that have been "recorded" into the action and any one of those things you can turn on or off or even brush parts of that step on or off certain areas of the photo.
One of the main differences between presets and actions is that a preset is applied to the entire photo. You can't necessarily take the preset effect away from one area of the photo and keep it in others. With actions, since they work on a layers system and you can add layer masks, you can apply different effects to the photo in different places. You have much greater flexibility and options with your editing.
So what's the big fuss?
When you first become a part of the photography community, it seems as if you get inundated with information about presets and actions. I know I did!! The draw to them as a new photographer makes sense.
You are trying to figure all this technical stuff out...you are constantly looking at other more established photographers work and wanting to make your own photos look like theirs. The "promise" of presets and actions is typically that they can take your photos and make them into works of art in one easy click.
If I could interview 50 photographers who have been in the field for more than three years I would venture that at least 50% (if not more) bought WAY too many sets of presets or actions or both when they first started out and now they don't use hardly ANY of them!
Why? A couple of reasons.
The biggest reason becomes very obvious once you start using them. They don't always work with every photo you have, especially if you are new and haven't really begun to nail things in camera.
If your white balance is off or if your exposure is off, there is nothing a preset or action will to do help you, you have to fix those things first. What I find funny is that a lot of presets and actions that you might buy are essentially minor changes to white balance or exposure when a simple change in the exposure slider will do the exact same thing. I think this is where some of the "using them as a crutch" sentiment comes in. If you are using presets or actions instead of actually learning HOW to use LR or PS, it will likely end up causing you more frustration in the long run.
However, on the converse, if you buy some presets or actions and fiddle around with them enough, they can actually help TEACH you how to learn these editing programs. By clicking on the preset or playing the action, you can SEE what has been altered to make the photo look the way it does and you can recreate that on your own, taking out the things you don't like. I show you a little bit of what I mean in the below video.
As for photographers taking advantage of newer photographers by creating and selling these things, who can really judge their intentions? There are probably some really complicated effects (like film emulsion editing for example) that presets might work really well for, and there are a lot of places selling presets and actions that will likely sit on your computer and hardly get any use after a while, and some might end up getting more use than others especially once you feel like you have defined your "style" a little bit more.
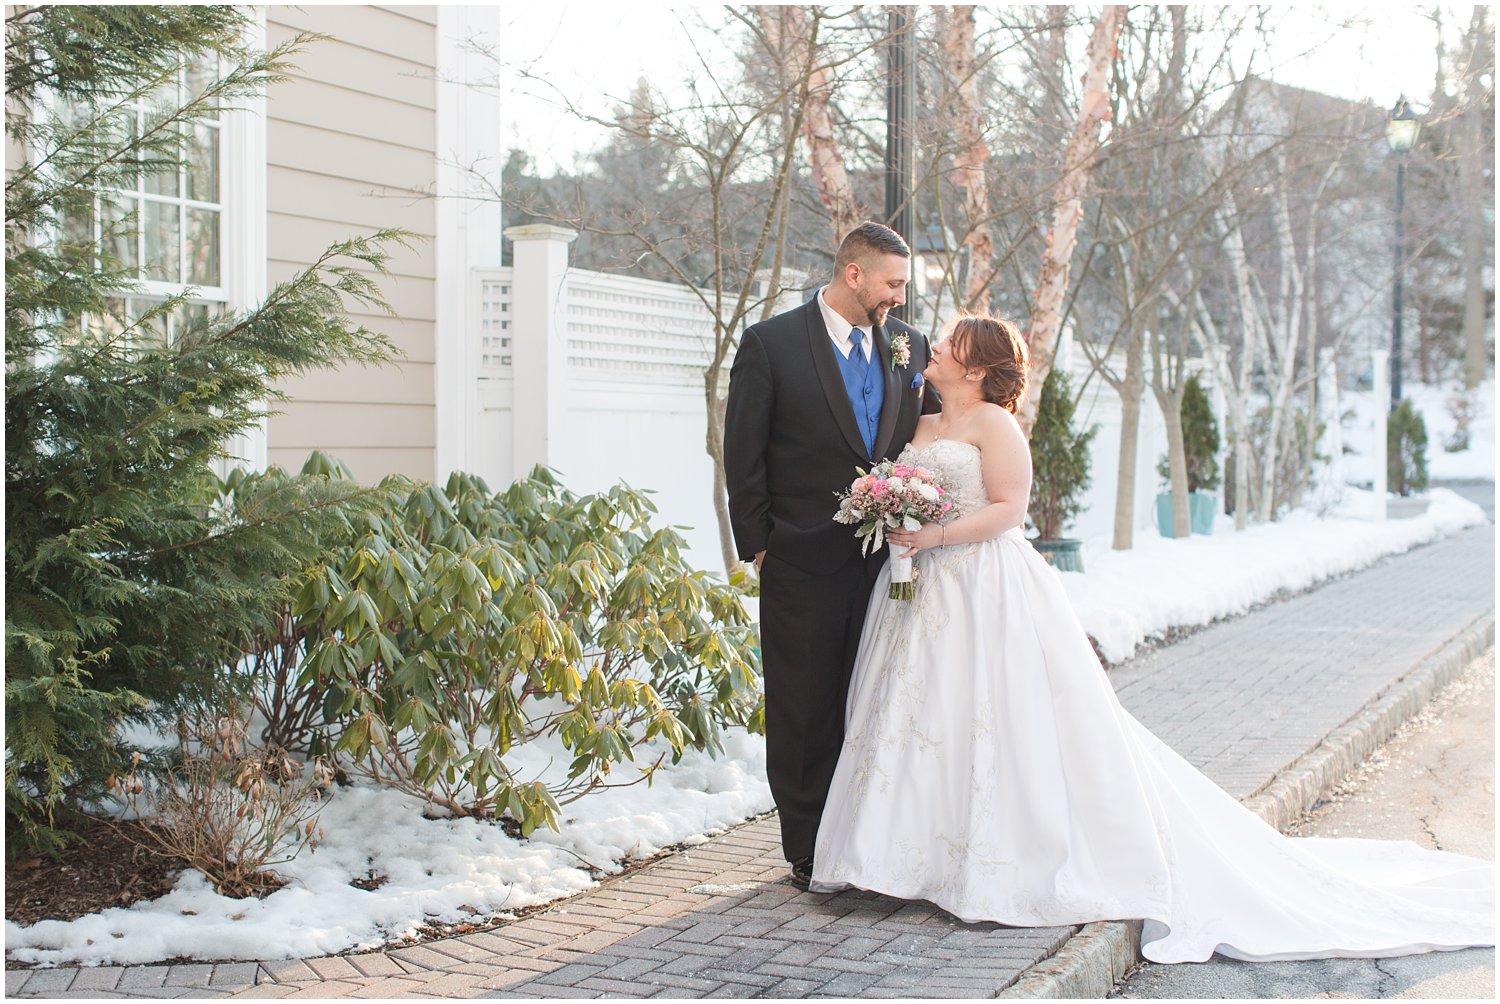
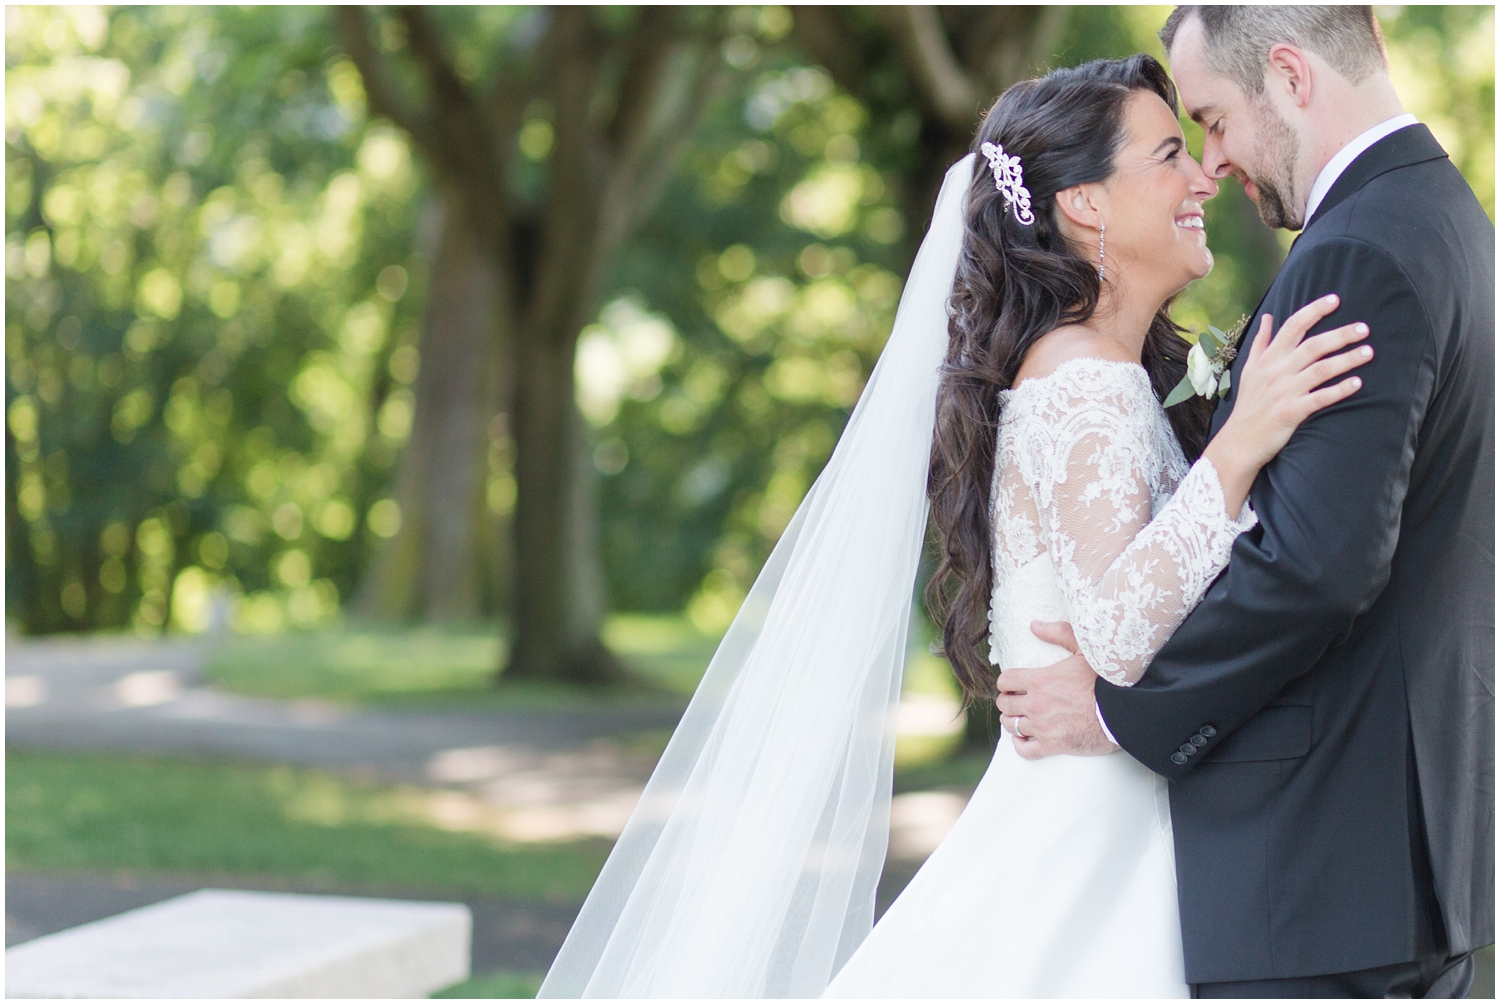
In the past three years, my editing style has become much more clean and bright and classic. When I first started I was really drawn to matte effects and while I still really love that style, I don't think it totally fits the kind of work I want to do on a consistent basis. I have some editing techniques down that include a base preset that I made of the adjustments I was consistently making and I don't do much more editing than that. I hardly ever take images into PS except to take out large objects or do extensive cloning or minor liquefaction.
Here is a short video on using presets and actions in both Lightroom and Photoshop and a little more information on how you can learn to edit by using them.
If you are interested in trying out some presets and/or actions, I would highly recommend Greater than Gatsby. They make a few really nice collections of each and they are simple to use, well organized and overall great to learn from.
What do you think? Better to edit on your own or use resources like presets and actions?