How to resize images for web use using Blogstomp
/Dpi. 2048 on the long edge. 5mgb. Compression. 72ppi. 300ppi. Pixels. Inches. Conversions. ARGH!!!
Does all of this sound familiar and kind of make you want to pull your hair out? Resizing images without compromising quality for online use and balancing the fact that those same images could be taken off the web and reproduced has been a struggle for photographers ever since digital was introduced.

First things first...if you are more visual and like to SEE things being done as opposed to reading about them, skip by the text and there is a handy video down at the bottom that goes over everything in this post!
The issue
There is a TON of information floating around the internet and photography forums on how to size images properly for not only your clients, but also for print and then also for web. Because the subject can be rather complicated (and by complicated I mean seriously almost impossible for people to agree on) there is a ton of conflicting information out there and trying to figure out what works best for you can be a STRUGGLE.
Because of the confusion, I decided on a simple solution that I thought would work best for me without accidentally breaking something. The further research and study that I do, the more I have come to realize WHY my system actually works. I have something planned for the future that I hope will be much more helpful in understanding the complexity of sizing images properly not only for web but also for print, but in the meantime, I want to show you my system of getting my images ready for online use on my blog, facebook, twitter etc!!!
my system
My system is comprised of two basic steps.
- Exporting full size, high resolution images from Lightroom
- Blogstomp those images to make them more manageable for online use
Bada bing, bada boom. Done.
What is Blogstomp for?
Blogstomp's main purpose (in my opinion) is twofold.
First, it has the ability to compress (or resize) your images so they don't take up so much disk space on your computer and are easier and quicker to upload onto online platforms. ***You can also do this in Lightroom or PS as well, but I find that instead of exporting out of LR a bunch of times for my various purposes, I just do an export once and then make other changes in Blogstomp.
Second, you can put images together in collages and blogstomp will easily constrain that collage to the size/dimension you specify in one quick step. In Photoshop or Lightroom, putting together collages can honestly be a HUGE pain. If you have never had to do it before, trust me you are not missing out.
How does it work?
Blogstomp is a very simple, easy to understand platform that you download on to your computer.
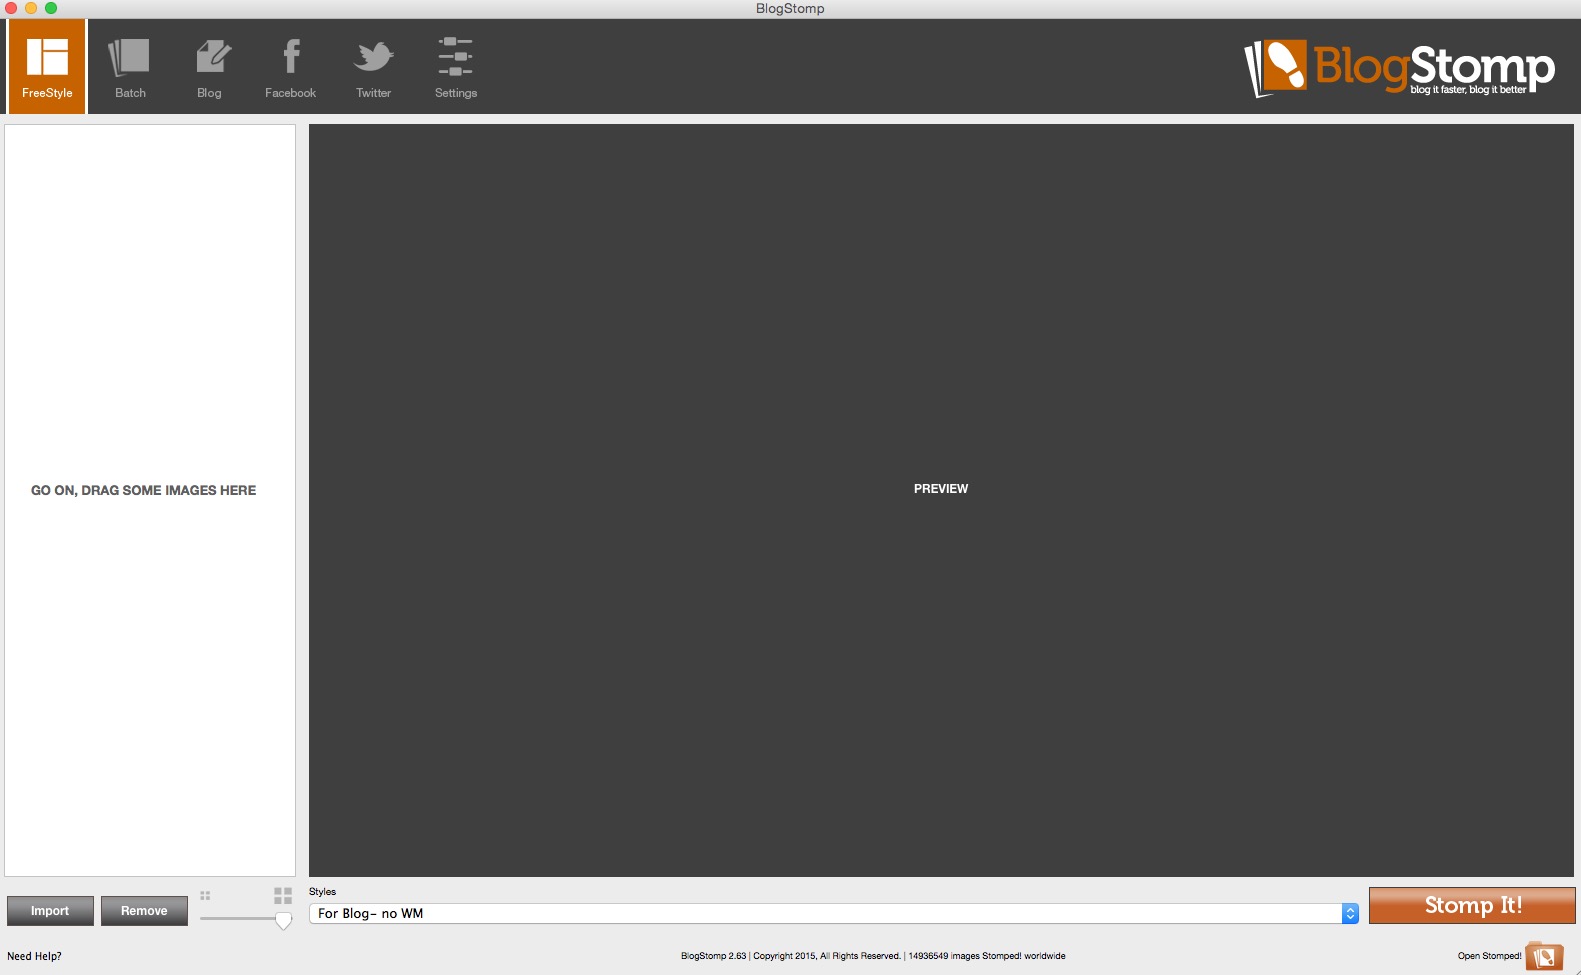
You simply drag the images you want to "stomp" into the left hand panel and then play around with how you want them to display.

I typically will only stomp one landscape image at a time OR two vertical (portrait) images next to each other like in the photo below.

But you can make more involved collages by simply selecting the images you want in the filmstrip. If you don't like the exact way blogstomp has positioned them, you can click "Mix it up" and it will change things around automatically!


Once you have a design you like all you do is click "Stomp it!" and the image will be saved in your Stomped folder wherever you have designated that folder to live on your hard drive.
What else can it do?
You have the ability to set "styles" for your stomped images. In those styles you can opt to include a border around the image or between images, you can select dimension size, you can add backgrounds or a watermark as well. There are lots of options!

For example, if you wanted all stomped images for your blog to be 960 on the long edge you can create a style for "blog images" and then use that every time you stomp images for your blog. If you want images that you will post on FB to be 2048 on the long edge AND include your watermark, you can set up a style for that as well.
You also have the ability to post directly from blogstomp to facebook, twitter or your blog but I haven't done that. I found the system that works best for my workflow so I tend to stick with that, but by all means play around with it to see what might work for you!
Blogstomp is absolutely one of the best investments I have made for my photography business. The amount of time it has given me back is HUGE. At at mere $49 (one time!) this is something that most photographers should likely invest in especially if they will be sharing images on a blog or social media.
P.S...Blogstomp has no idea I exist and has not compensated me in any way for talking about them. ;-)
For a more in depth description of HOW to do all of this, check out the video below!