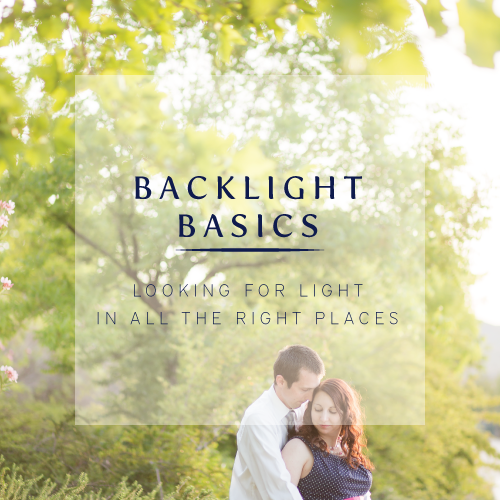
Easy Peasy OCF for beginners : Part 2
/If you haven't read Part 1 of the OCF for Beginners series, I highly suggest you click HERE and take a gander. It will get you familiarized with some basic terminology and an overall understanding of how to work with OCF.
In part 2, we are going to discuss the settings you can use on your speedlight, how to place that speedlight in relation to what you are shooting and the corresponding results!

The setup
I decided to use some vases and books in my living room as my subject. Since Paul is out of town and the dogs never sit still, I figured still life was my best bet for these examples. ;-)
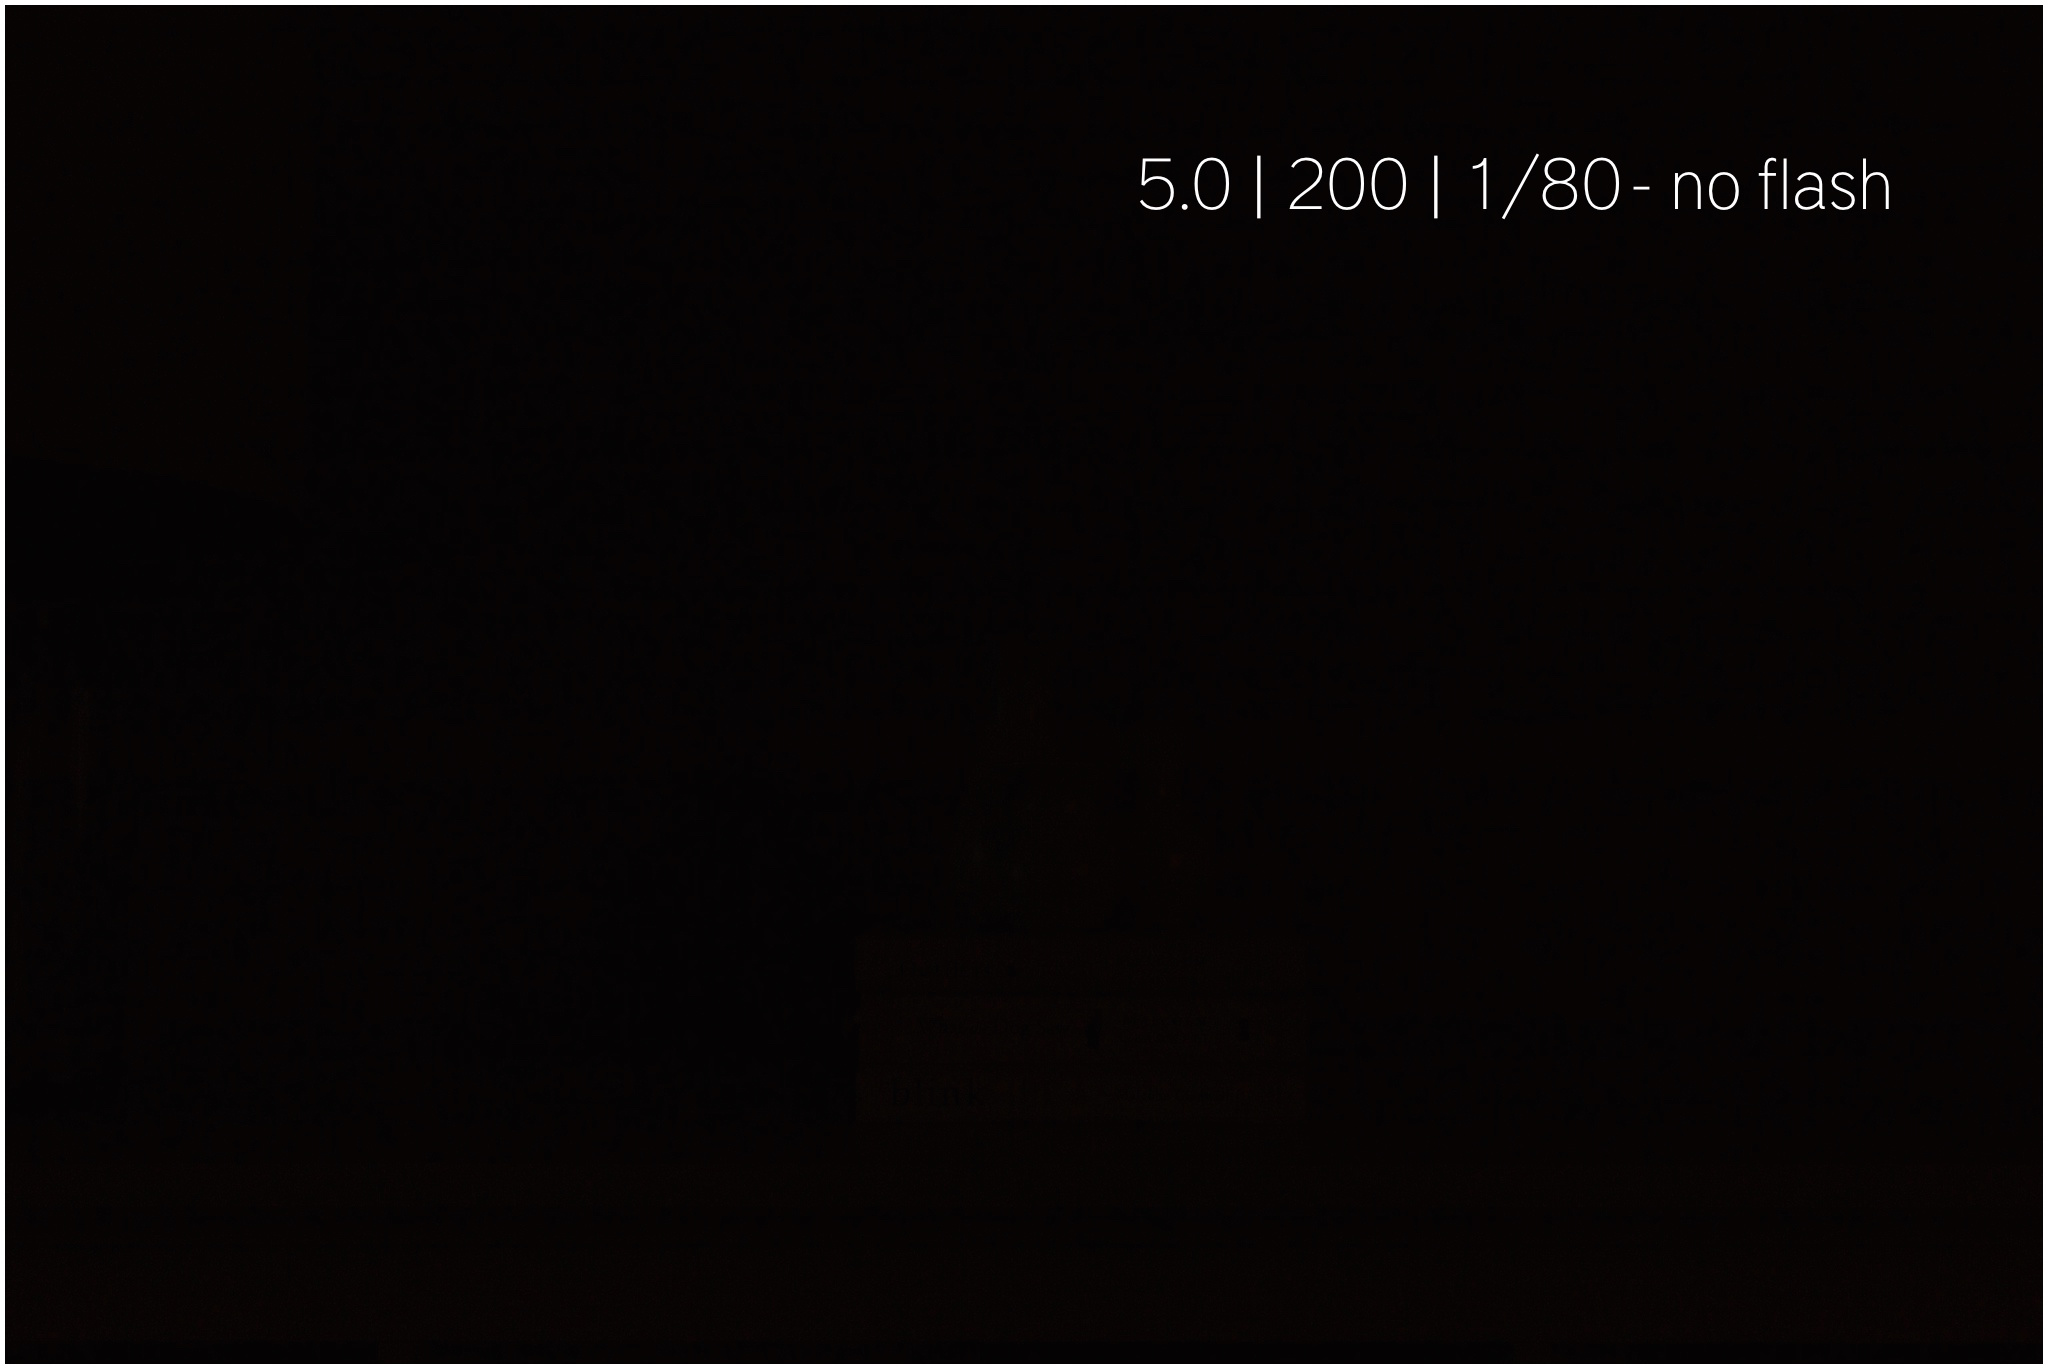
First, here is the image taken with NO FLASH simply using the camera's meter to expose correctly. The room was on the dark side so I opened up my aperture to 2.0, upped my ISO to 800 and this resulted in a 1/8 shutter speed. Yes, you read that right. That is a very slow shutter speed and I am actually shocked that the image doesn't really show any camera shake because I was not using my tripod for this shot.

Next, I incorporated flash.
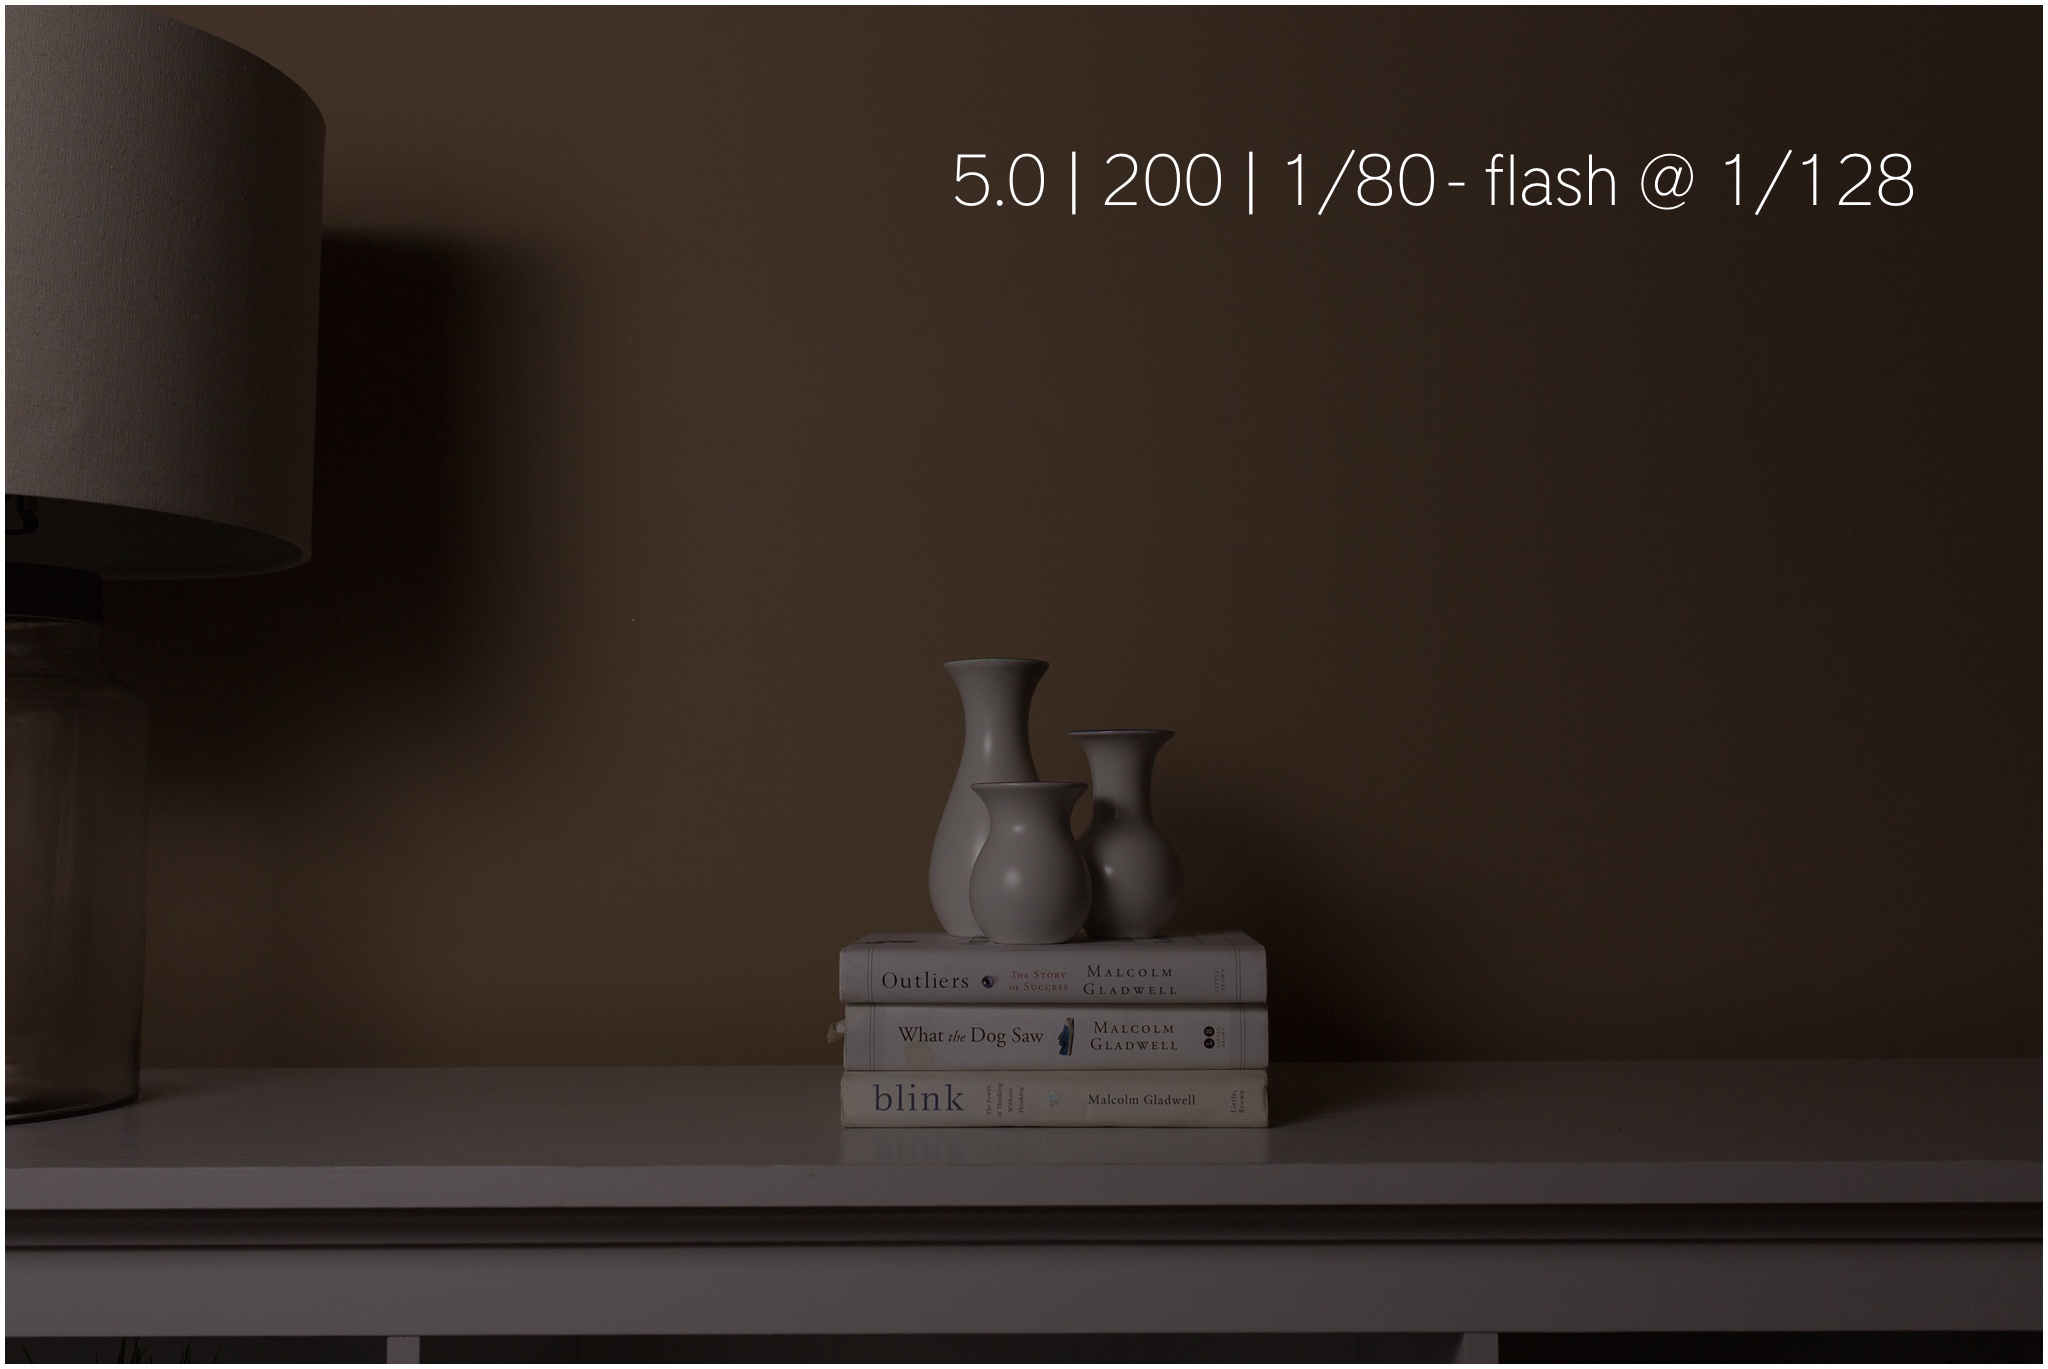
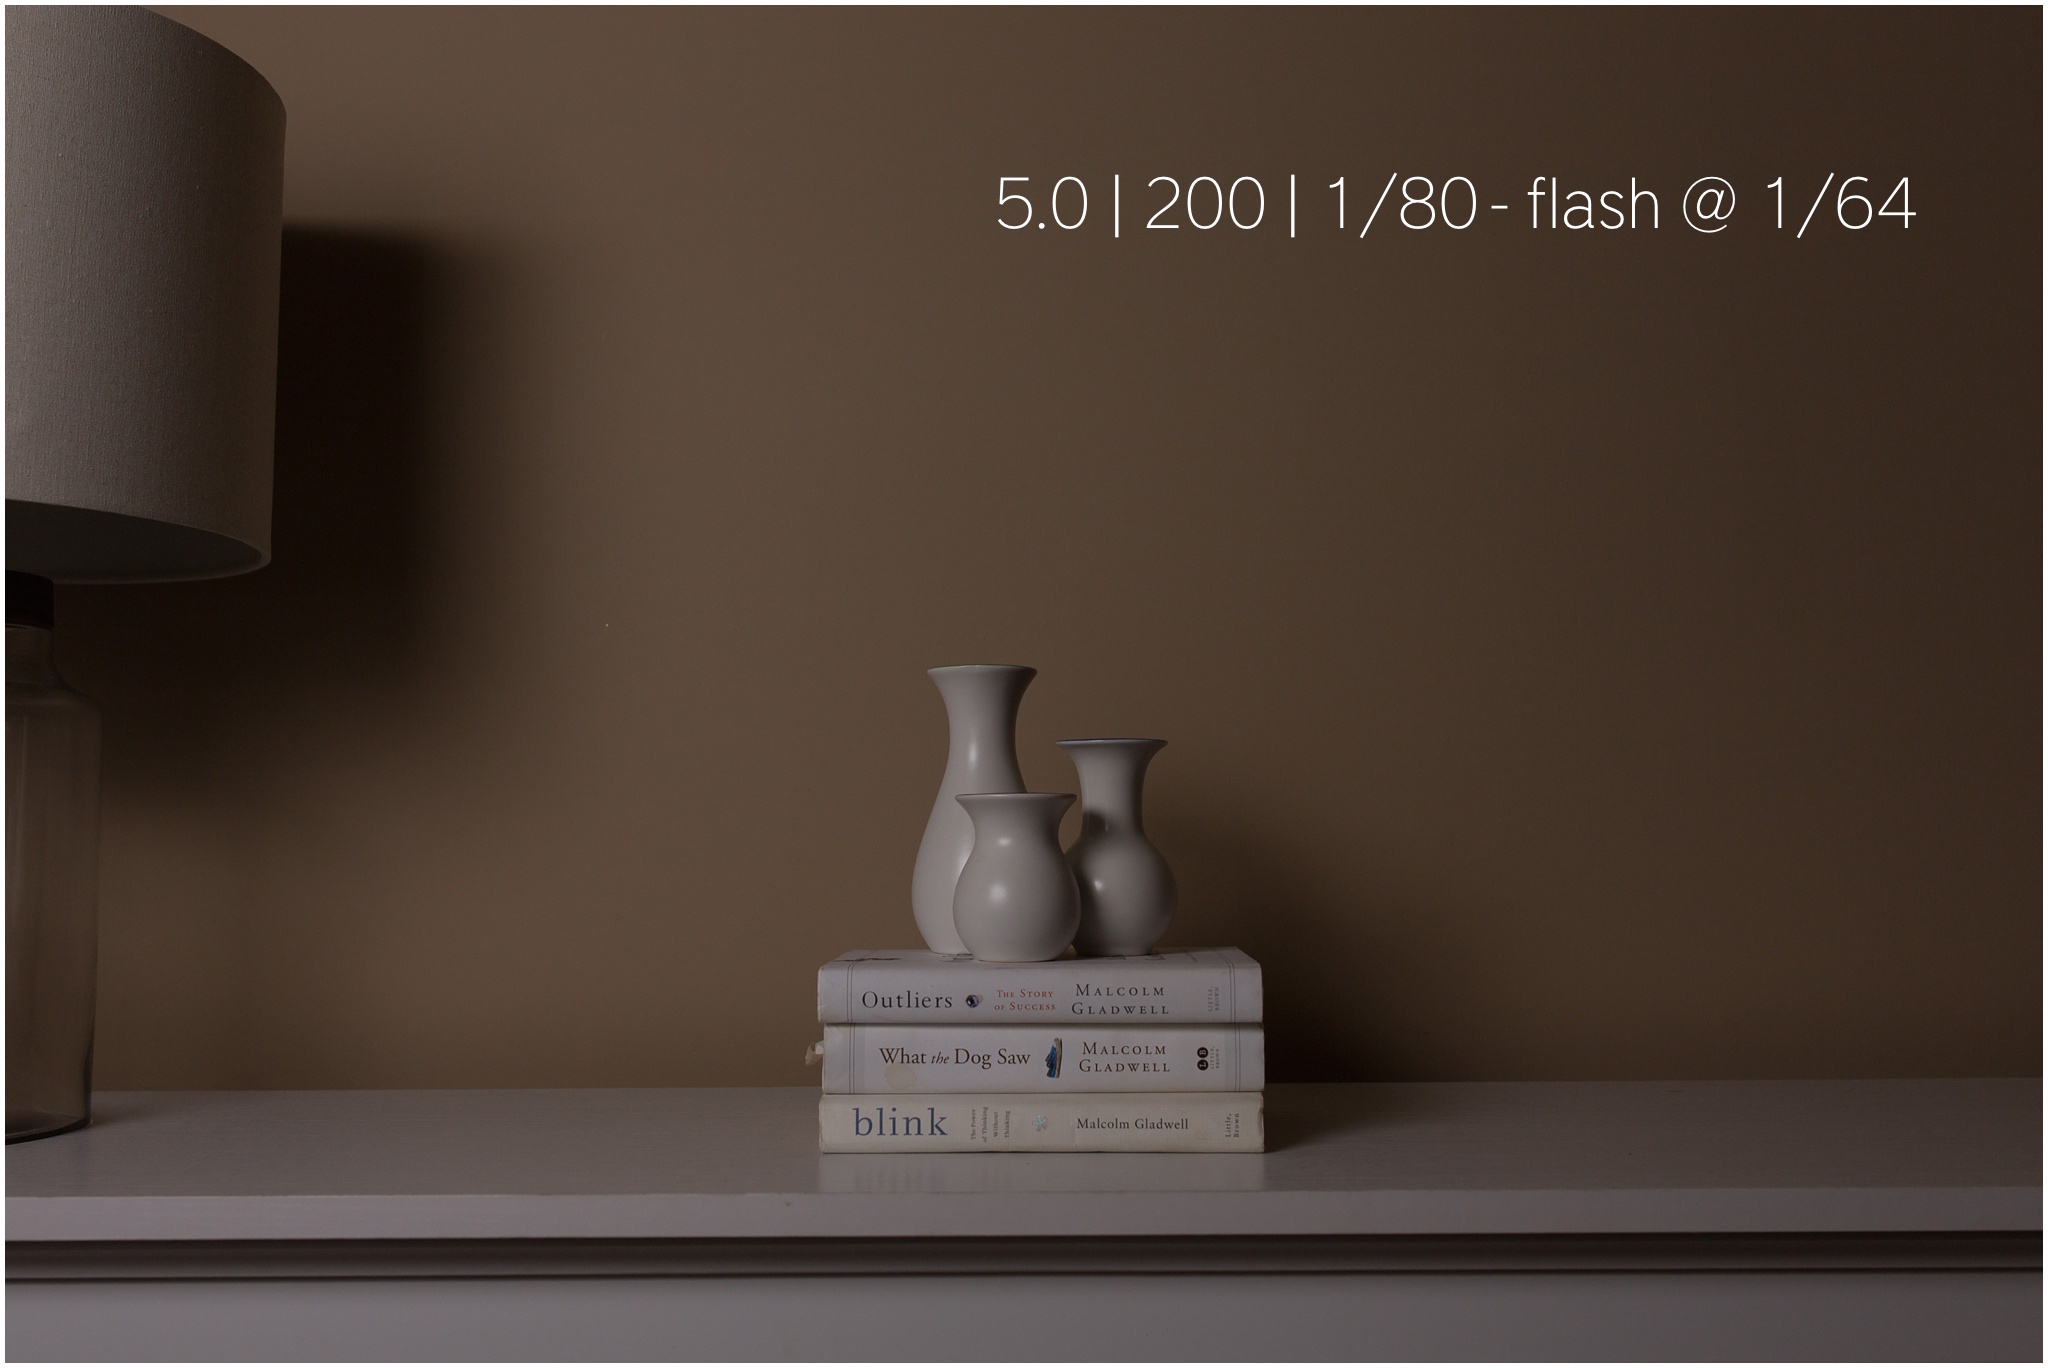
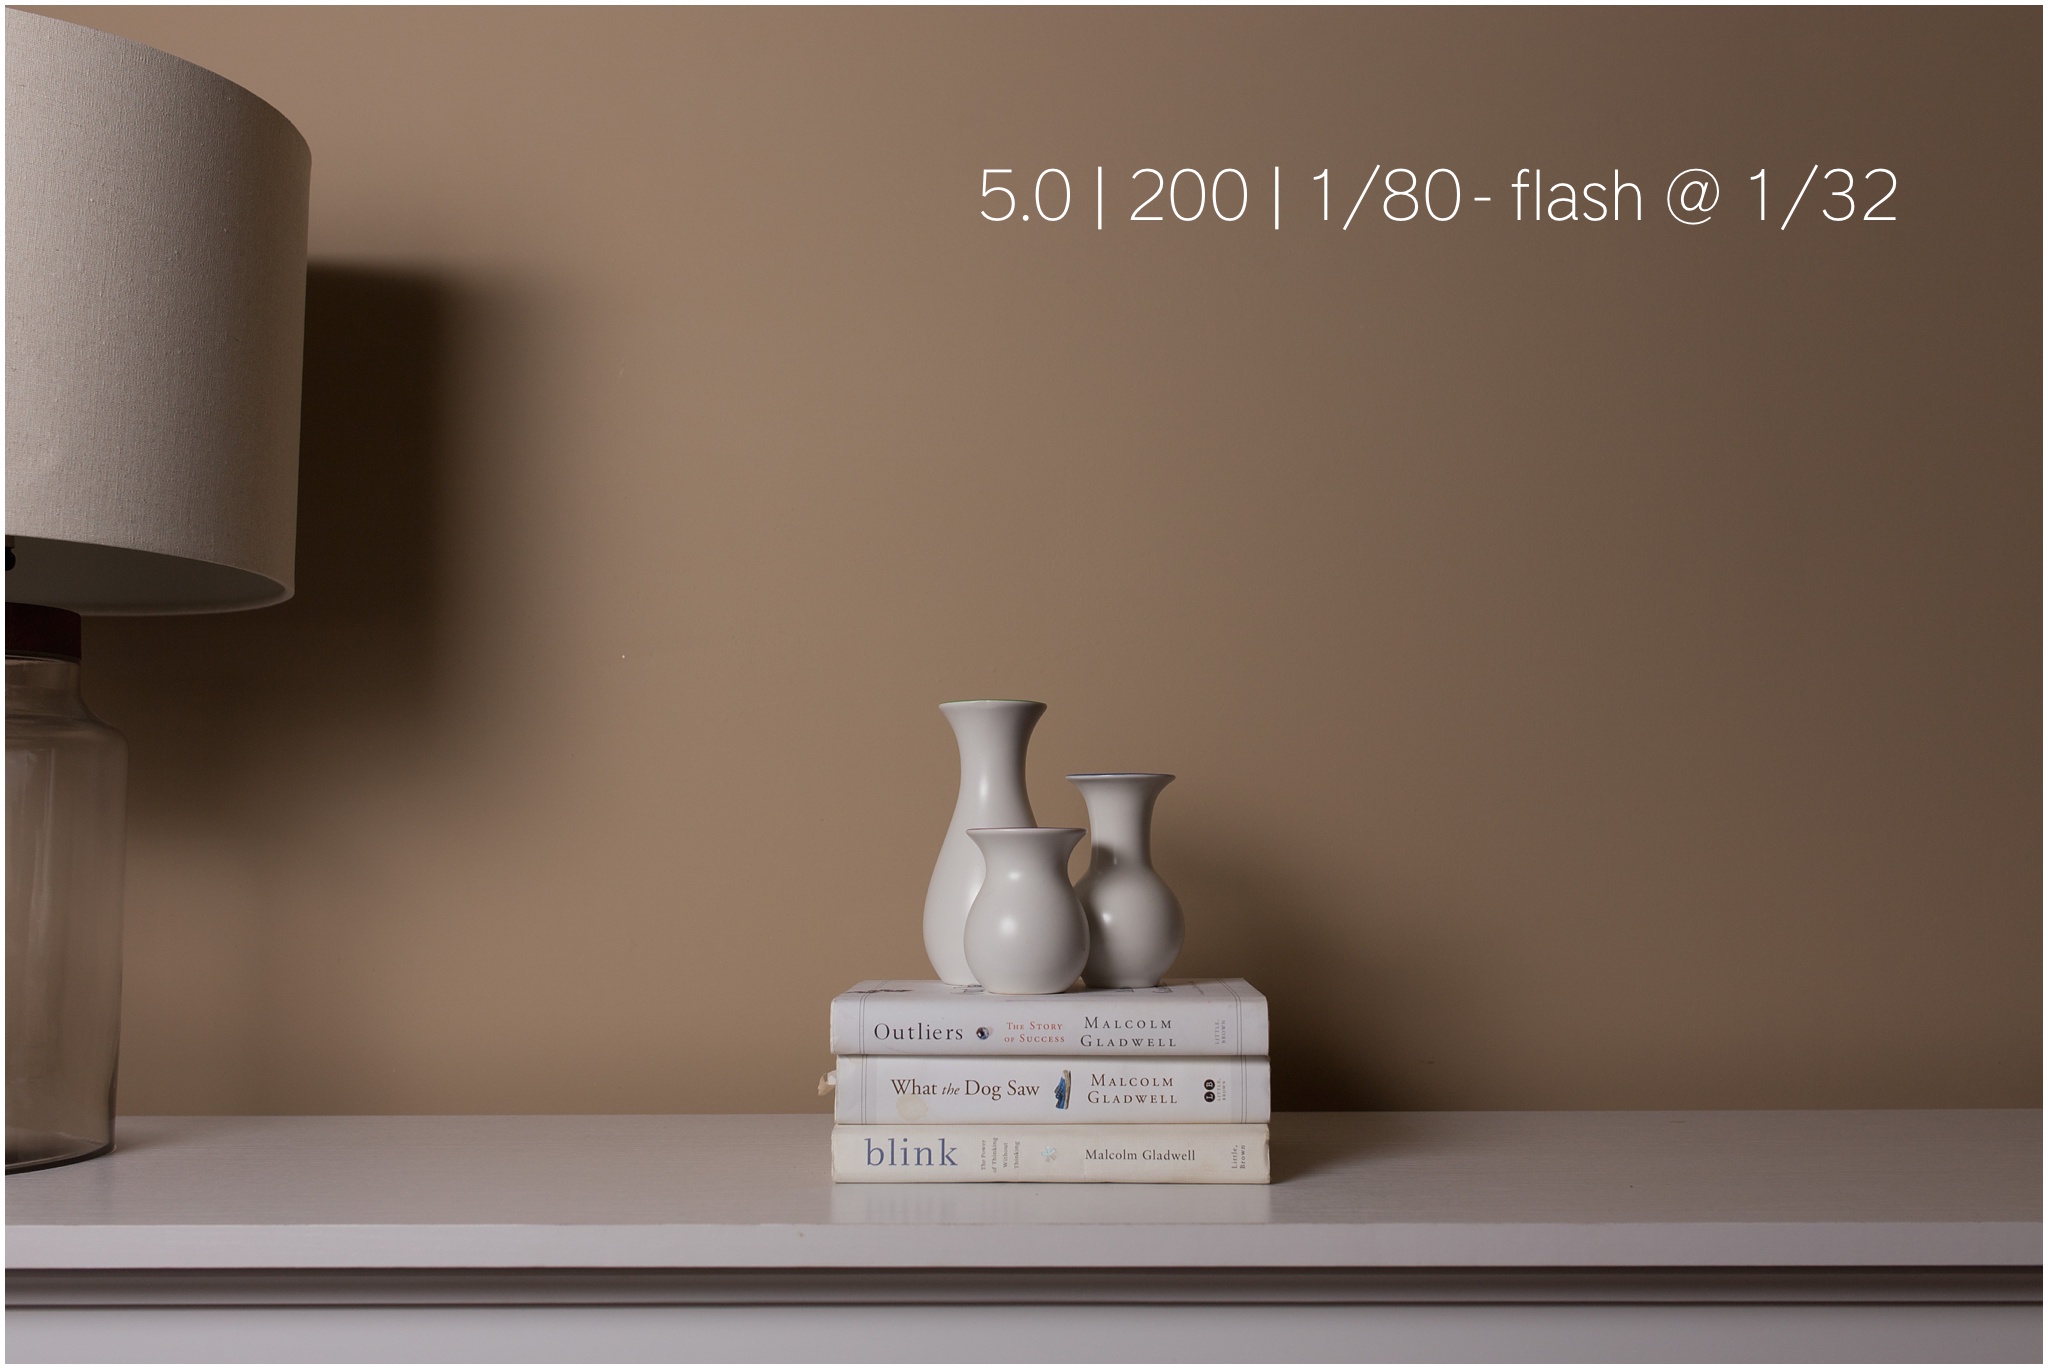
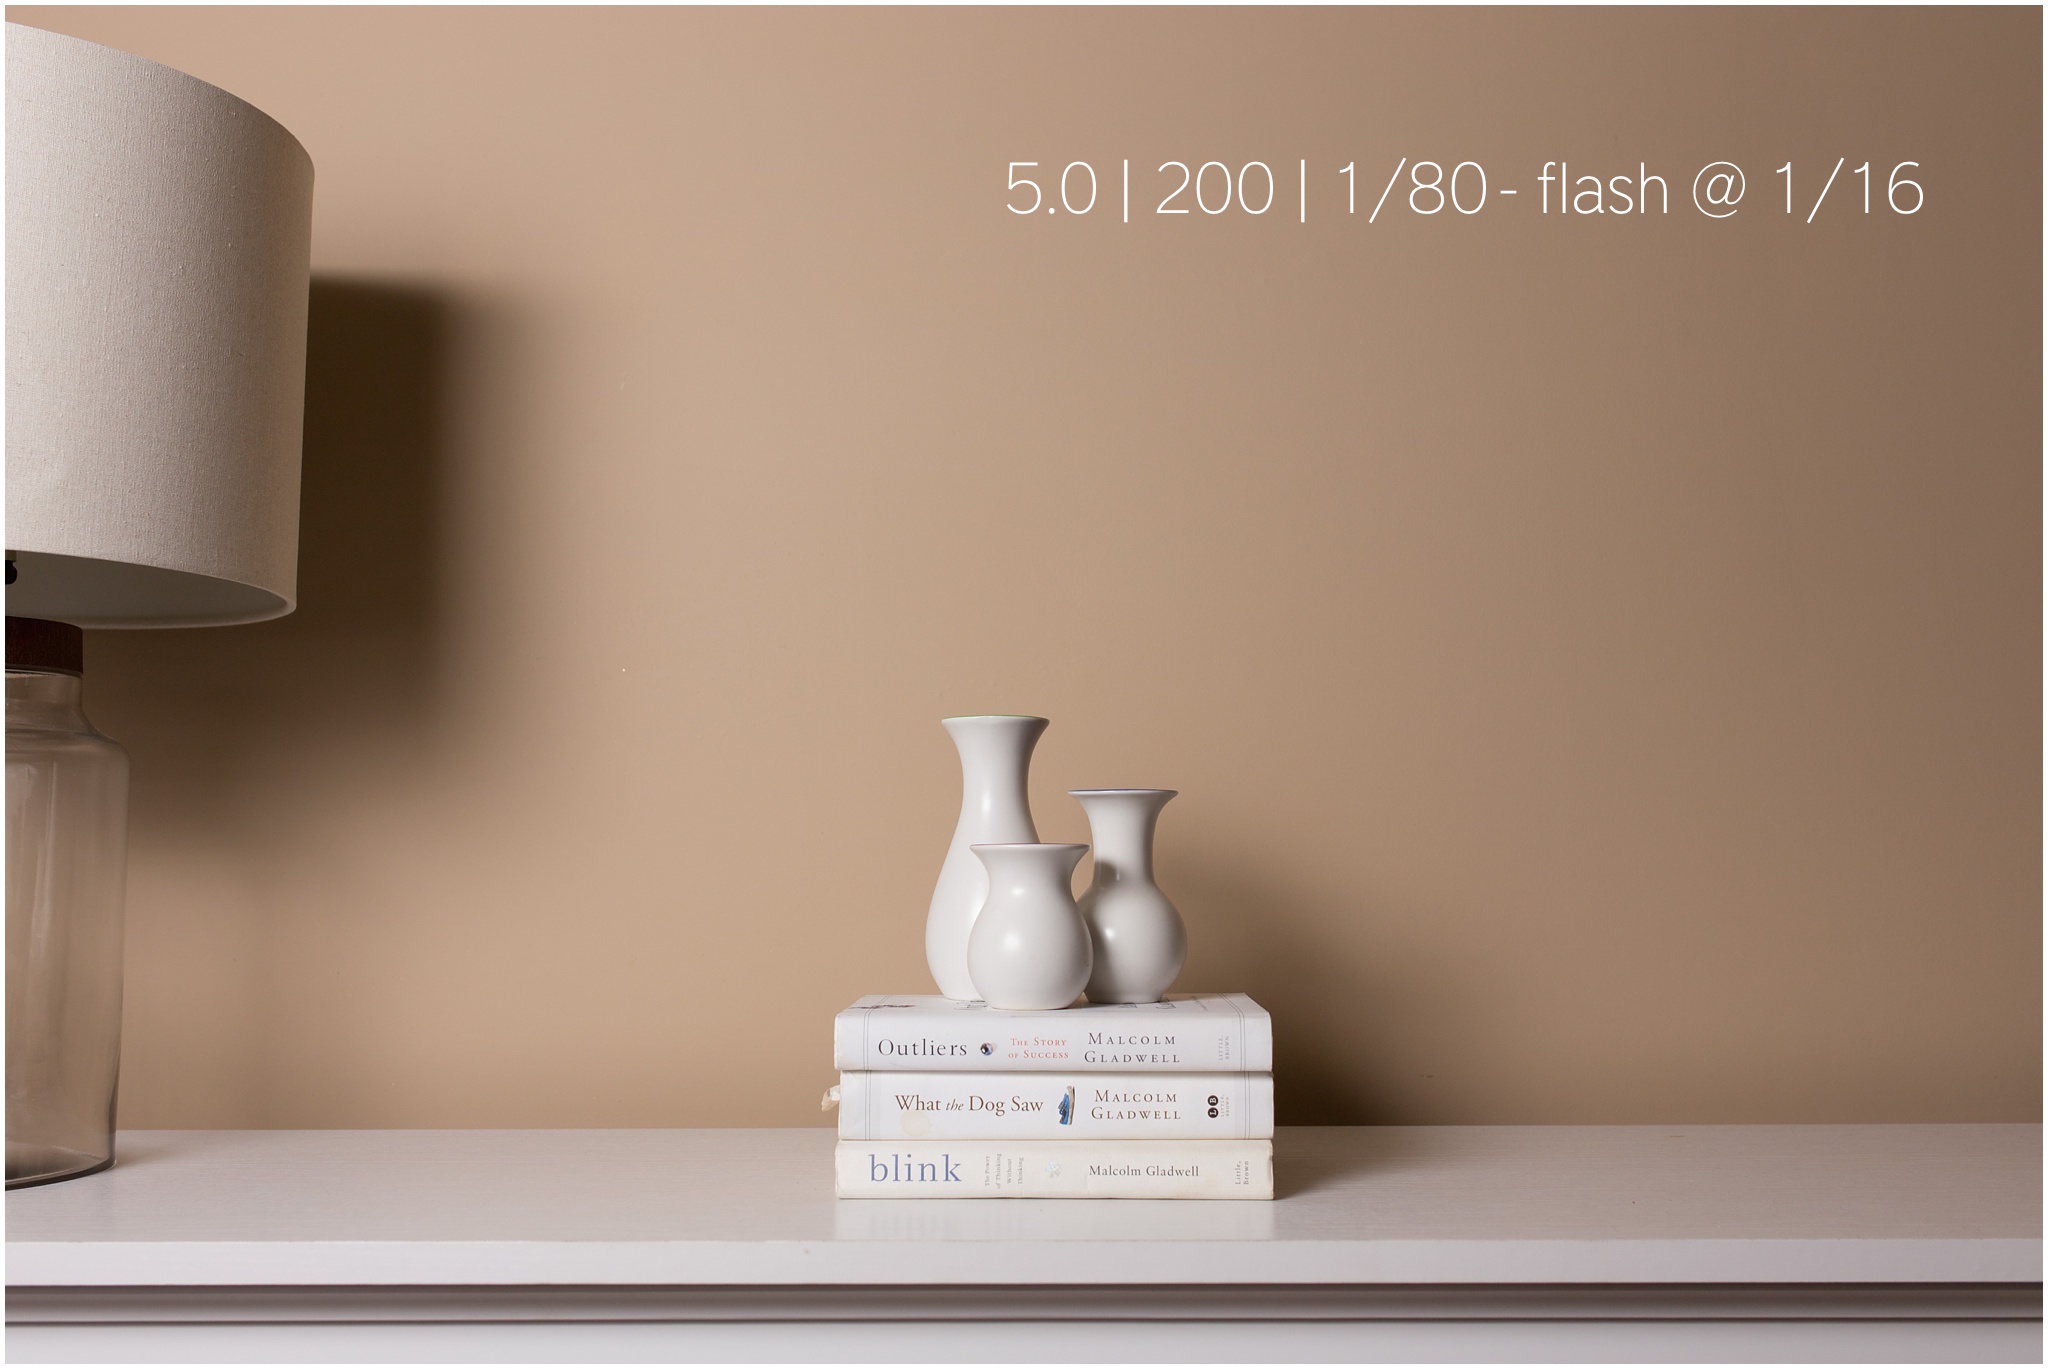
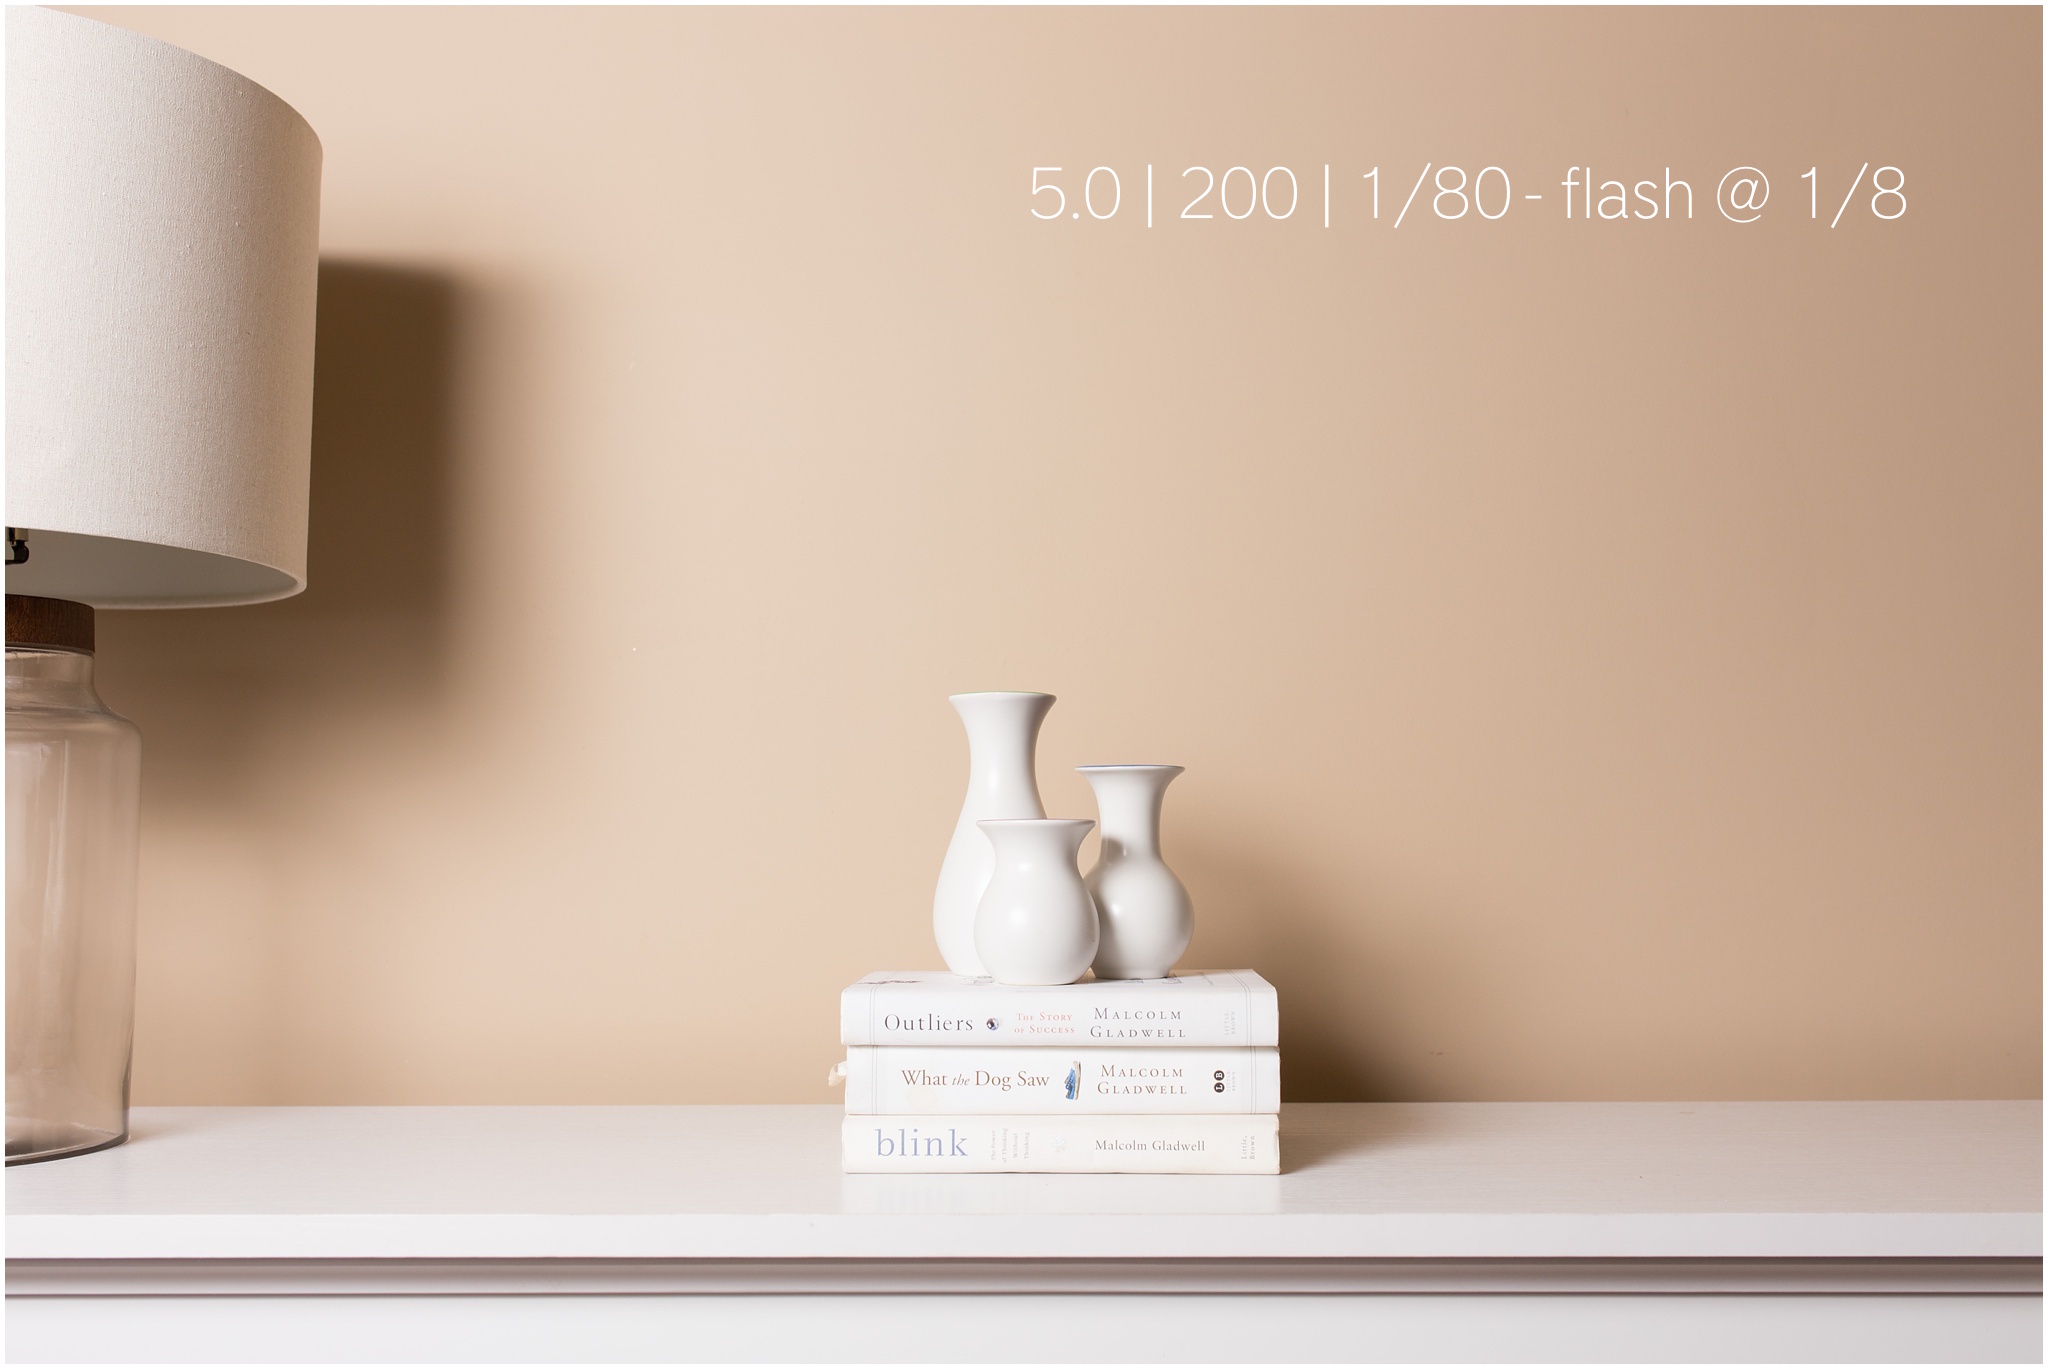
The first set of images are all taken with the speedlight on a stand pointed directly at the subject and diffused with an umbrella.
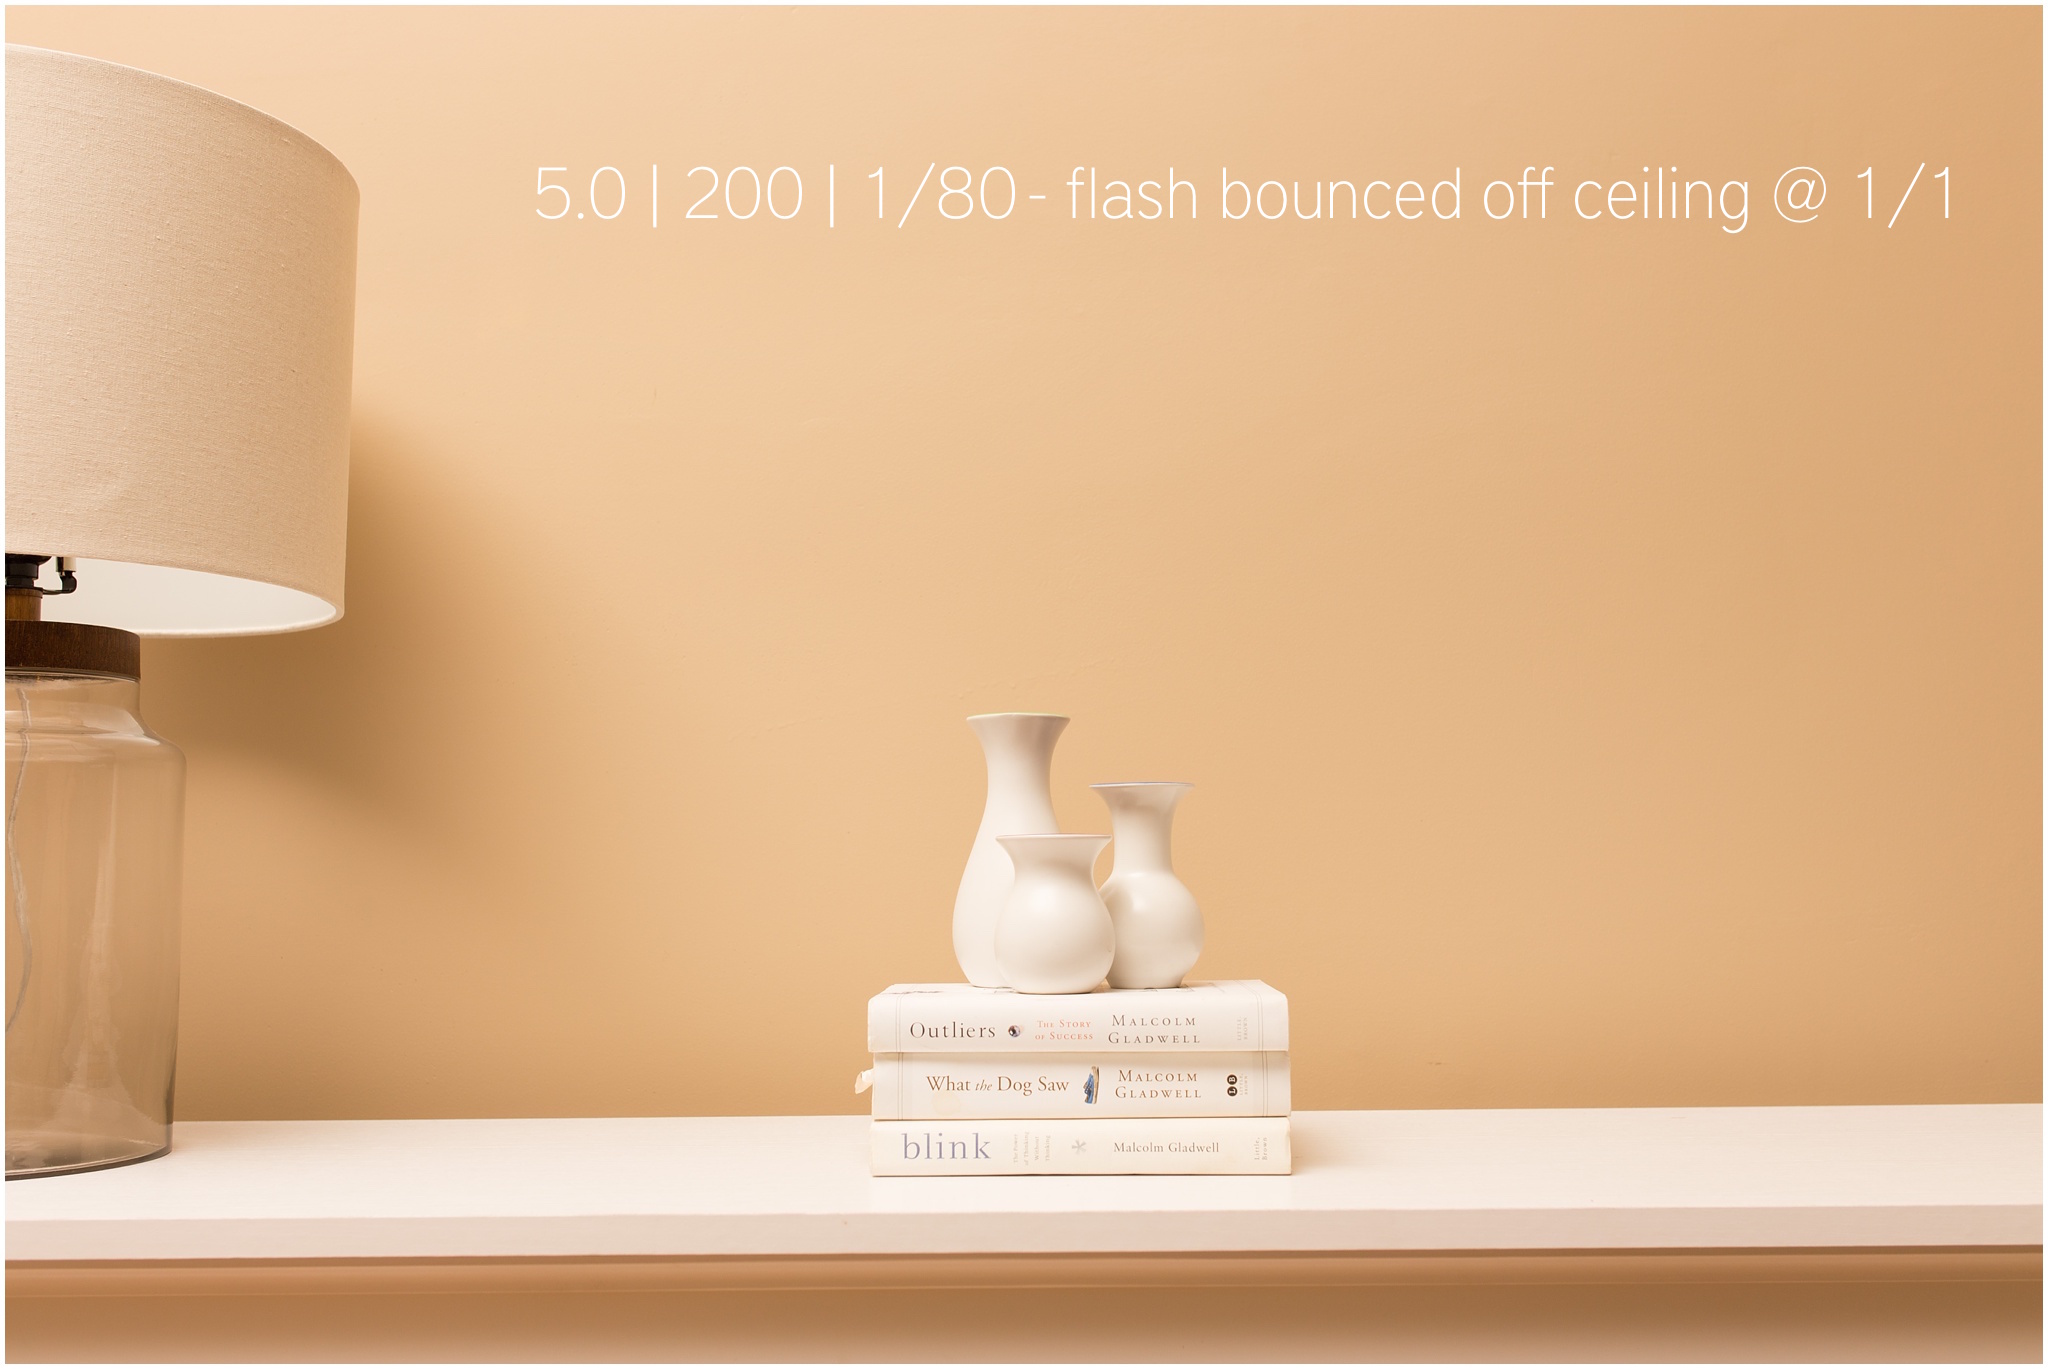
I changed my settings to factor in ambient light. My goal was to darken out the ambient in order to make the flash power changes obvious. I closed down my aperture to 5.0 and lowered my ISO to 200. I chose 1/80 simply because it was faster than the lens I was using (a 35mm) and wasn't too fast so my speedlite would sync with no trouble.
You can see the first image with no flash is essentially black. I then began incorporating the speedlite at stronger and stronger power. I started at the lowest setting (1/128) and then moved up to 1/8. I did not take images for 1/4, 1/2 or 1/1 power simply because the images would have been too bright. Since the flash was not that far away and directed at the subject, it was too much. I could have changed my camera settings to compensate (tighter aperture, slower shutter speed) but the images would look similar to what I already had.
***Note- all images in this post (with the exception of the last one) have not been edited in any way. They are all SOOC.
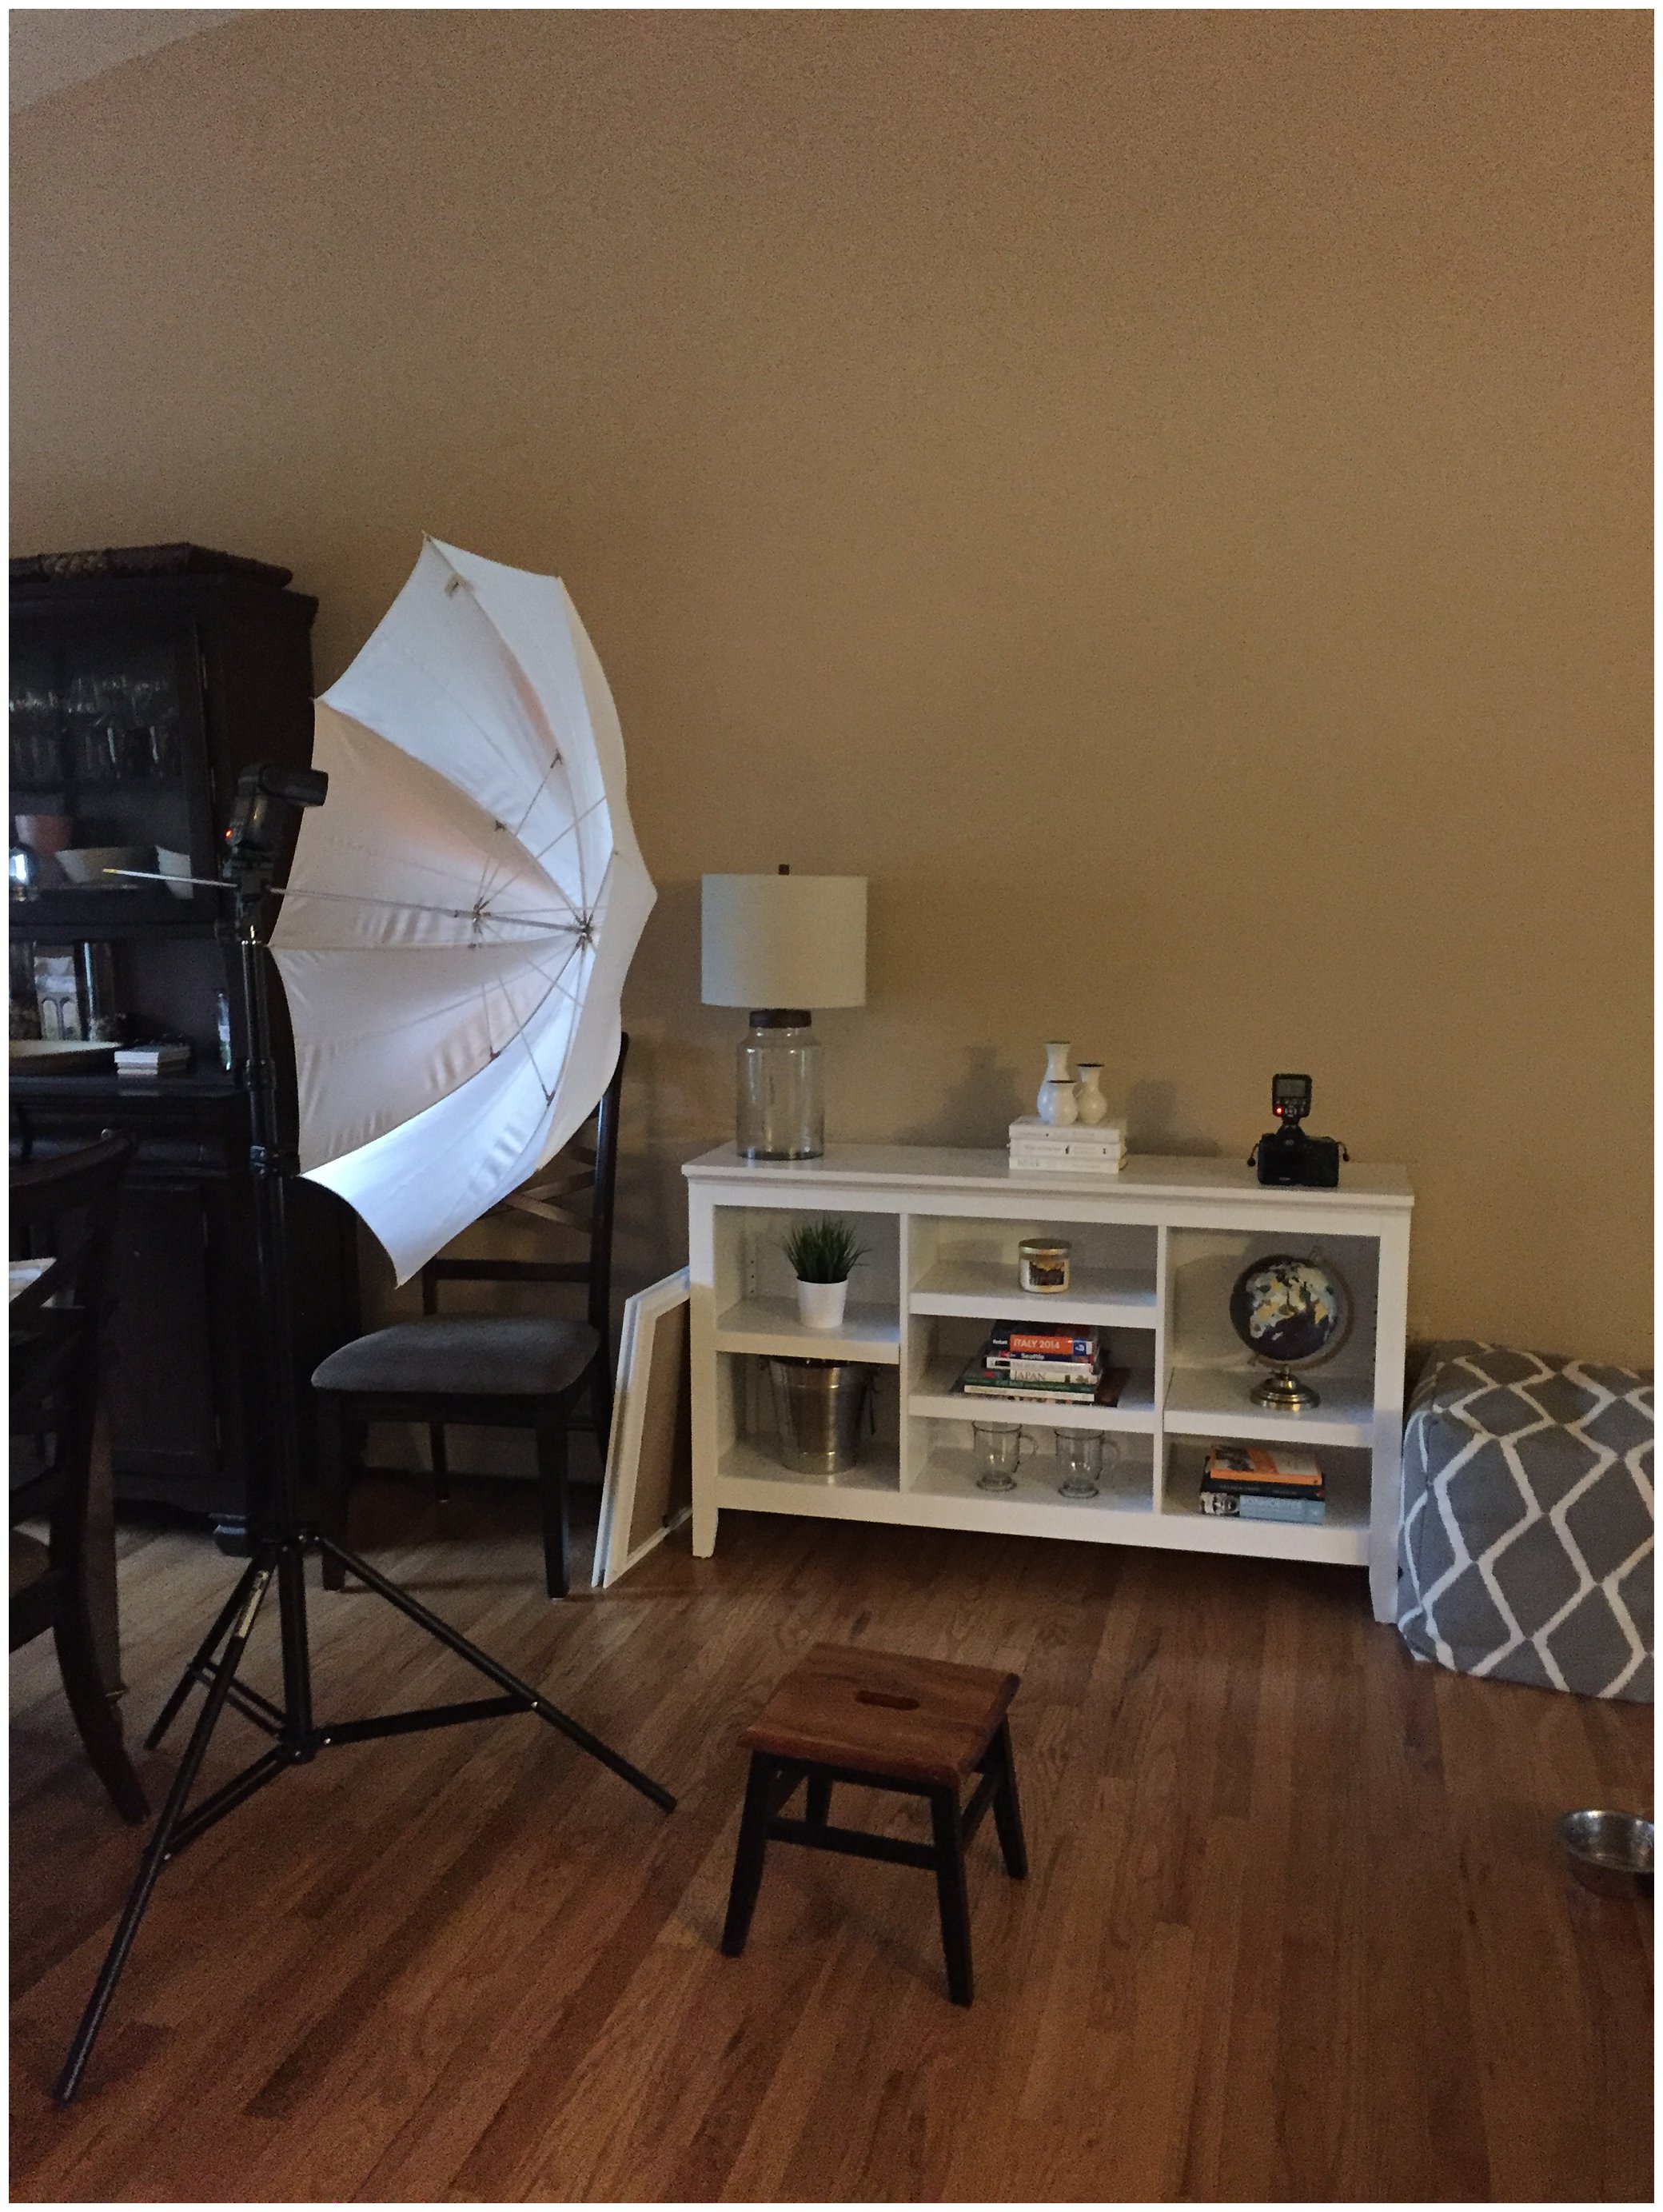
This next set of images, I bounced the light off of the white ceiling. My ceilings are a little on the high side and because of this I was able to pump up the setting all the way to 1/1 power without totally blowing out the images.

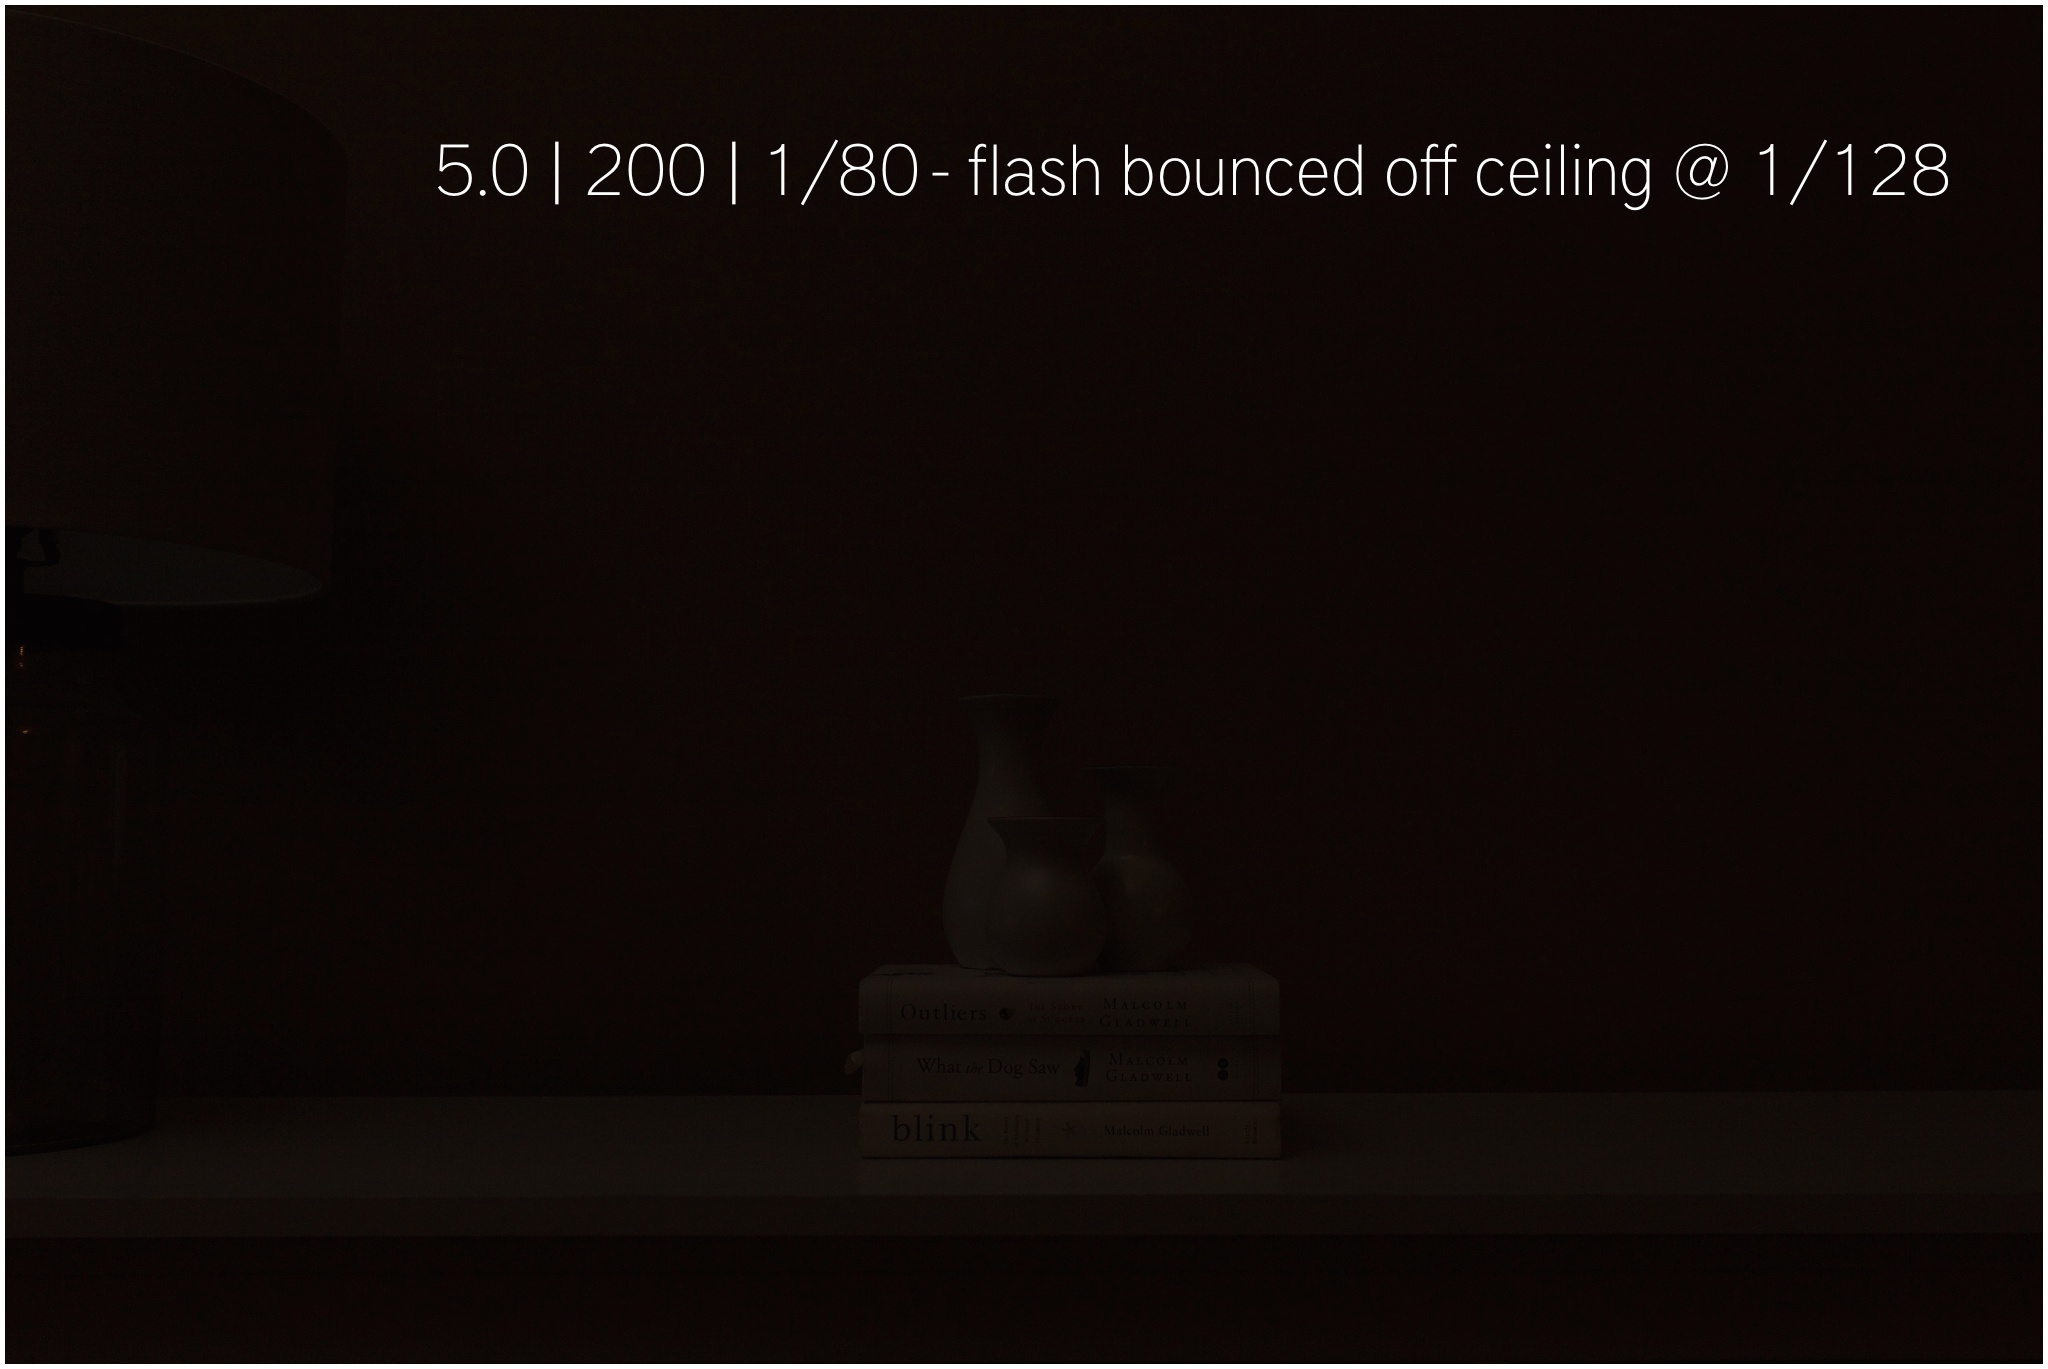
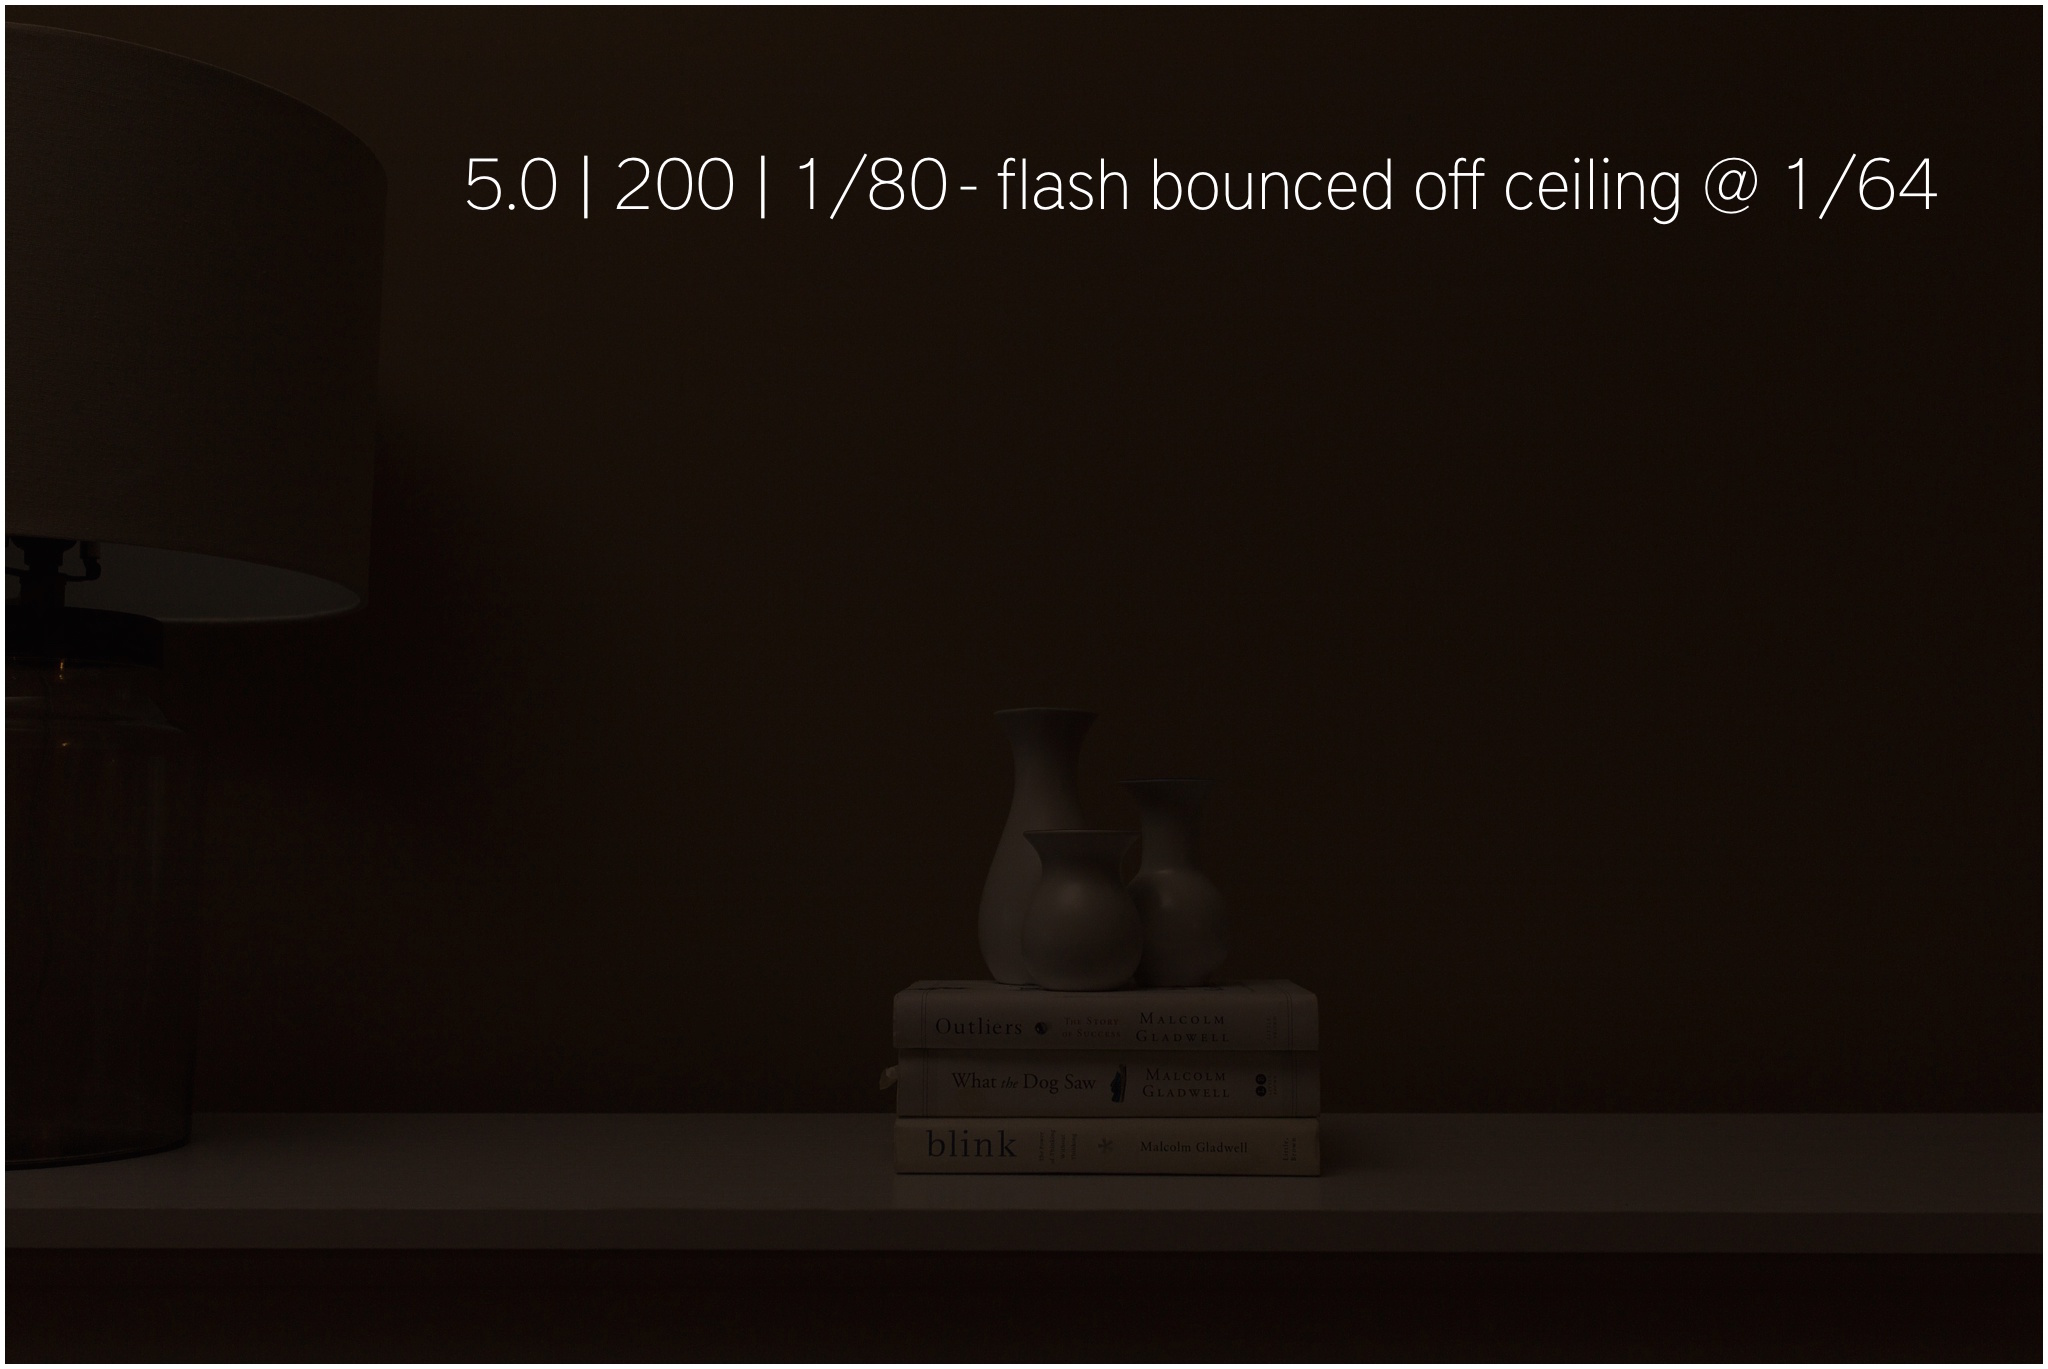
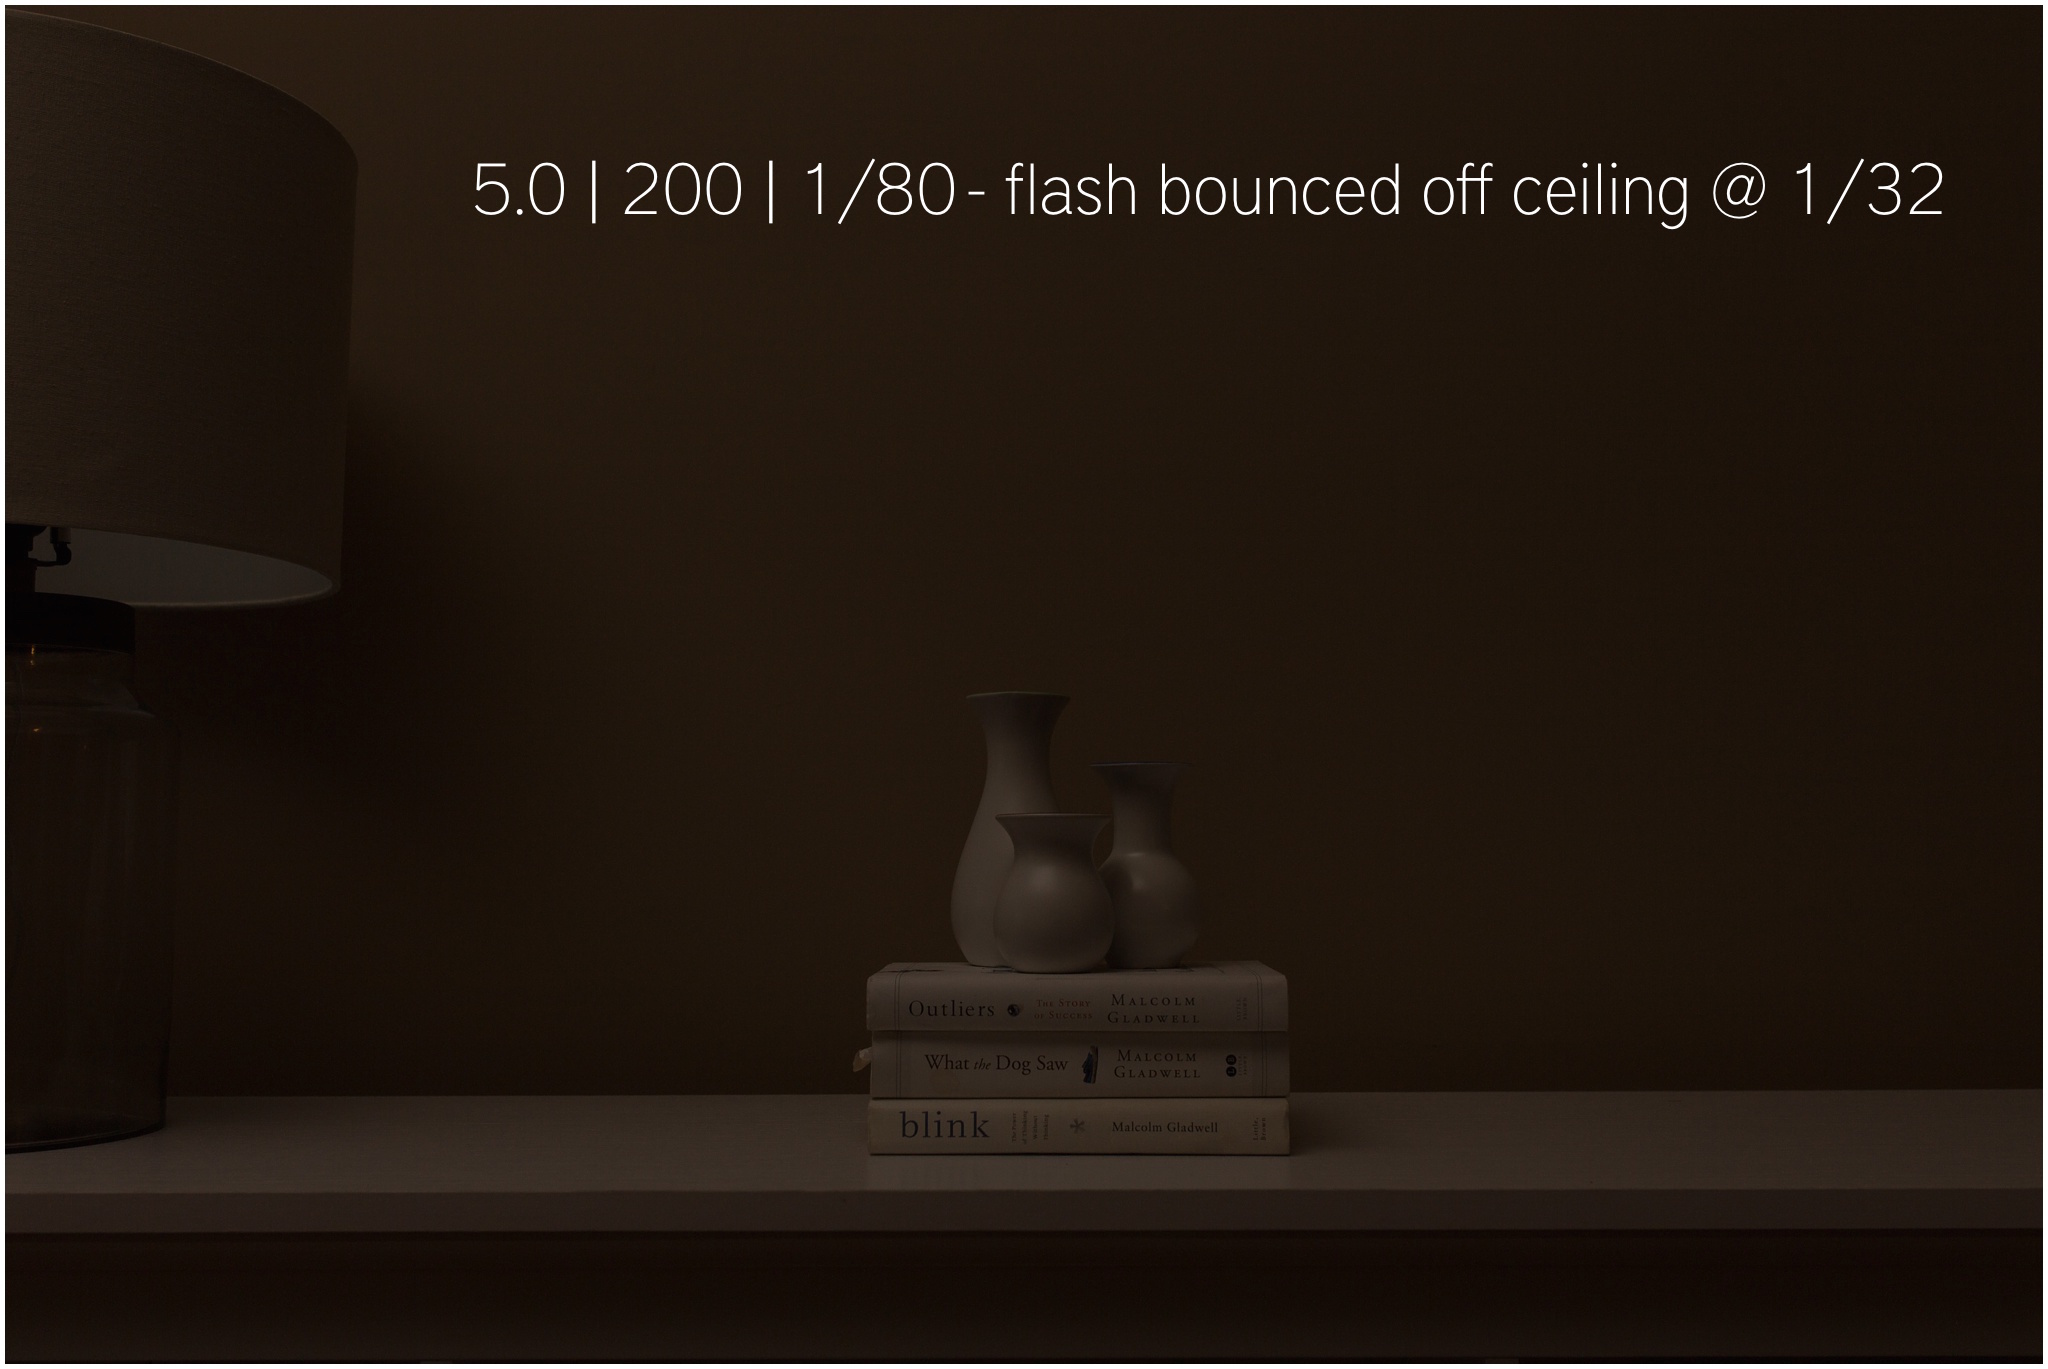
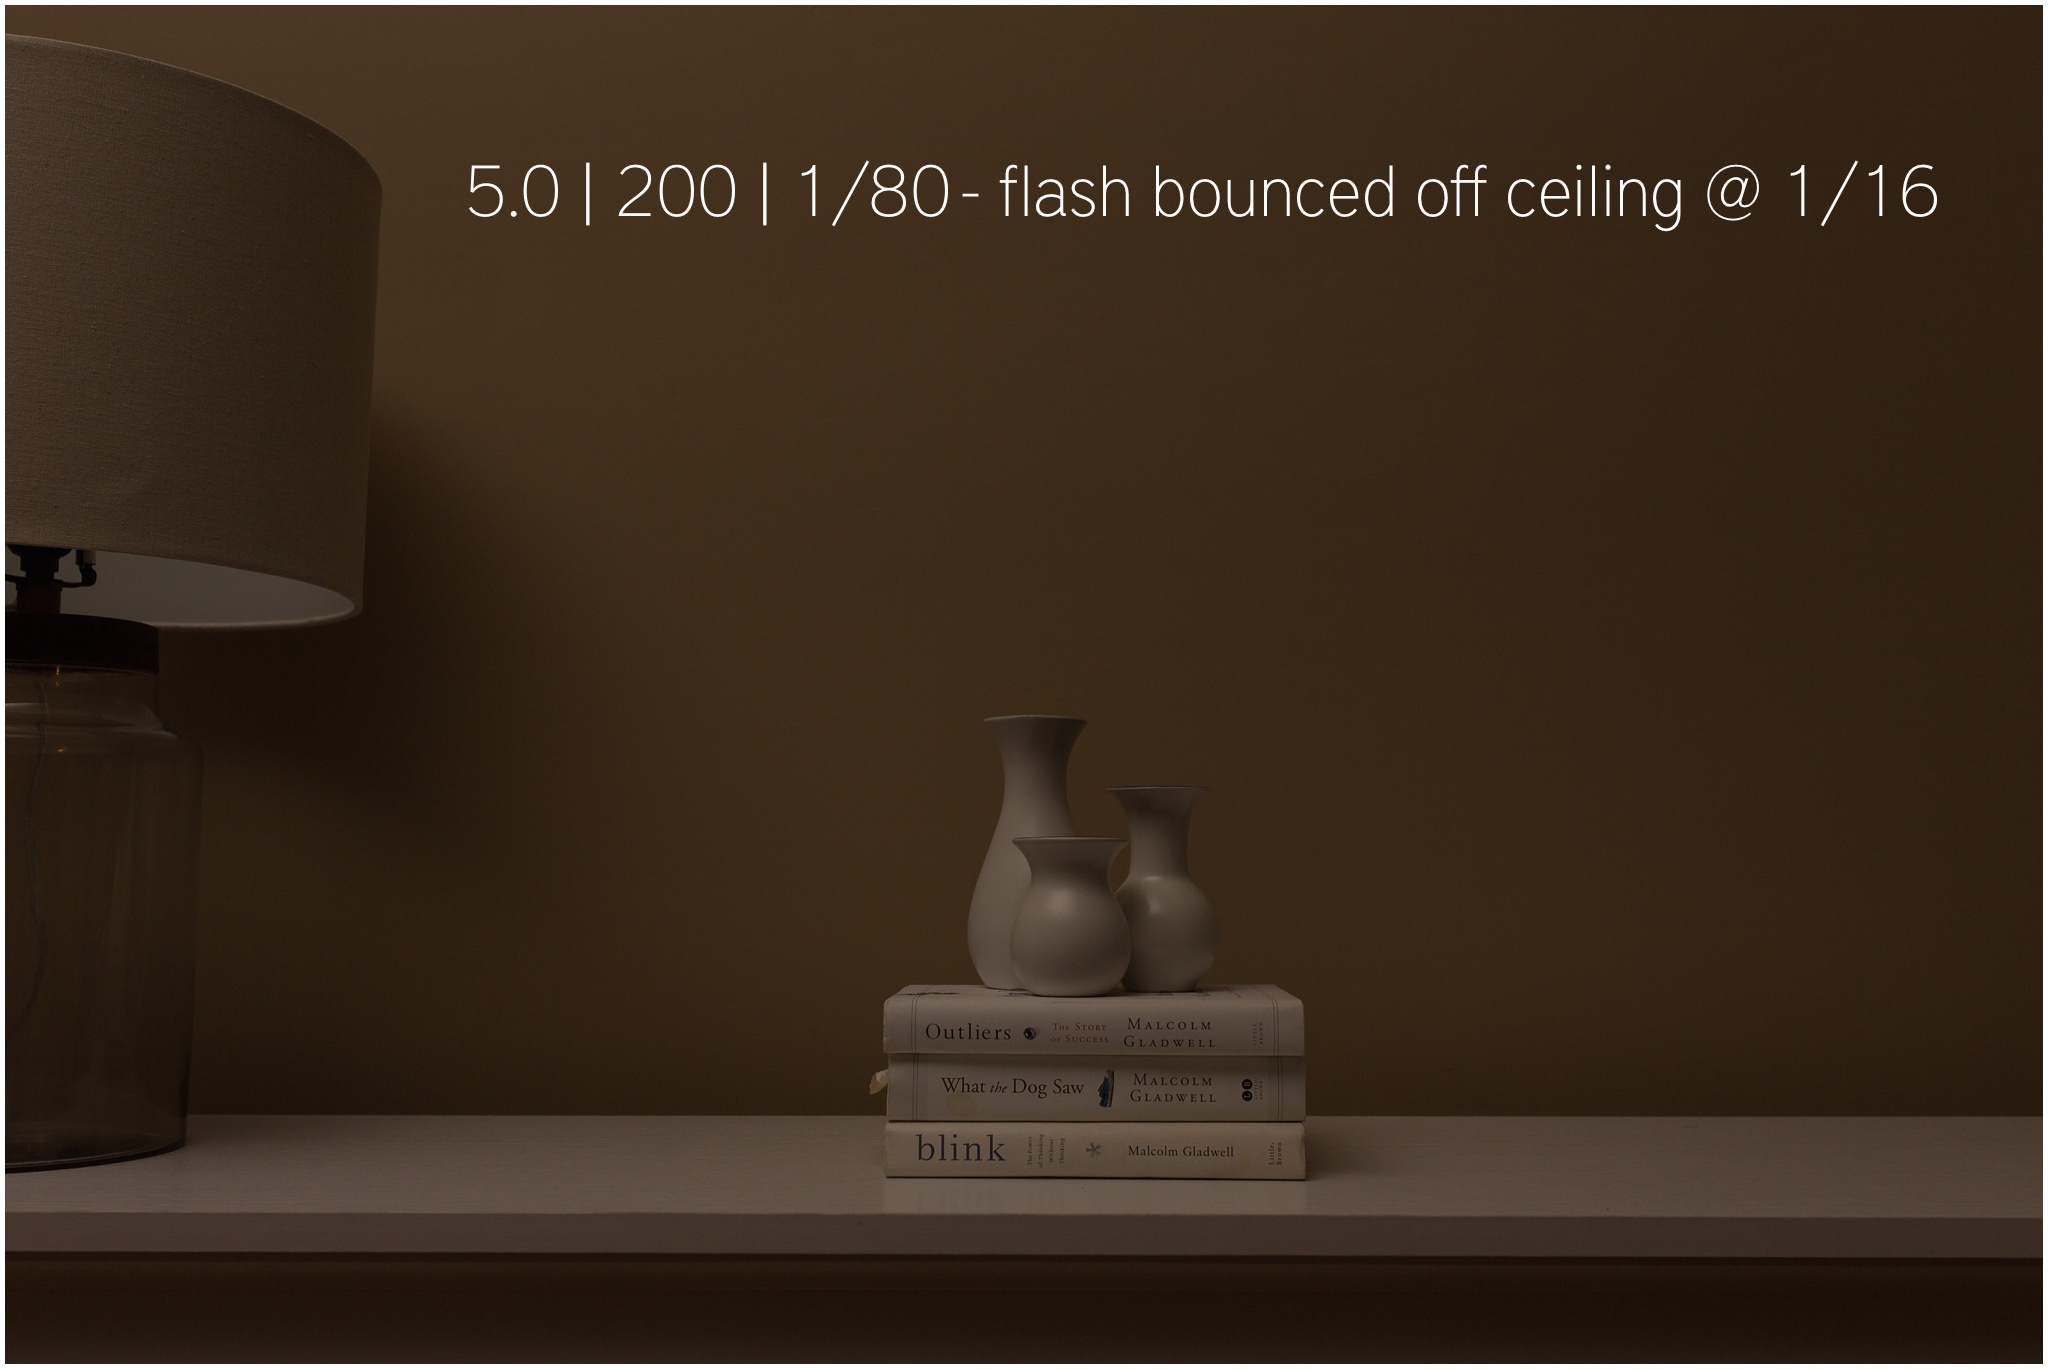
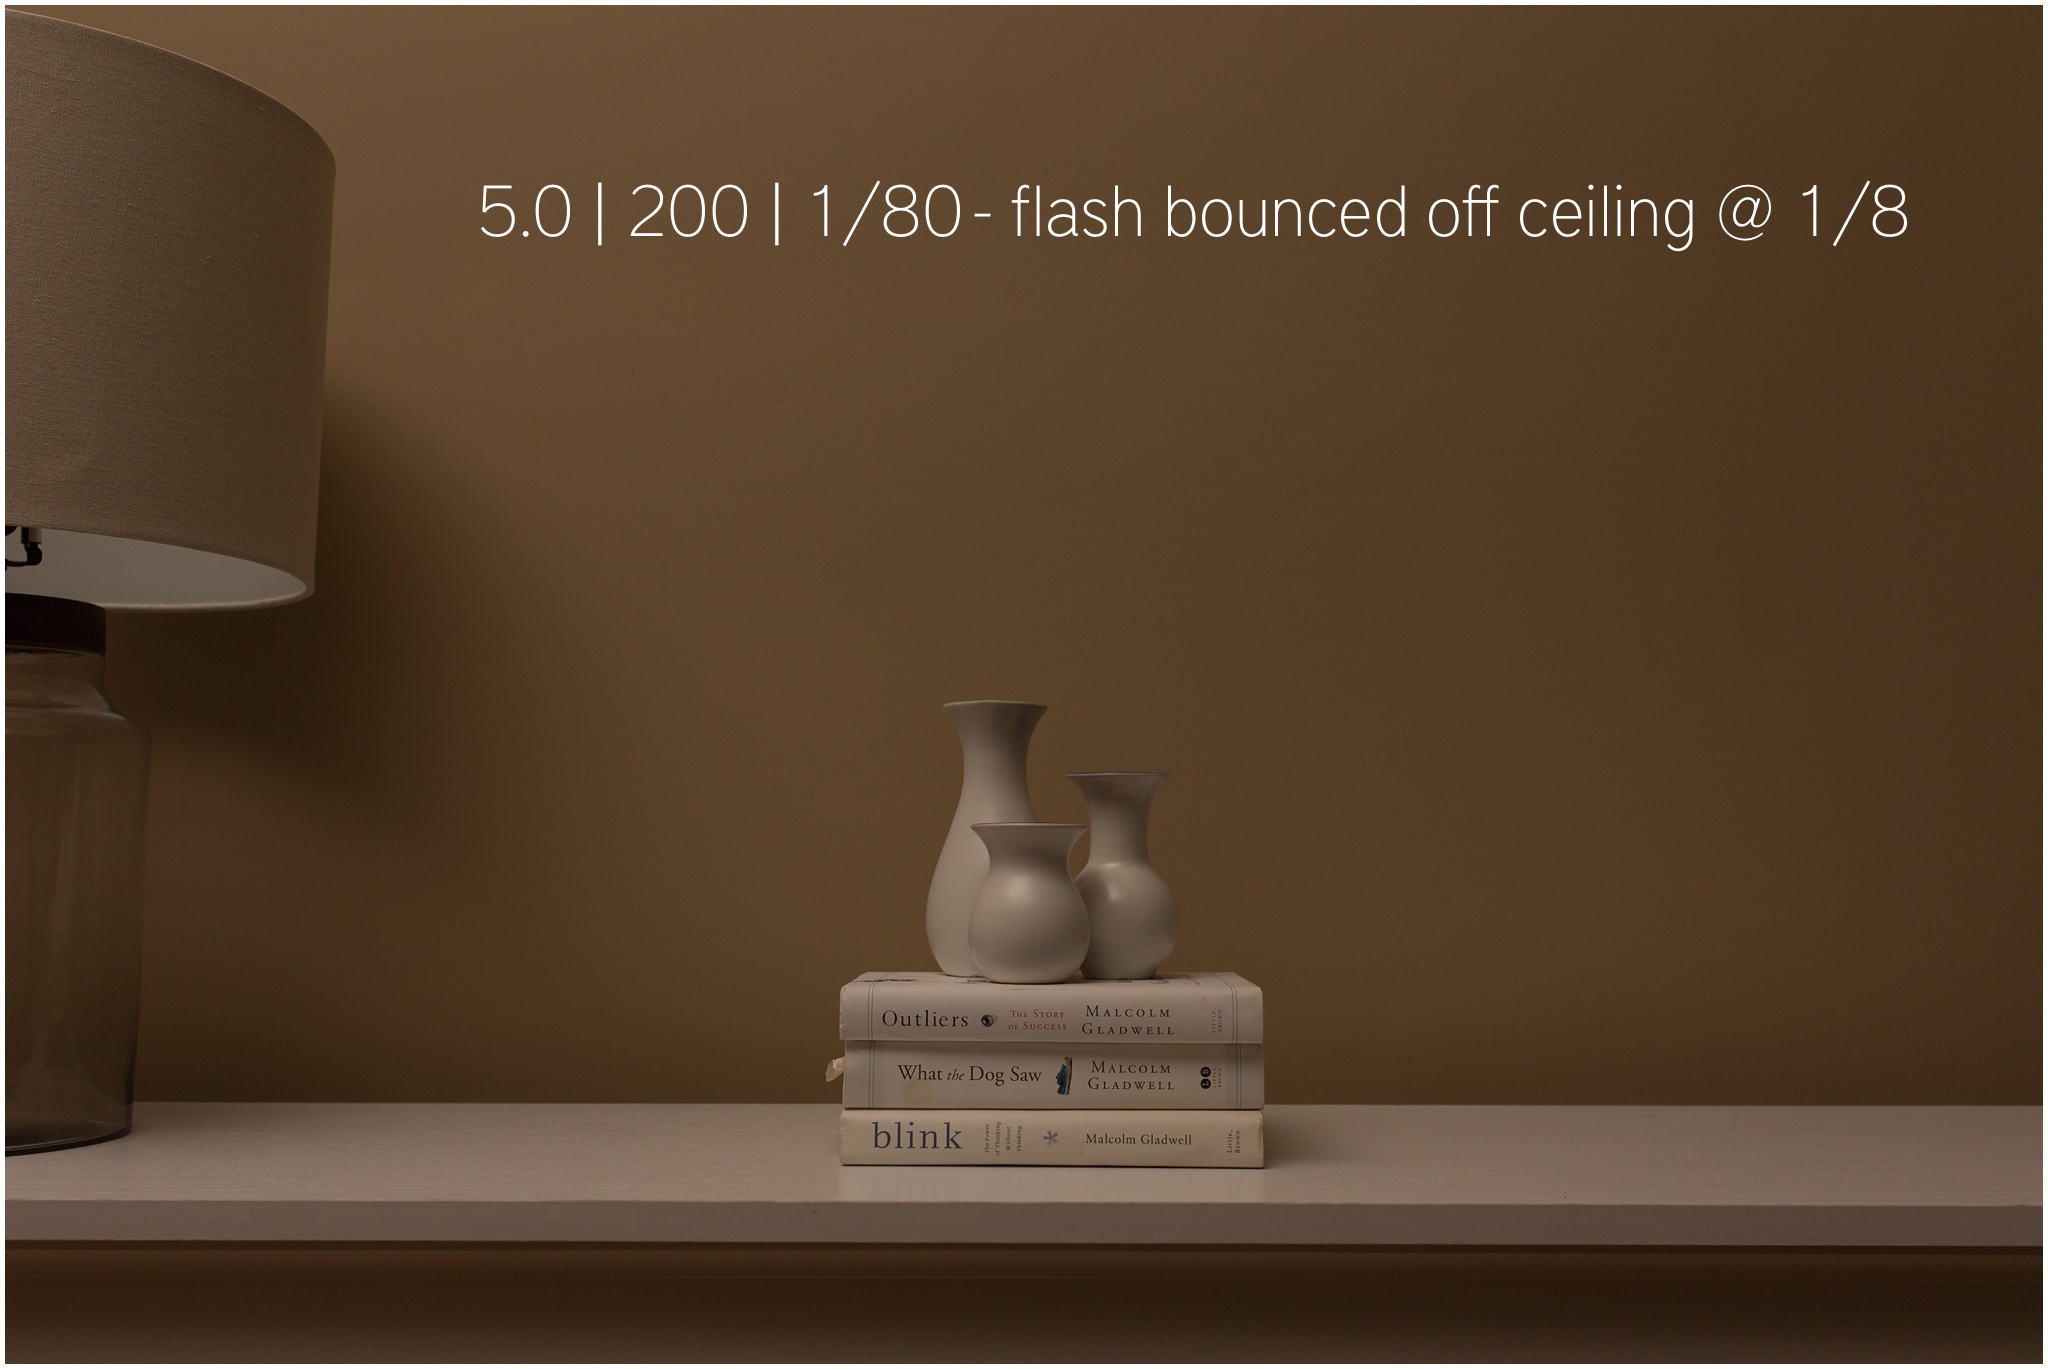

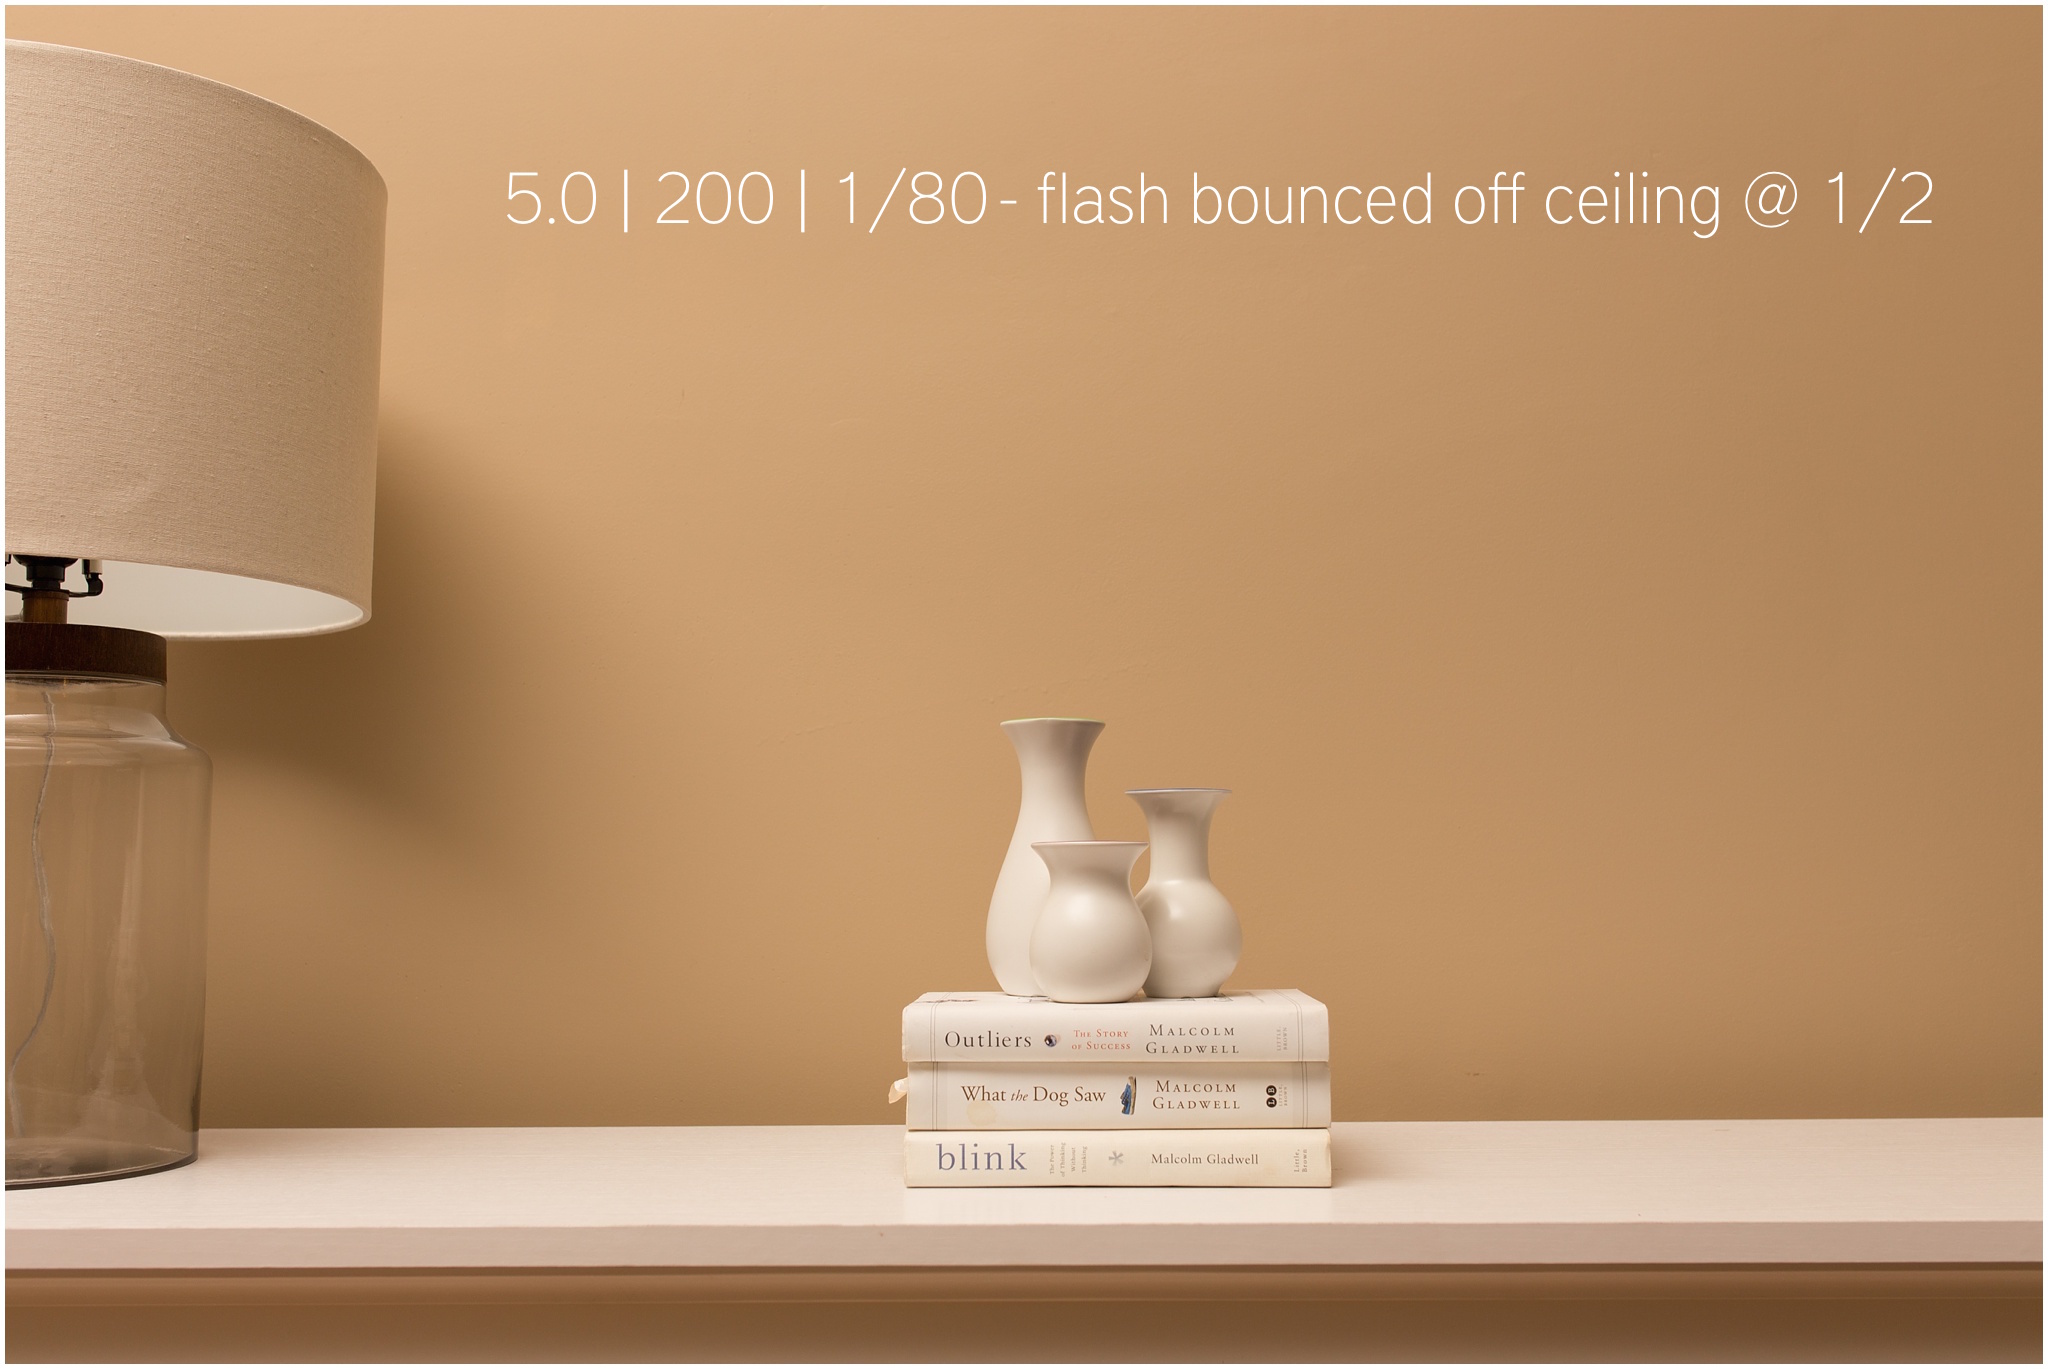
When attempting to figure out how an image was lit, you always want to look at the shadows. When looking at these two sets of images together, you can see how the shadows differ between the two. In the first set the shadows are a bit harsher since the light was directed right at the subject. In the second set the shadows are softer and more evenly distributed since the light was simply coming from the room and not in any one specific direction.
Since my subject (the vases) were not that far from the background, it may be difficult from these examples to show exactly how to "see" your ambient exposure and flash exposure and how they may differ, but it is a pretty striking example of how different flash powers can affect your image when using the exact same camera settings.
I wanted to take one last shot that was slightly more dramatic. My goal was to darken the ambient exposure quite a bit more to really showcase the light. For this shot, I closed up my aperture even more to really darken down the ambient light and then directed the light with the umbrella at the subject at 1/32 power. I could have also dialed up the shutter speed to closer to 1/160 to help with the drama. I converted to black and white in post processing to really make the image pop. You can see how the shadows on the side of the vases are much more dramatic in this image and really provides some depth.

In the next post in the series we will go over my system for using my flashes which will include more information about the equipment I use as well as my thought process when getting everything set up!
I hope you found this helpful and that using OCF is becoming something that seems intriguing as a result!
Gear used for the photos in this post: