Easy system for off camera flash
/Today we are continuing my series on Off Camera Flash for beginners. If you missed the first two posts in the series check them out!
In this post we are going to talk about what to actually buy for your OCF system. When I first started looking into OCF and speed lights I was INSTANTLY overwhelmed and confused with all of the different options and terminology associated with everything. I couldn't distinguish between a speed light and a strobe and a trigger and a pocket wizard and a slave and a master (<---what the heck?!?!)
I kept putting everything off because I just didn't want to deal with it all.
But then I was going to shoot my first wedding and I KNEW I needed to be prepared. So I dug in, did my homework and figured out a system that worked for me! I've made a few tweaks since I first started but now I am so happy with the system that I use and in all honestly, the investment is minimal for what you end up getting!

A simple and inexpensive OCF system for beginners
First thing to mention...if any of the terminology I use confuses you, go back and reference Part 1 in this series to brush up on the lingo.
Second thing to mention...my set up is mainly for wedding photography, but the system I describe could be used for multiple things. The hardest thing to get your head around is how do you set off (trigger) the flash when its off of your camera? And also...if you also have a light also ON your camera...how does that all work together?
Let me 'splain. (<----10points if you get that reference) ;-)
What I use
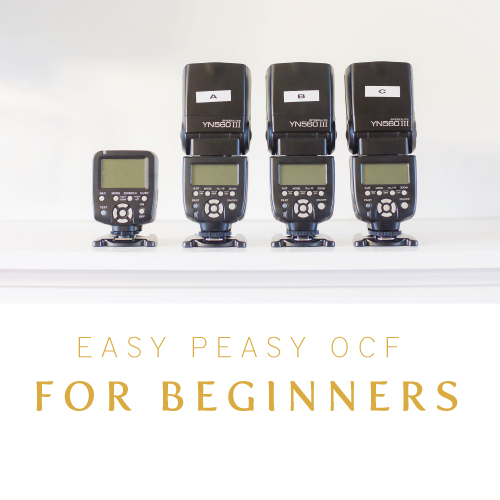
Currently I use:
- three Yongnuo 560 iii's
- one Yongnuo 560 iv
- one Yongnuo 560TX (trigger)
- Two light stands
- Two umbrellas
- lots 'o batteries
To make this as simple as possible since this is a beginner tutorial, I want us all to pretend that I actually have FOUR 560iv's instead of a mix between two different types of flashes. In an ideal scenario, that is what I would have, but I had already purchased the 560iii's before the 560iv came out, so I'm just making what I have work. But if you were to buy anything after reading this tutorial,, I would absolutely recommend you buy TWO 560iv's (or three if you think you need two off camera) and one 560TX.
Ok so now that we have that out of the way....let me talk a little bit about how all of this works.
These flashes all have built in transmitters to they can talk to each other without the need of additional triggers. This is SUPER awesome because it eliminates the need to attach other things (pocket wizards, radio poppers etc...) onto your camera and/or the flash on its stand. The flash units will simply talk to each other as is, which just make everything that much simpler.
So you can have a flash on your camera and another on a light stand across the room, and you can control that flash that is far away (change the amount of light it emits or even turn it off all together) from the flash that is on your camera in your hands.
If you don't need or want to have a flash on your camera, the 560TX will also control any of the flashes you have on stands around the room.
In order to make the most sense of this, lets look at a couple of different scenarios.
Scenario 1- The Wedding Reception
In this situation, this is my normal set up:
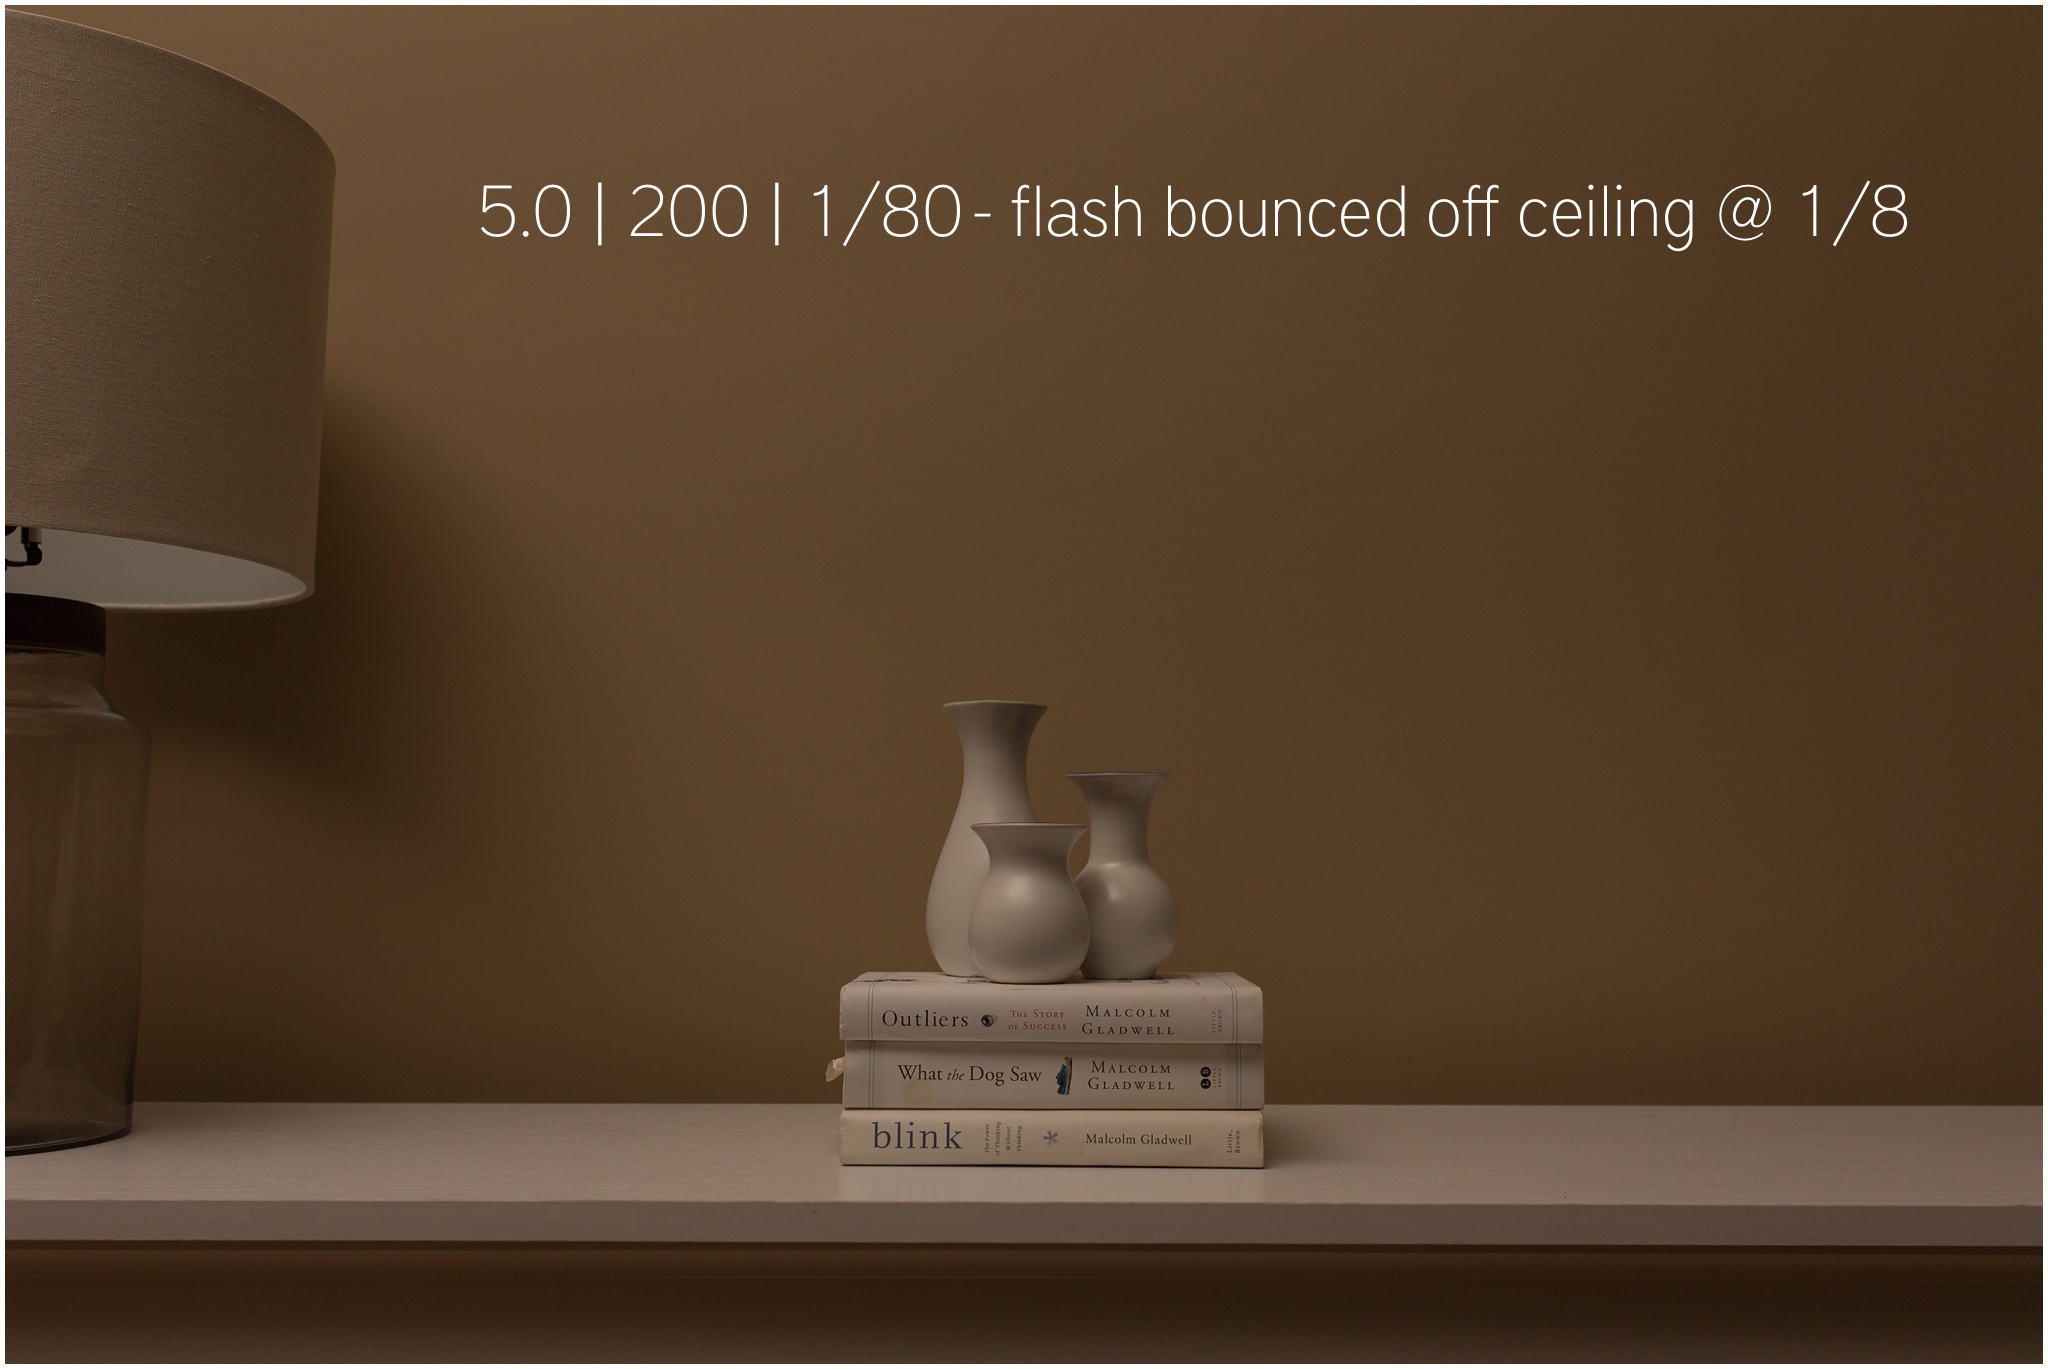
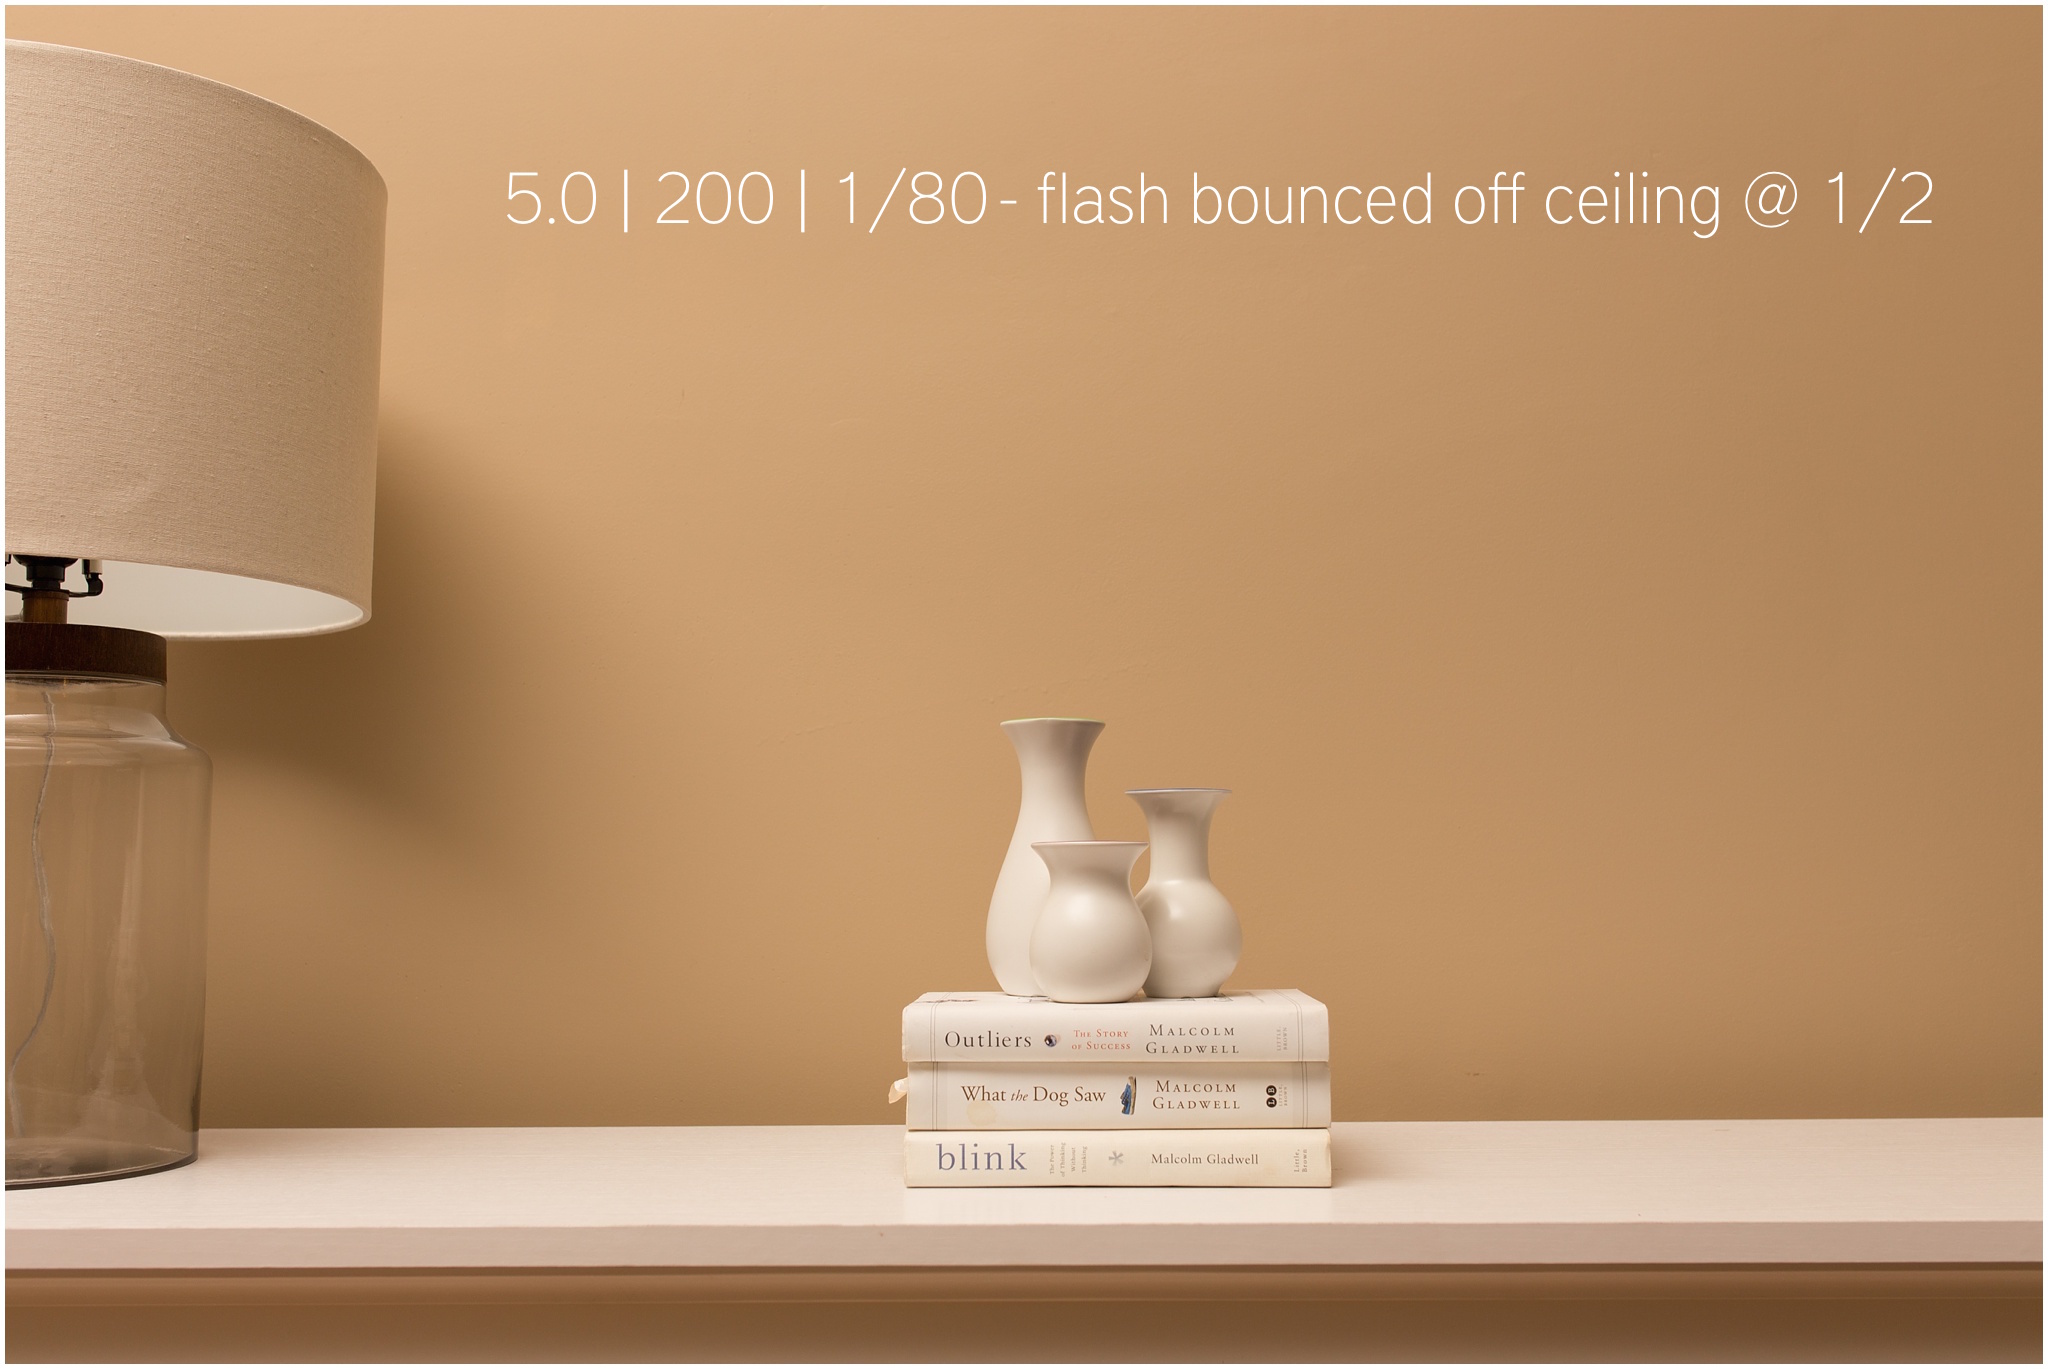
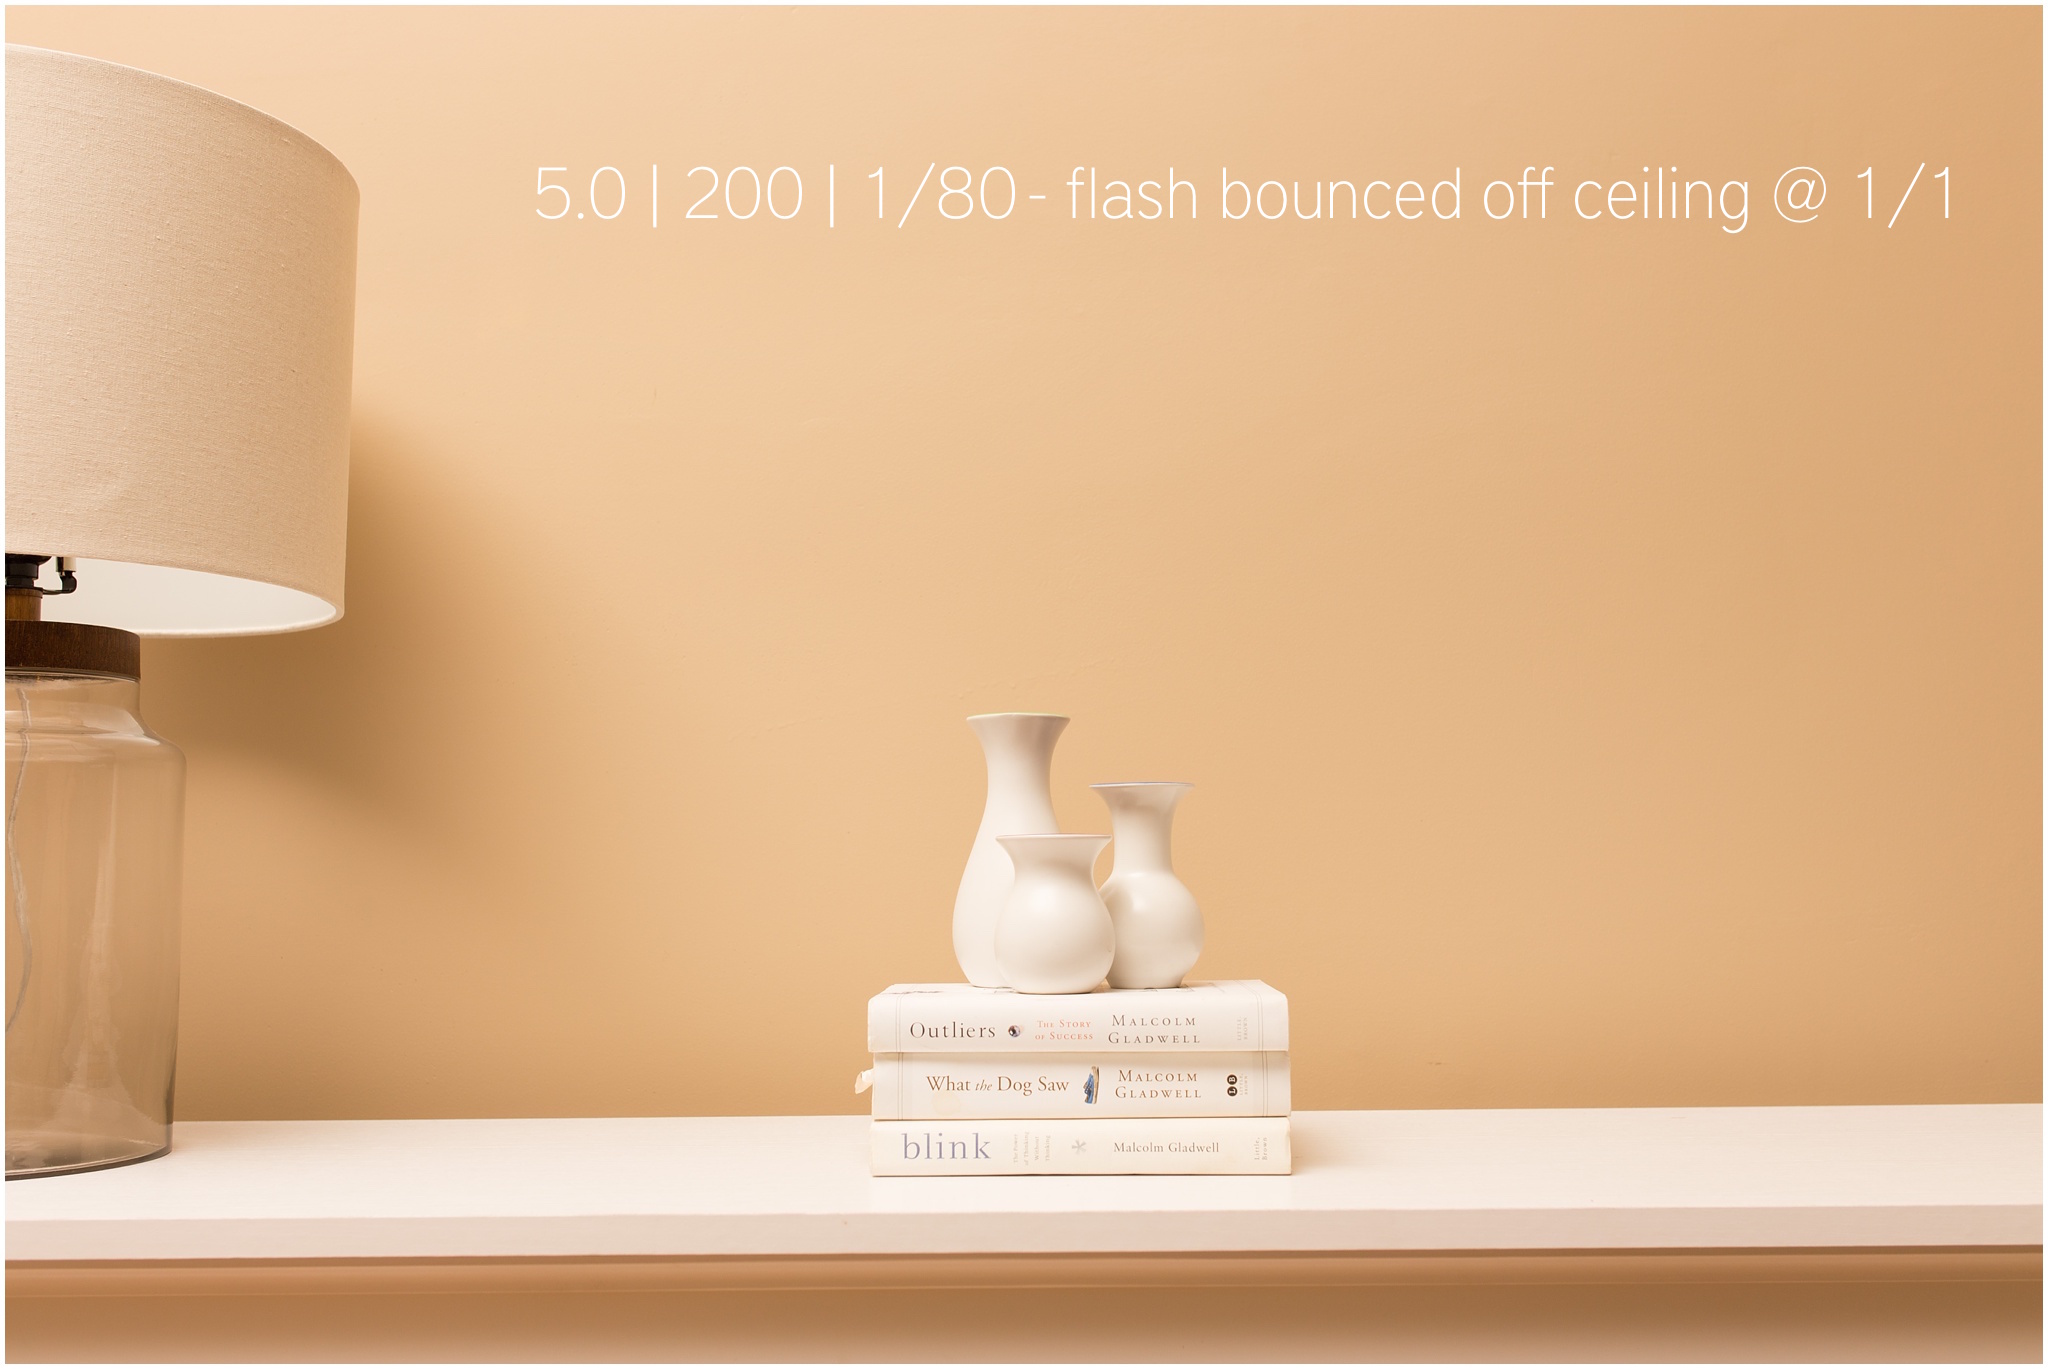
- Flash on camera that I use for bounce light
- Two flashes on stands on either side of the dance floor pointed at the dance floor
I can set all of the flashes on the same channel so they will talk to each other and when I click my shutter all three of them will fire.
I can change the light output for the flashes around the dance floor from my flash or turn them off altogether if I end up not wanting them on for a few shots.
Scenario 2 - The Dramatic Shot
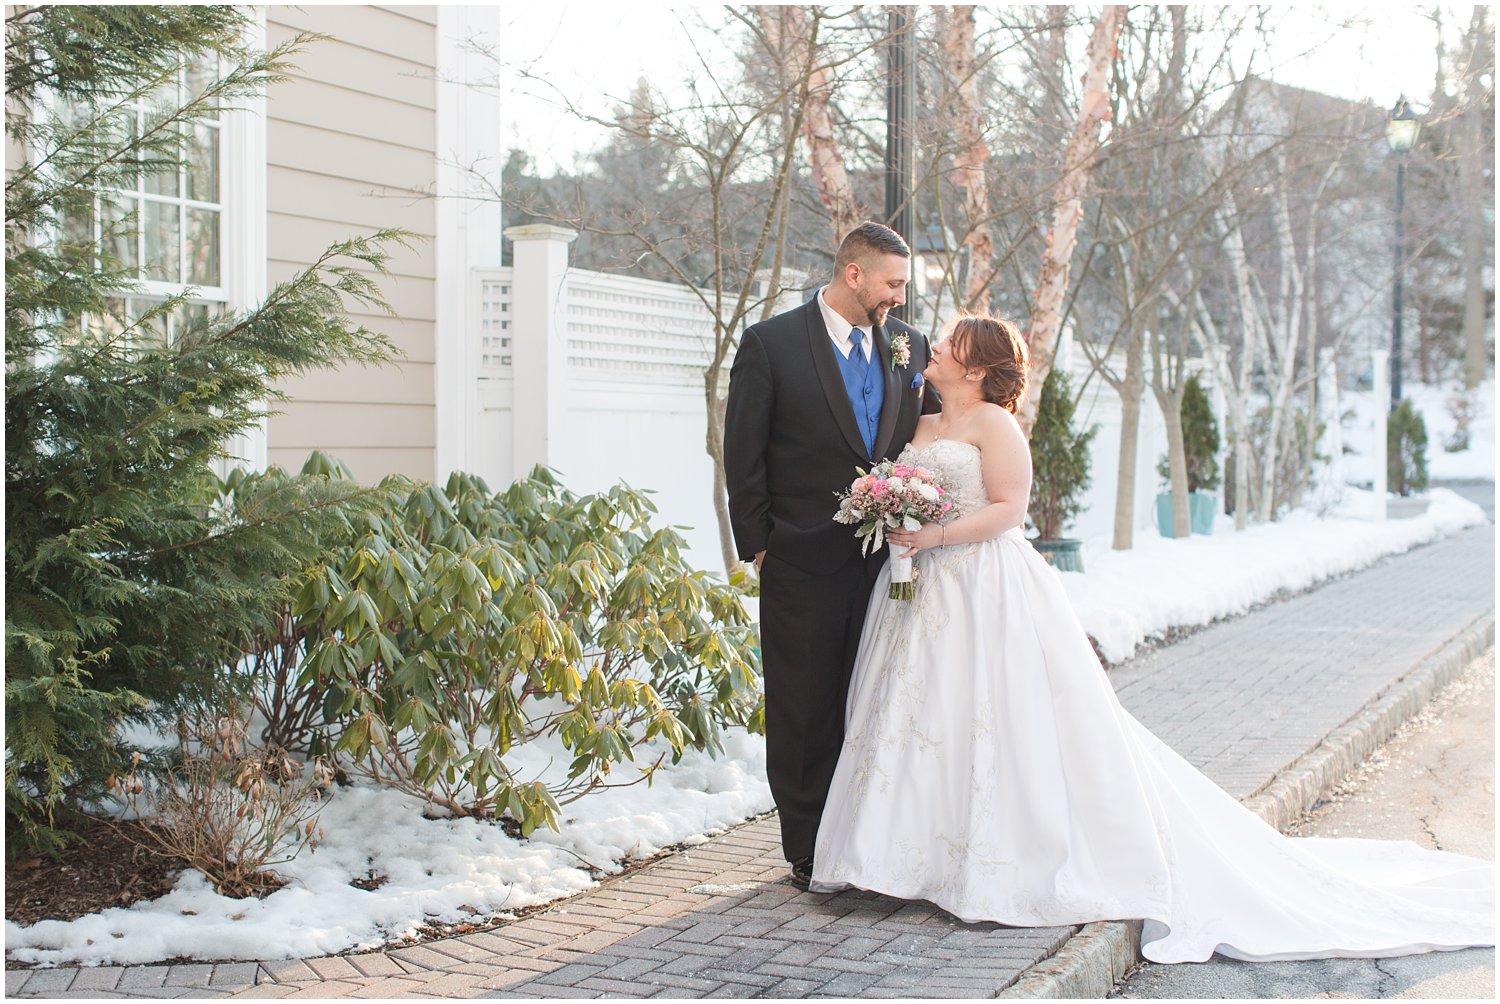
Lets say I wanted to take my couple outdoors in the evening during the reception to do a more dramatic night time shot. I want to put them in front of a large tree and light up the tree a little bit as well as light the couple from the left hand side.
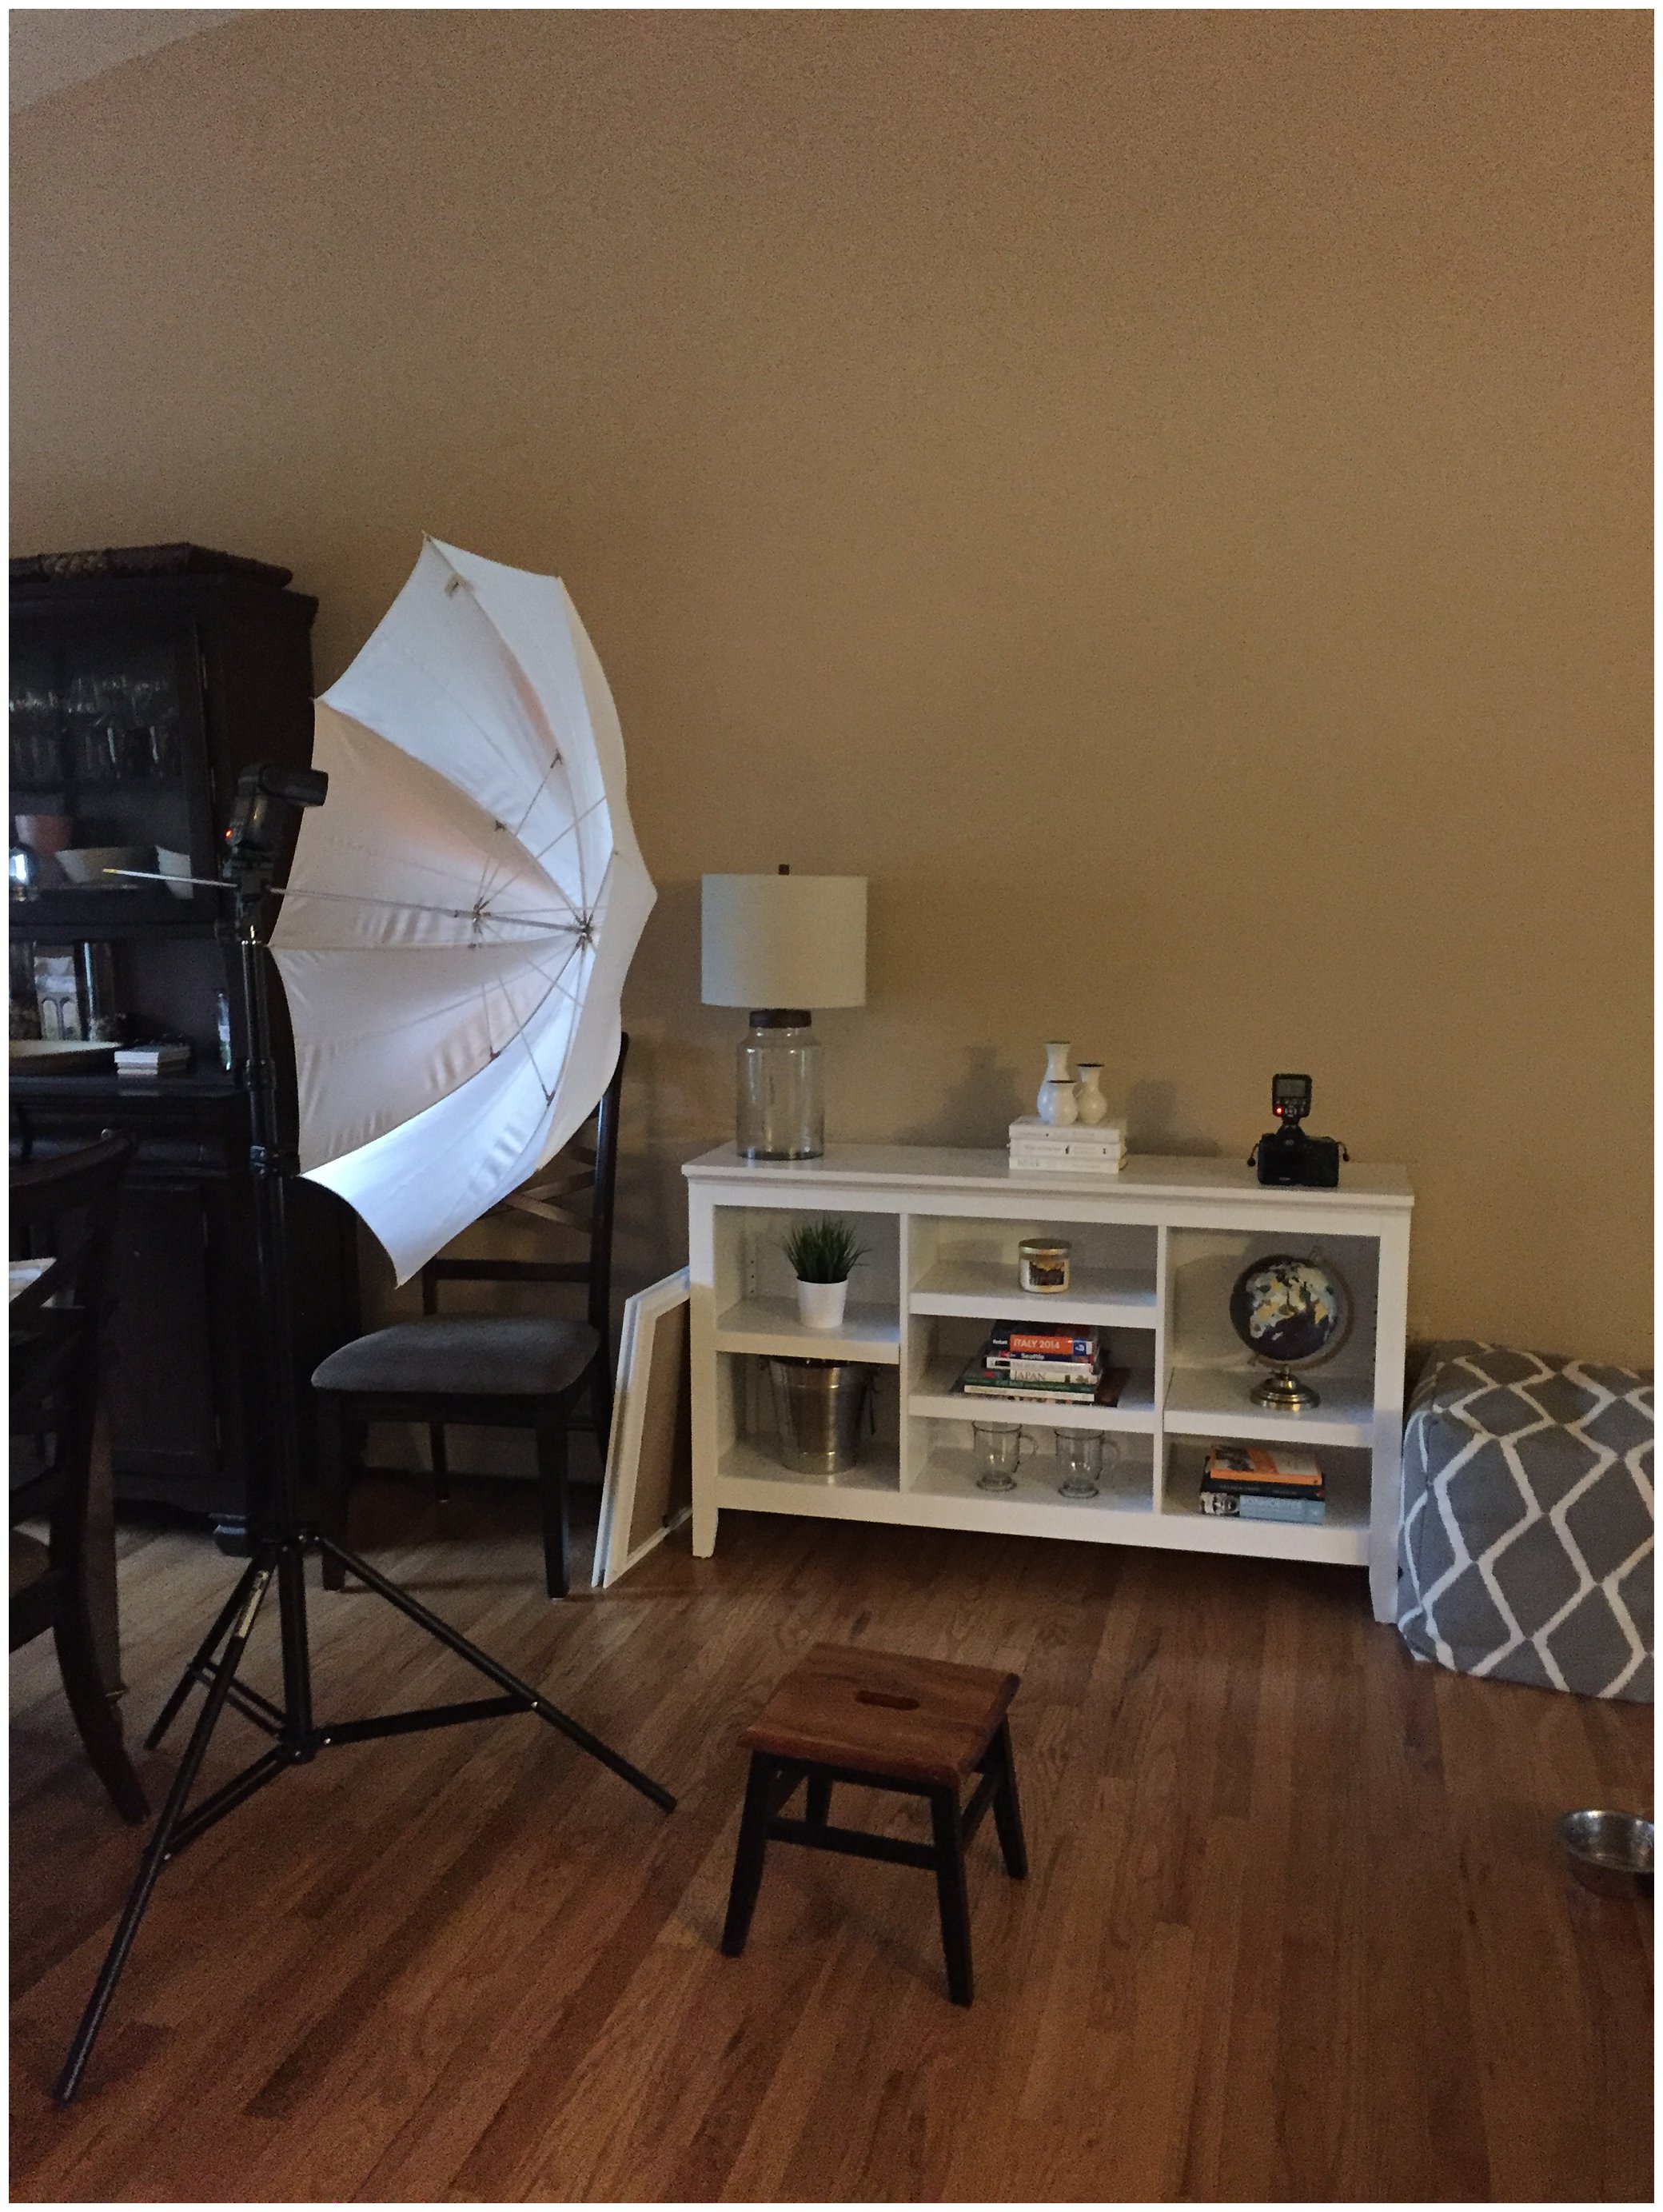
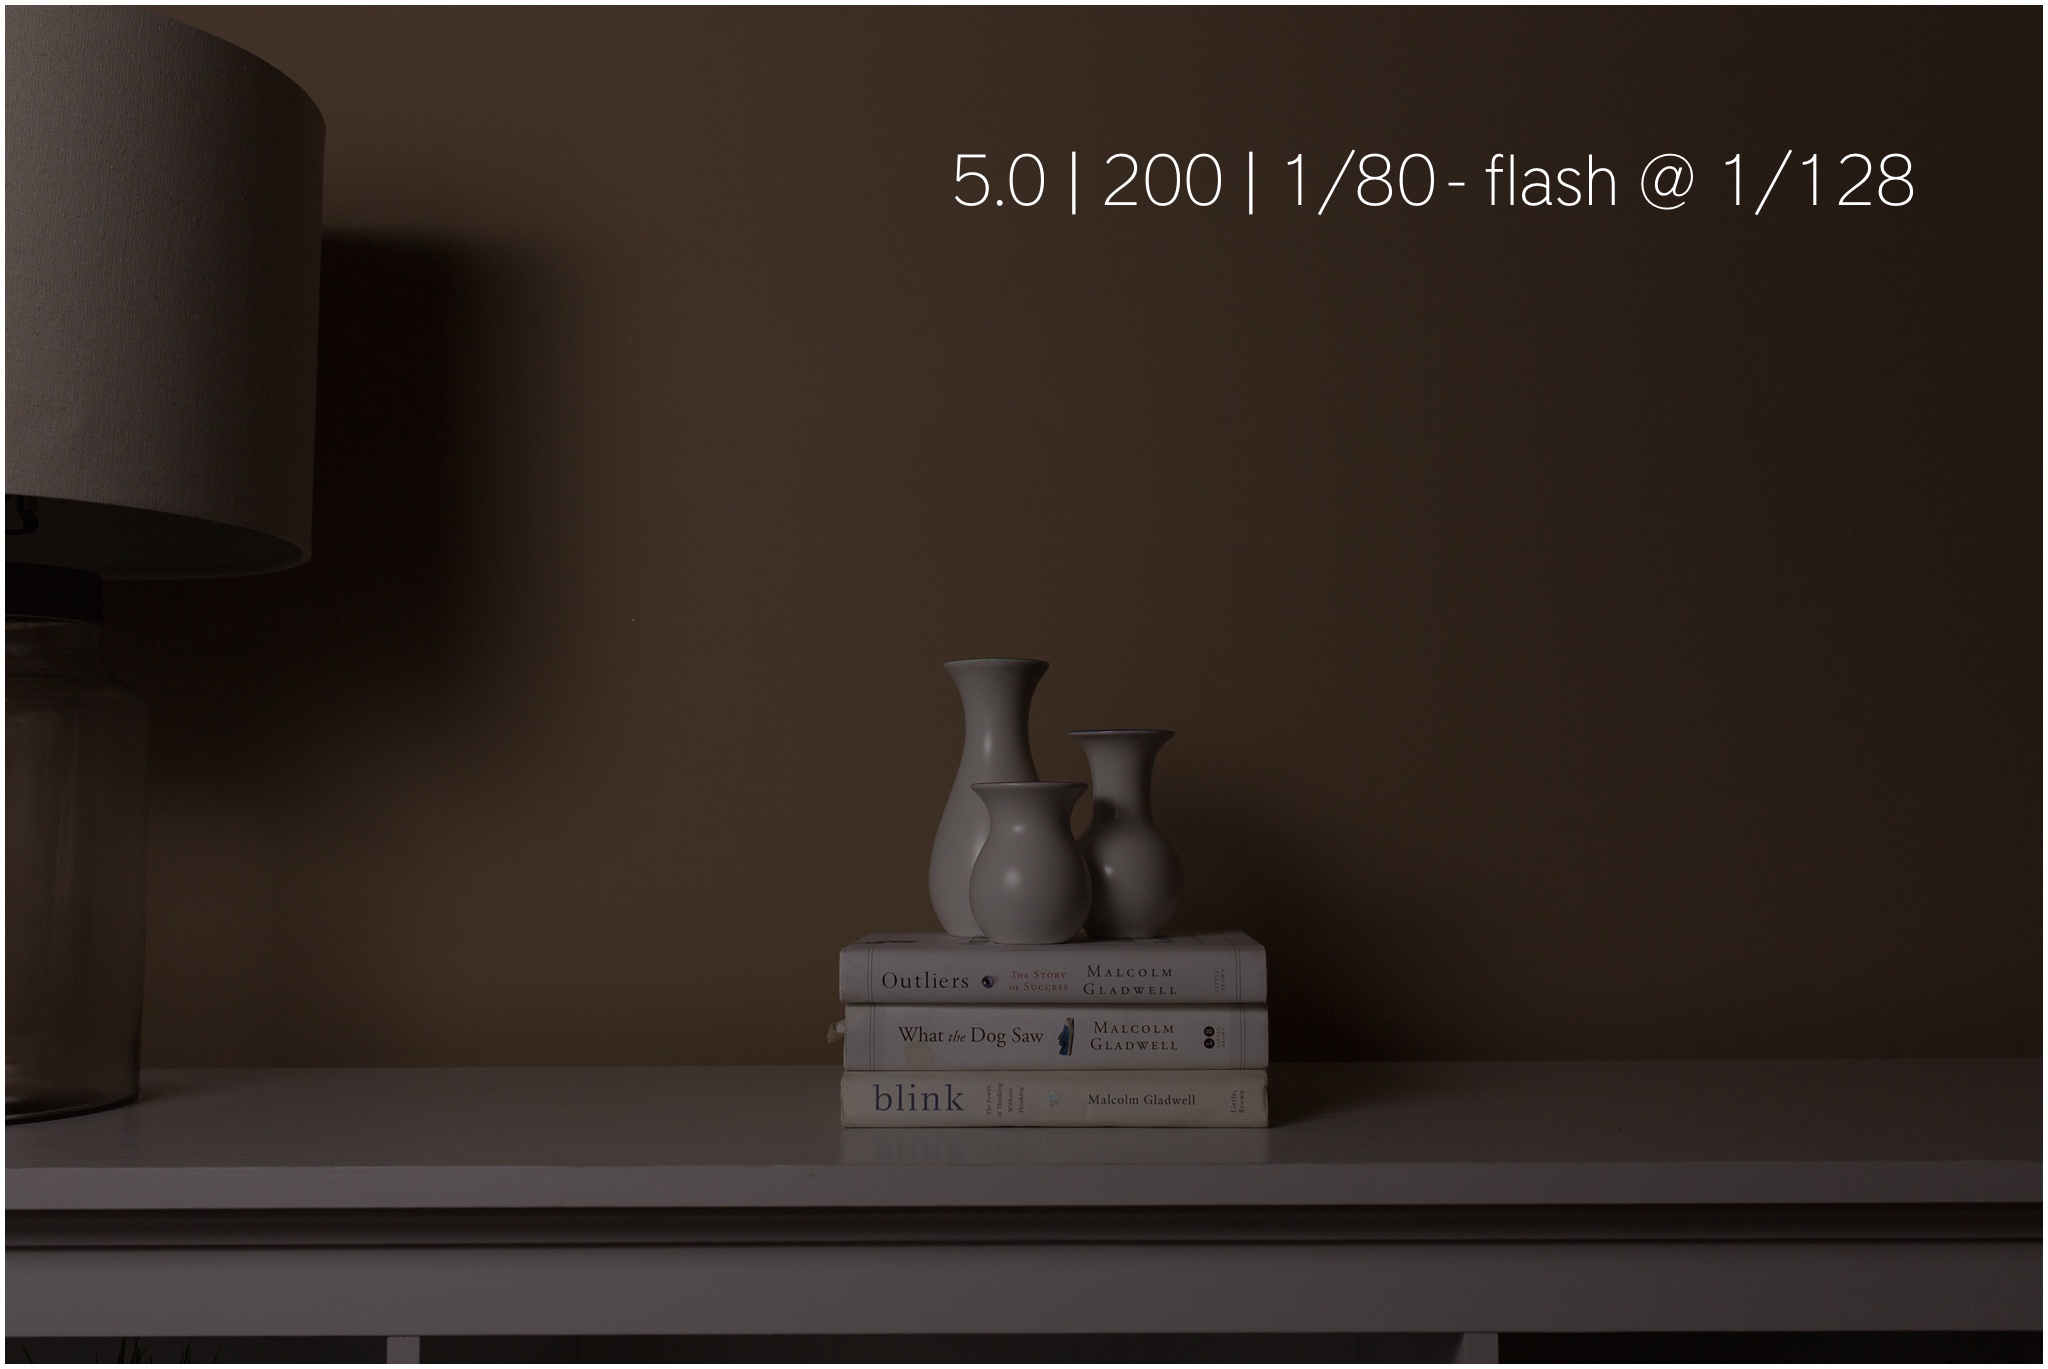
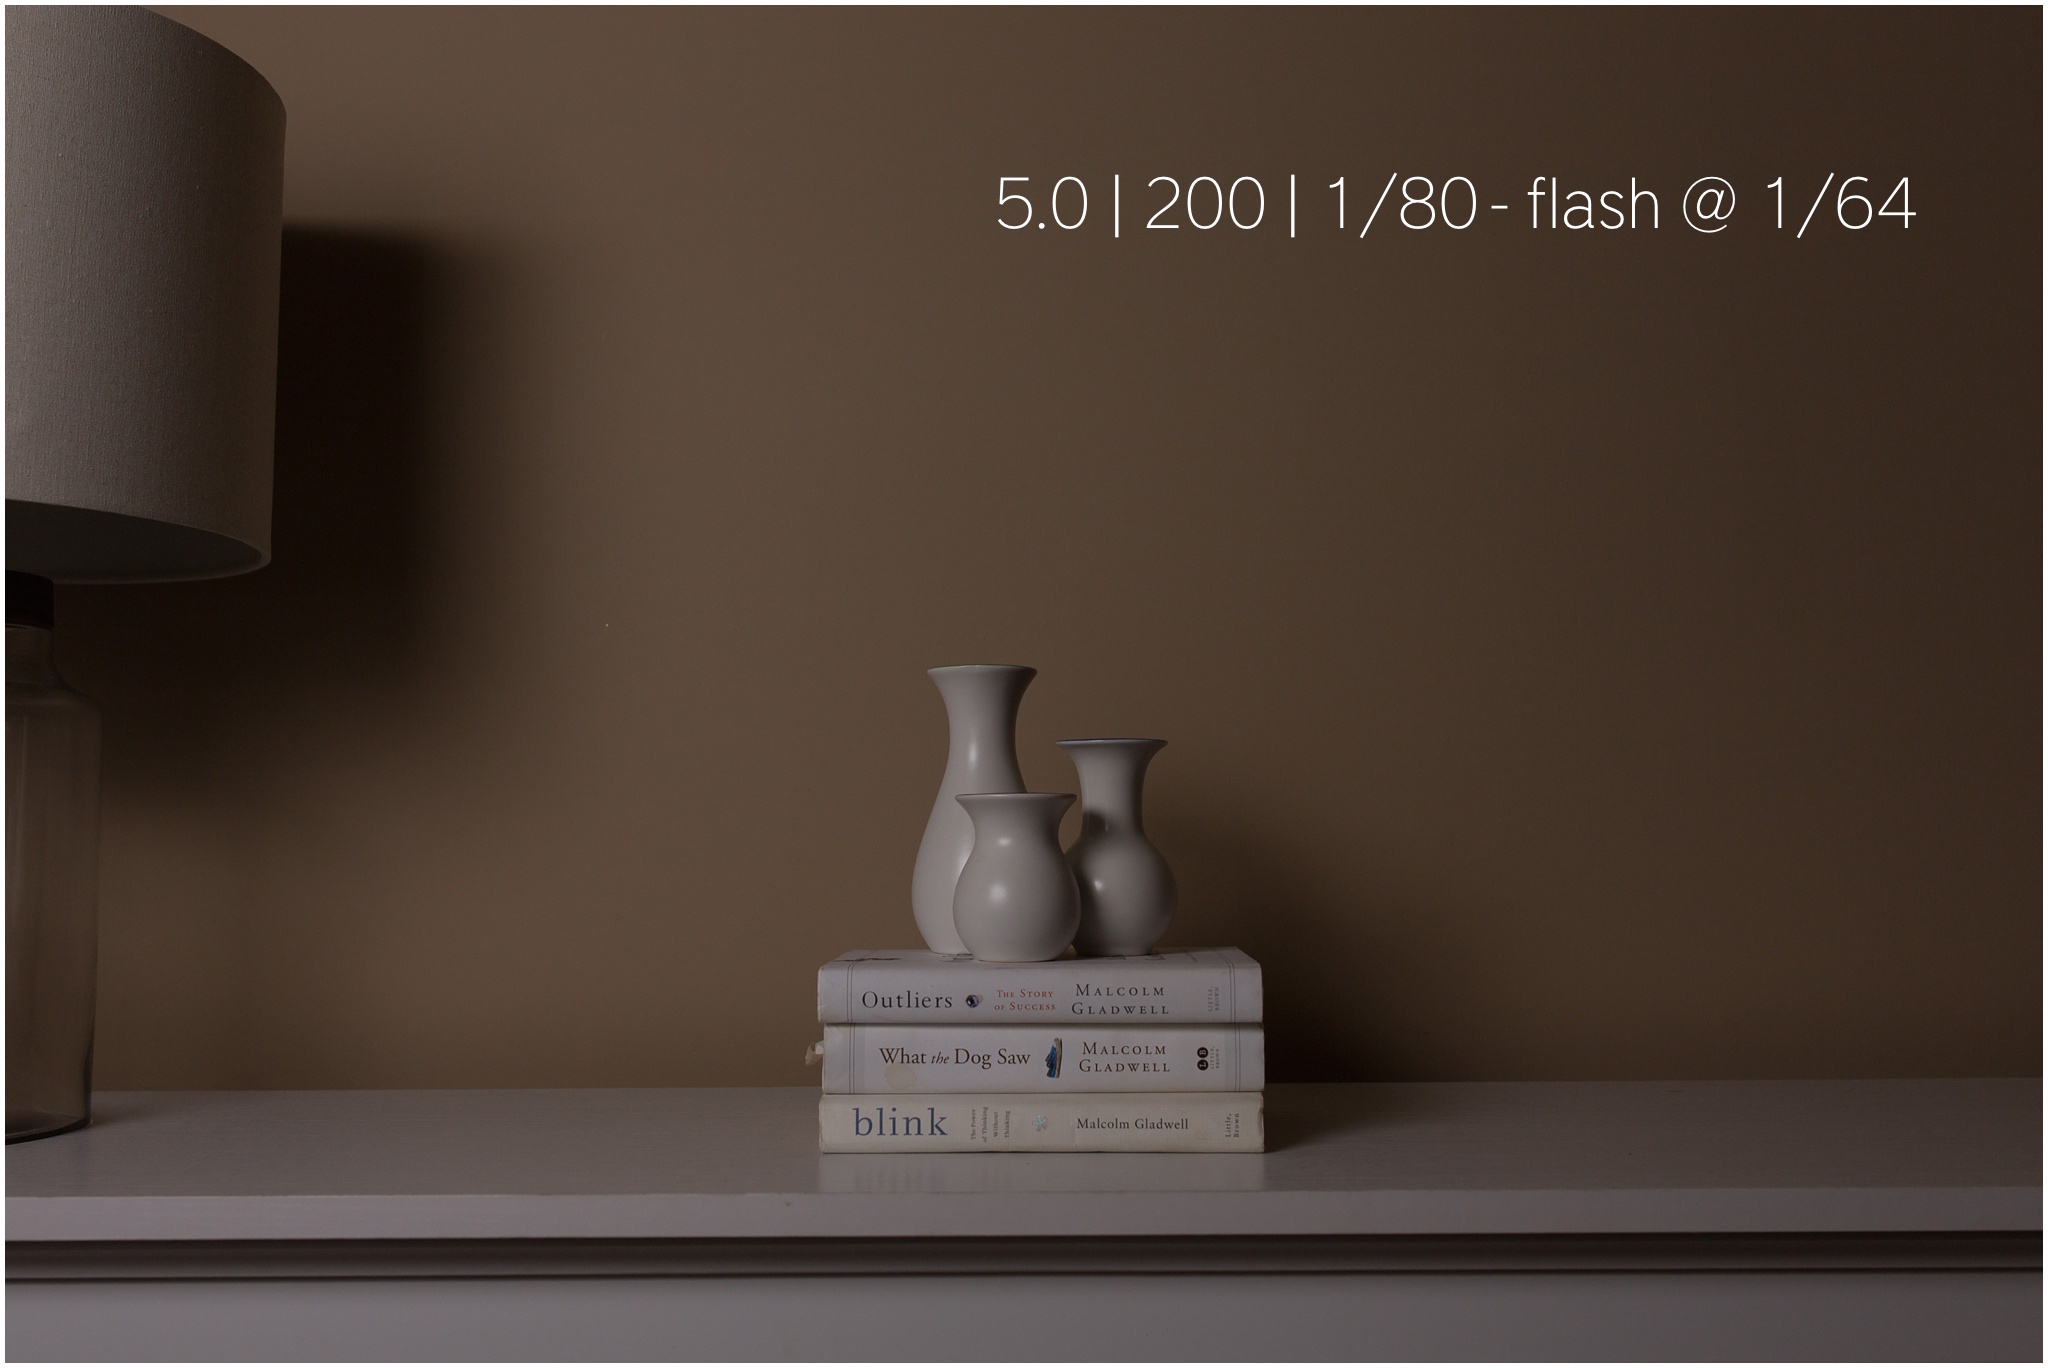
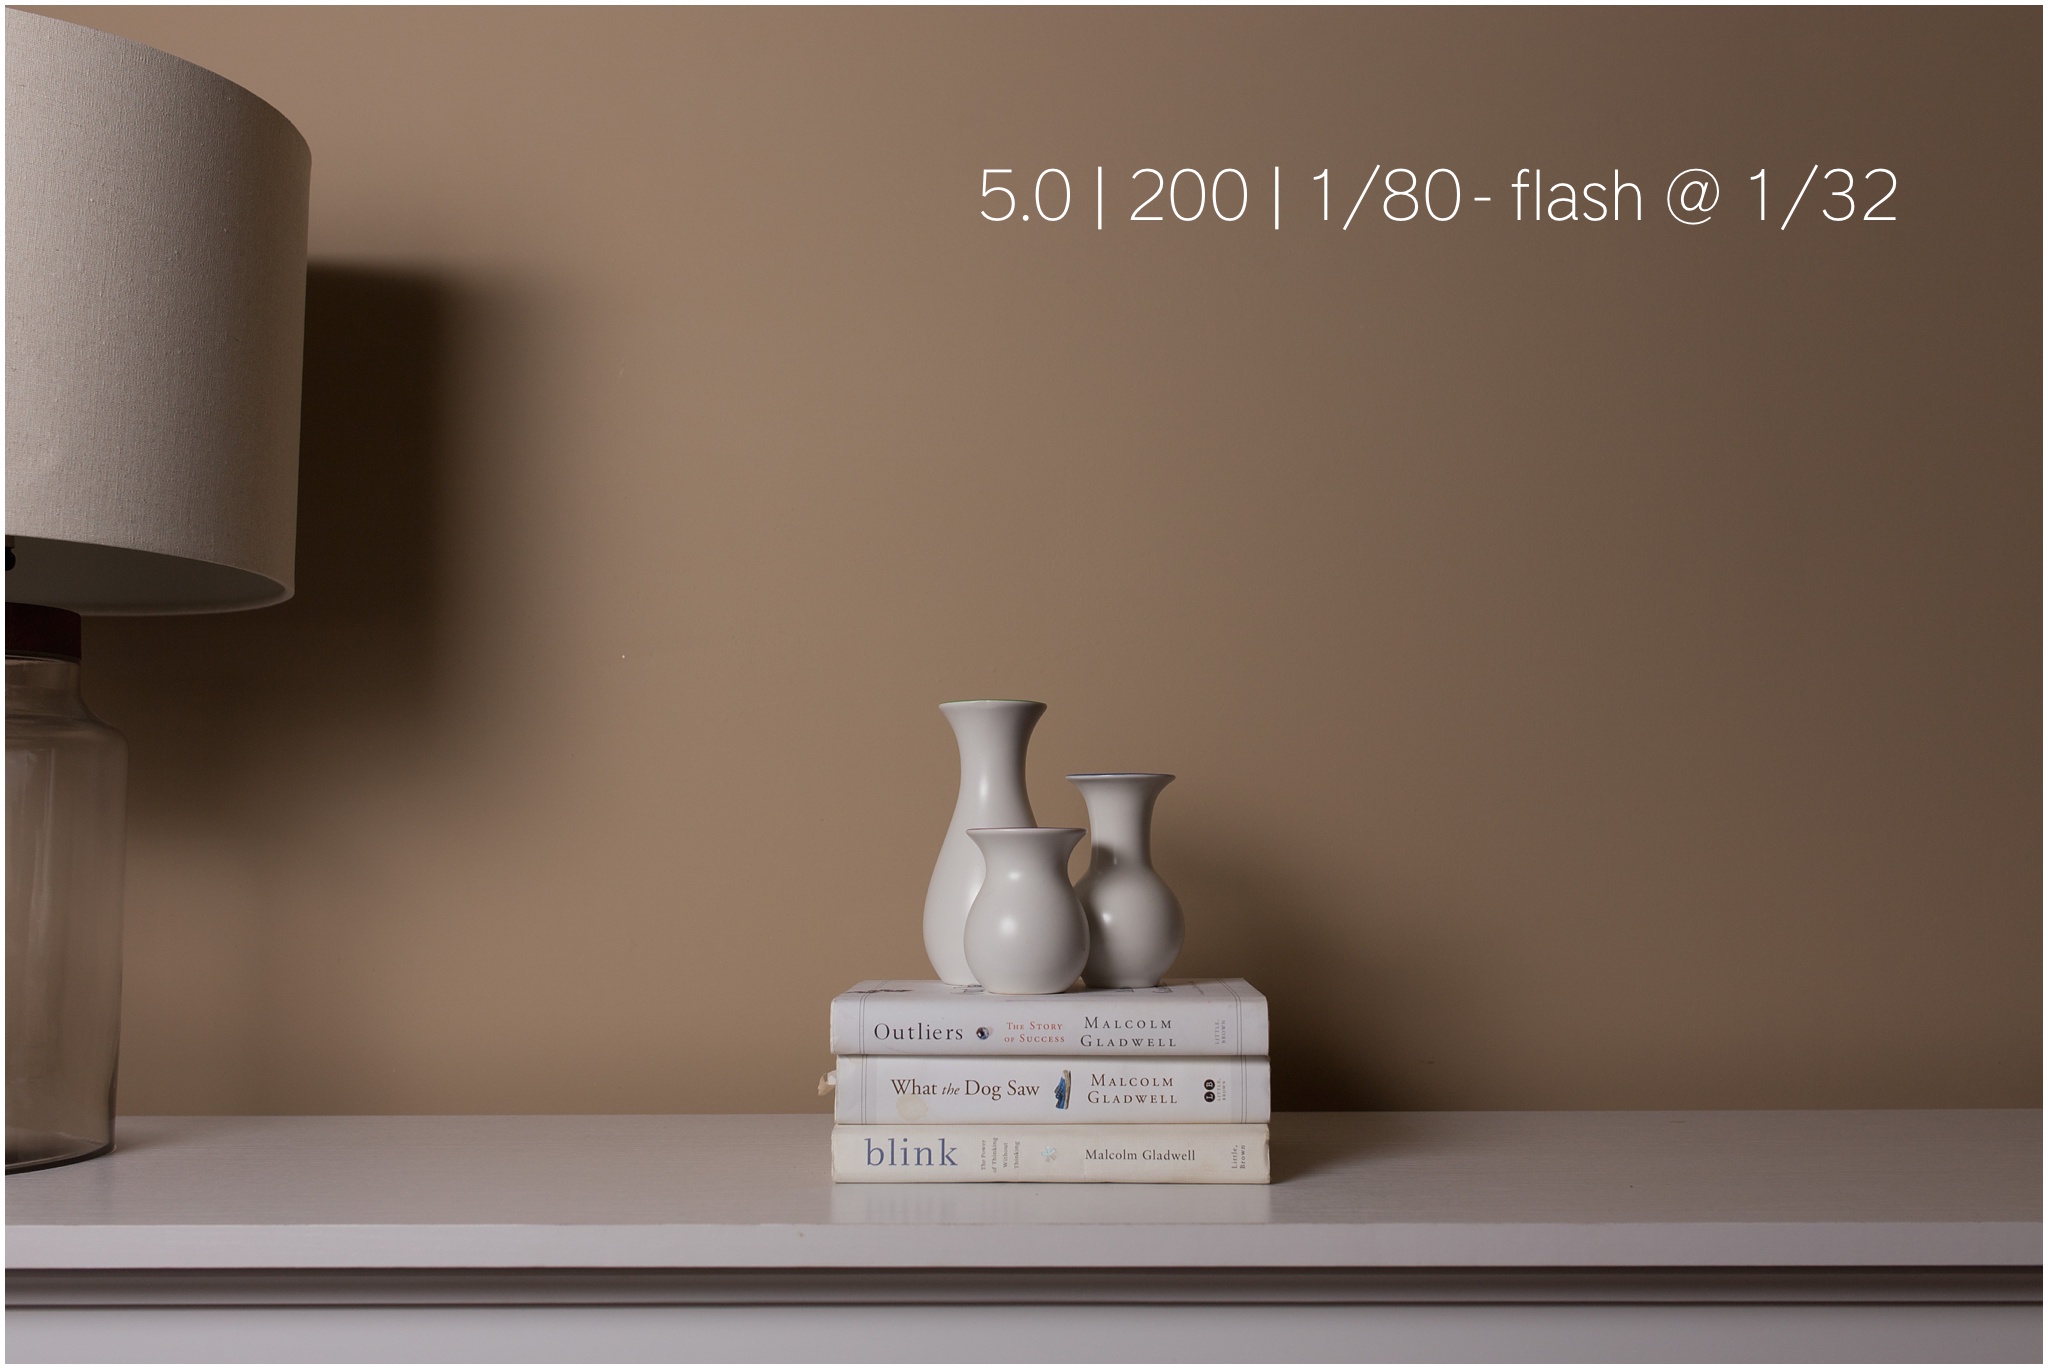
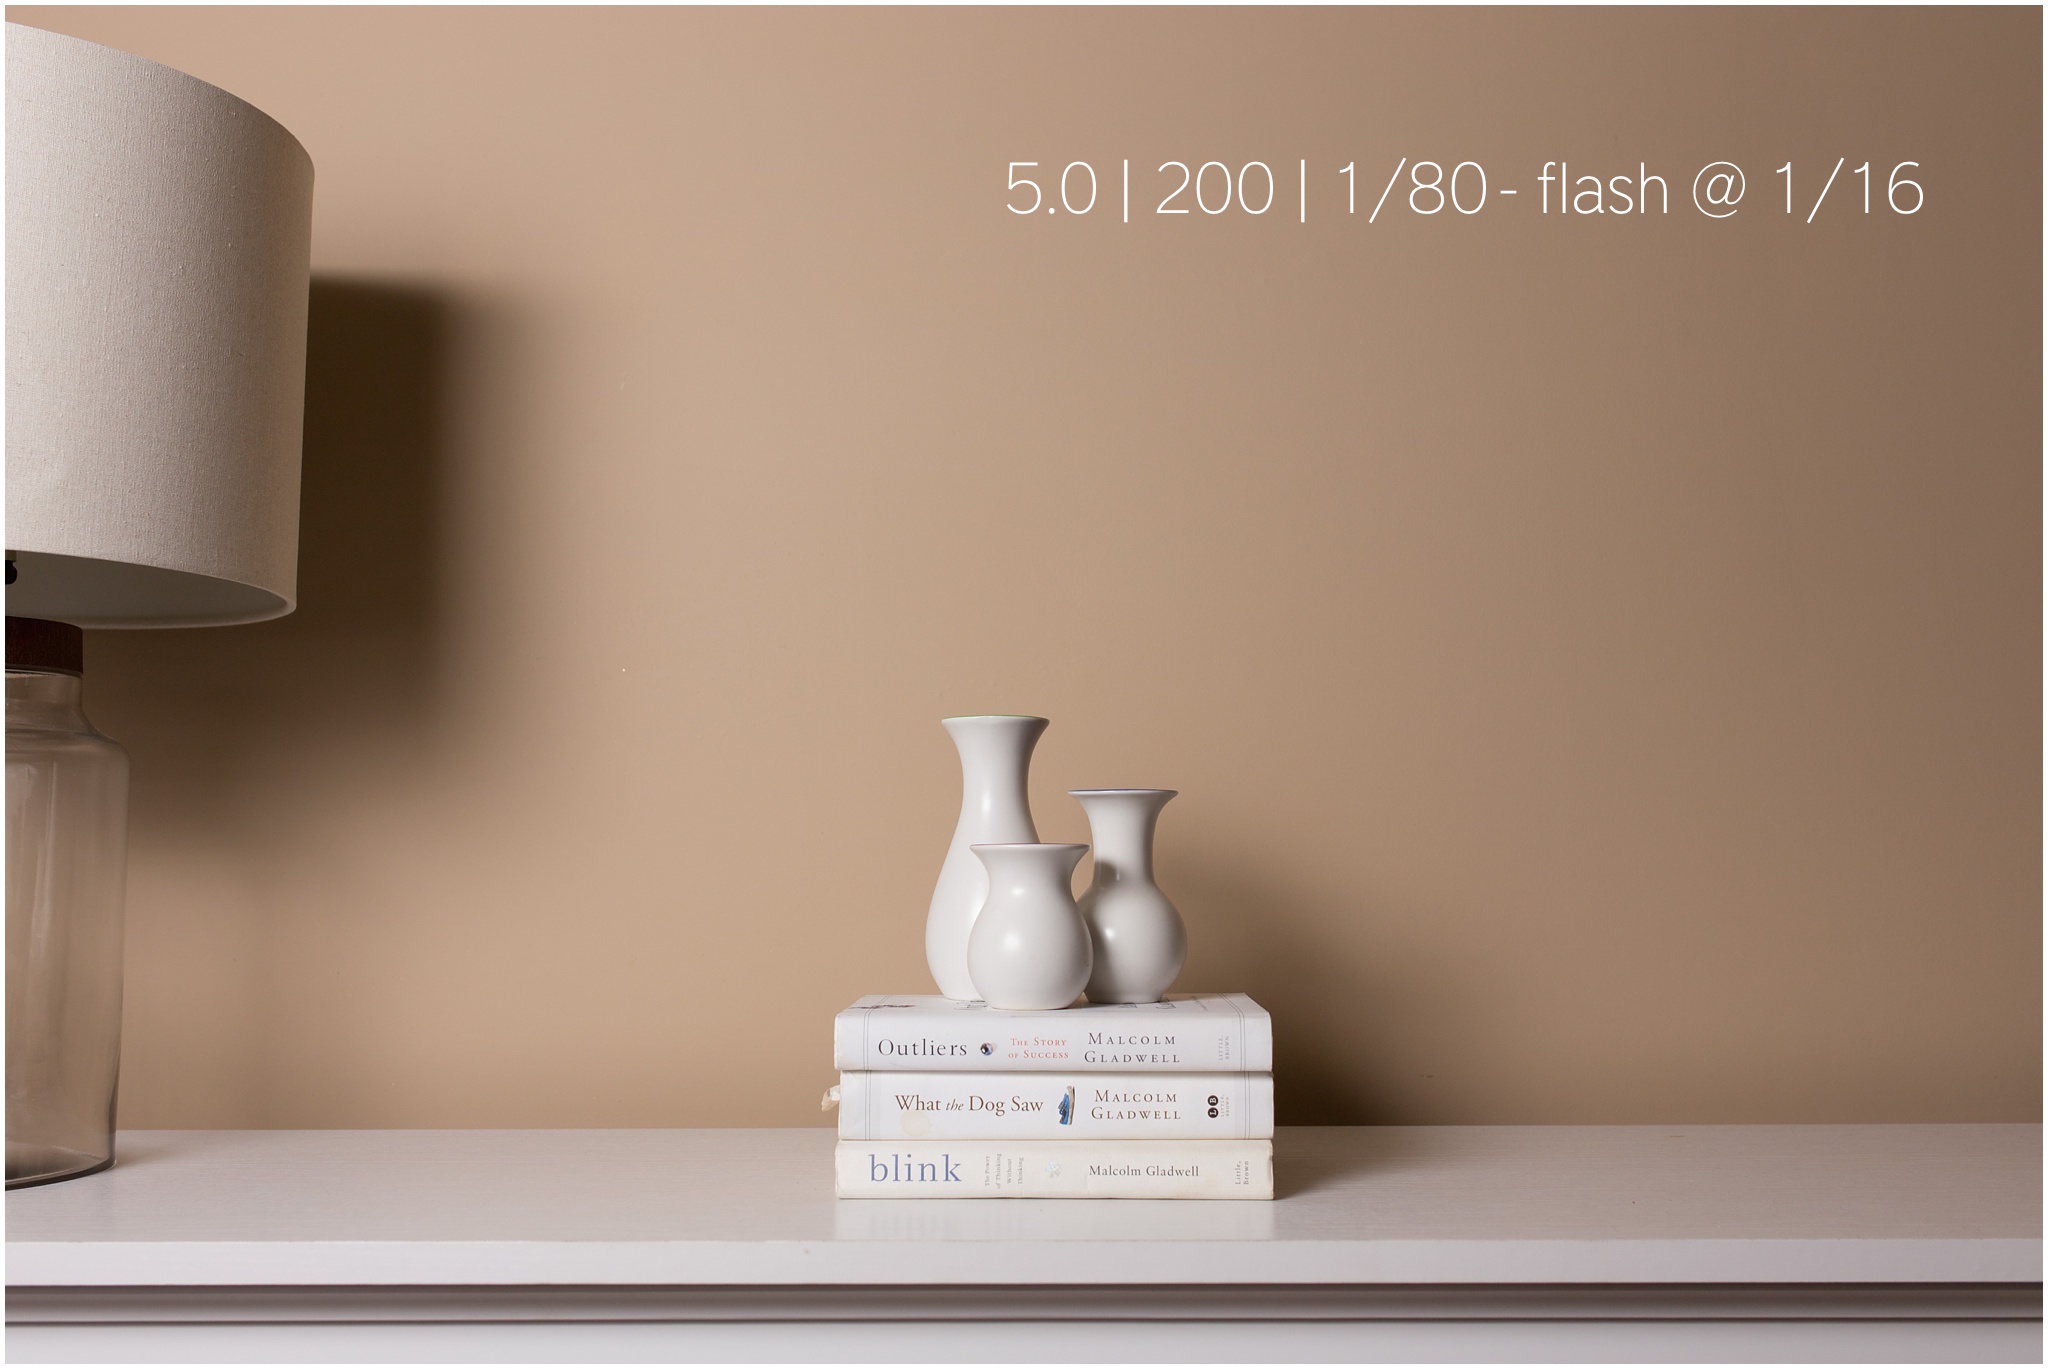
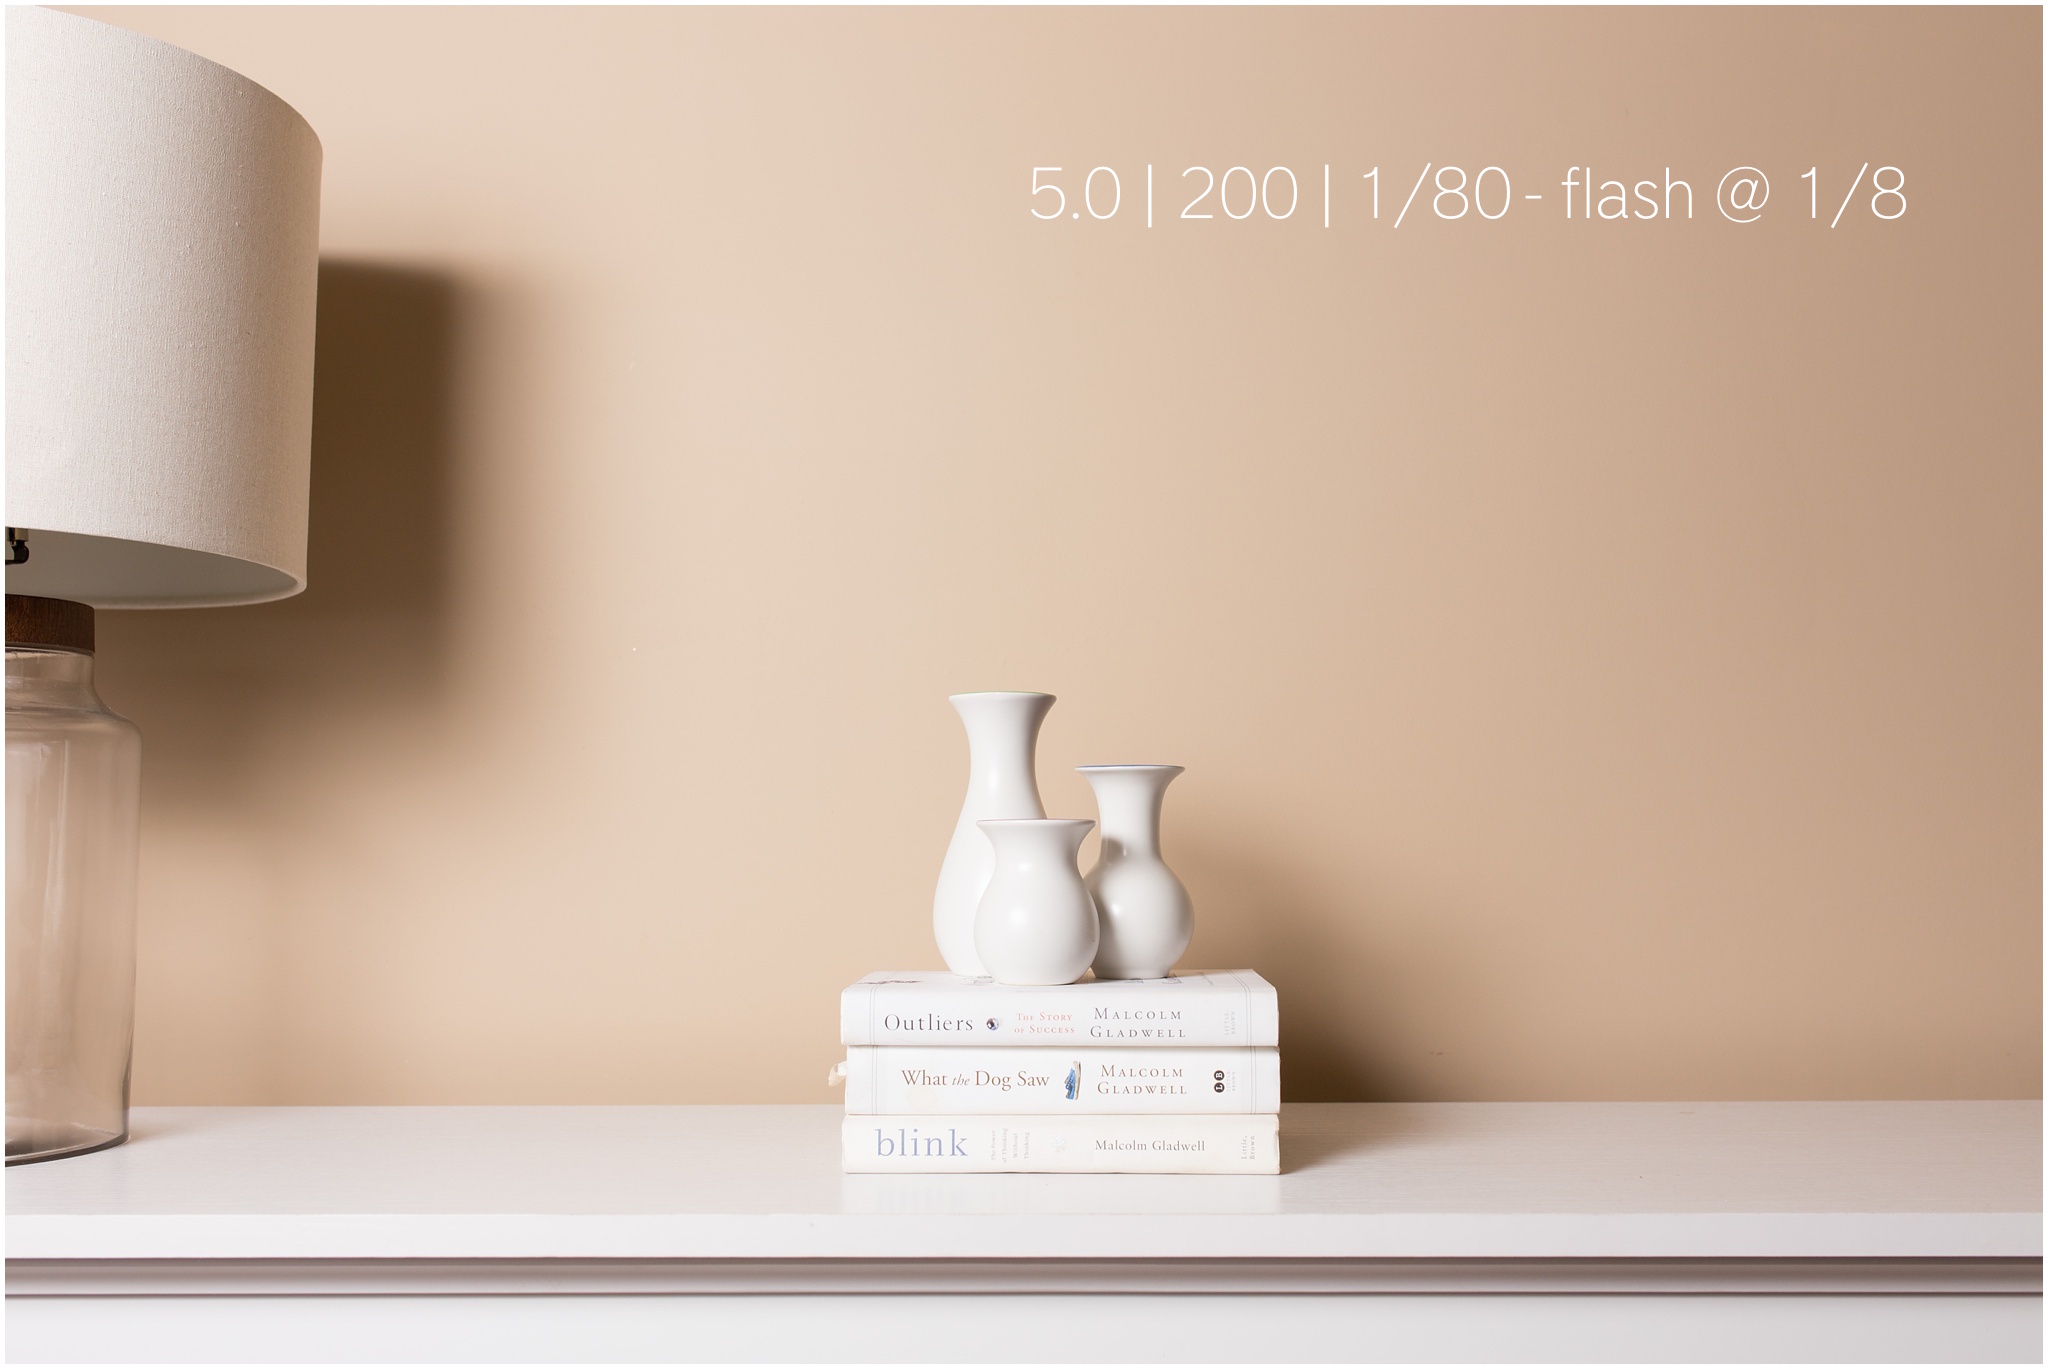
I would put the 560TX on my camera, put one flash on a stand and diffuse it with a large umbrella and put another flash on the ground behind the couple pointing up at the tree. Now I can change the flash output settings for the two off camera flashes from the 560TX that is on my camera. I will underexpose the background and make sure my shutter speed is lower than 160 and shoot everything in manual in order to get desired exposure on the couple with the slight backlight of the light on the tree.
In this first video, I talk a bit about the system that I use along with different types of speedlights I use and the one trigger that controls everything!
In the below video I go over the following:
- How to change the channel on a 560TX
- How to change the channel on a 560IV (the same as changing the channel on a 560III)
- How to change the group on a 560IV
- How to change the 560IV from transmitting to receiving mode
You would want to use a setup like this (TX on camera, 560IV off camera) when you don't actually need a flash on your camera as well.
In the below video I go over the following:
- How to change the channel on a 560IV and 560III
- How to change the 560IV to be transmitter
- How to change the 560III to receiver
- How to ensure the groups are the same on both flash units
- How to change the settings of an off camera flash from the flash on your camera
This would be the set up you would likely want to use during a wedding reception when you need both an on and off camera flash.
I know it doesn't look like flash "C" went off in the video, but I promise it did! LOL.
I hope this is helpful to you especially if you are new to the world of OCF and are considering the Yongnuo brand of flash equipment! As always, if you have ANY questions at all...feel free to leave a comment or shoot me an email!