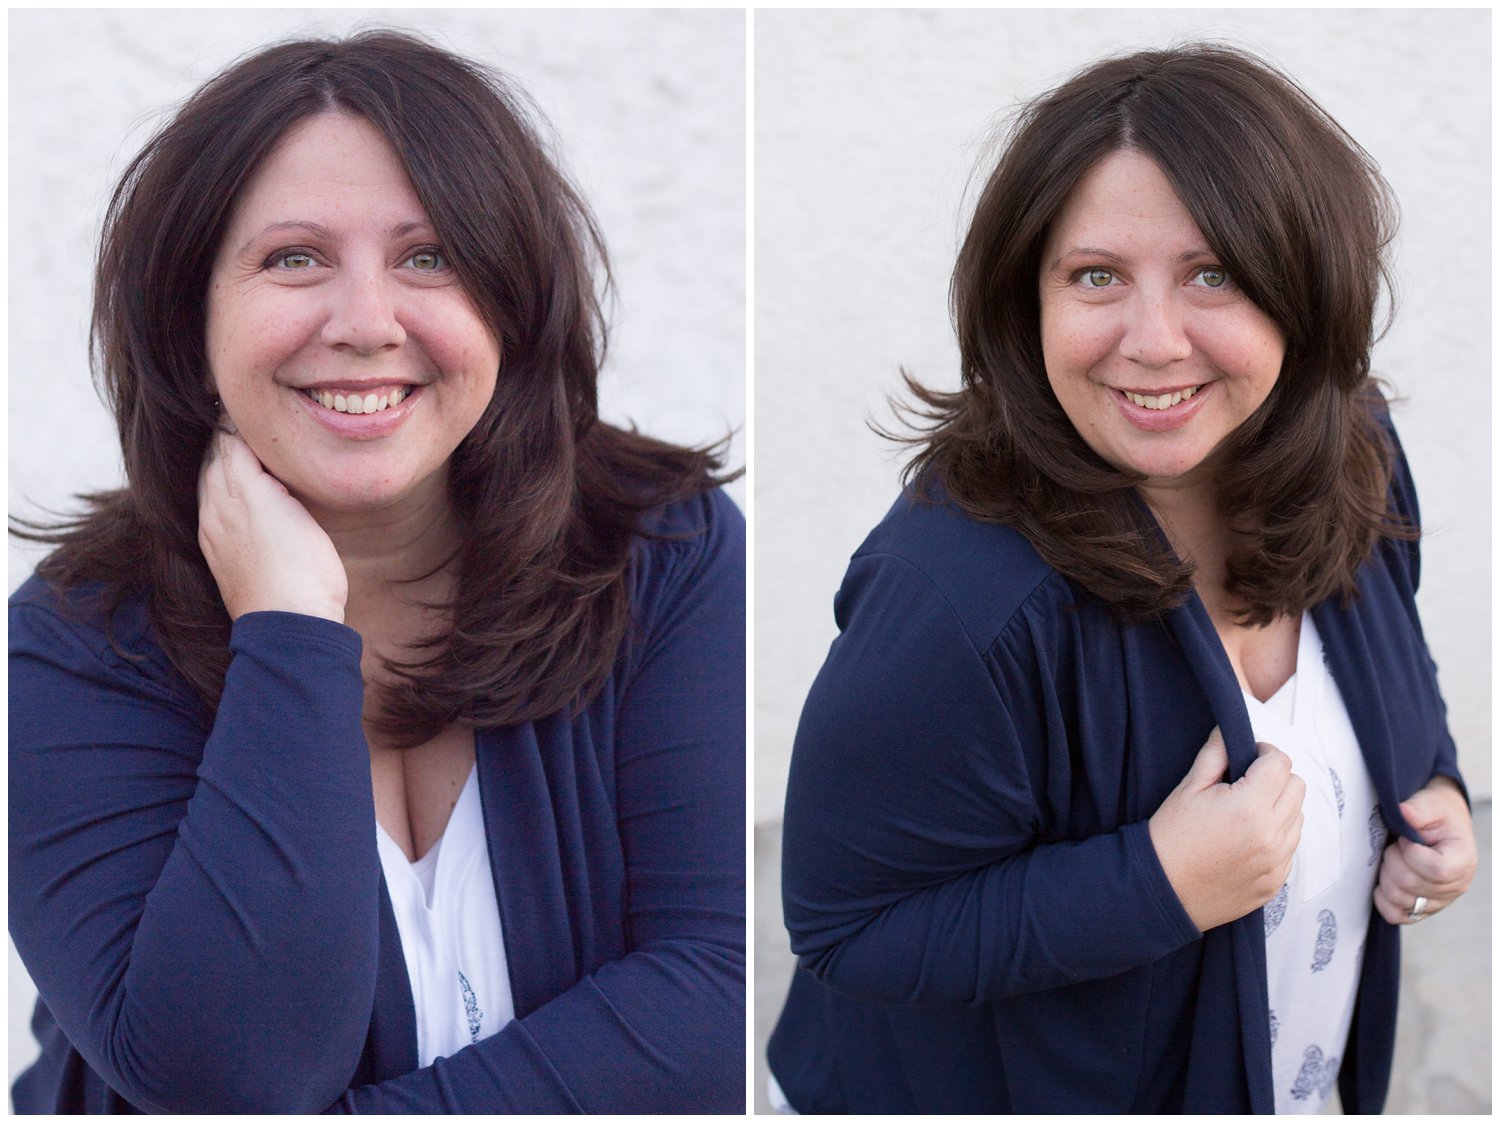
How one off the cuff sentence turned into my new headshots

During my time at WPPI last week, while I was sitting in on Katelyns talk about "dueling identities" and marketing she made the smallest side comment while discussing branding that hit me like a ton of bricks. Funny how that happens isn't it? I guarantee a good chunk of people in the room might have even missed what she said, but I honed in on it with laser like focus and I have no idea why. It was just a little comment mixed into the bigger fray of her talk but the fact that she said it is the whole reason I am even writing this post. 

That's why I love teaching. You have such an awesome platform to impact peoples lives in ways that you often don't even expect! 

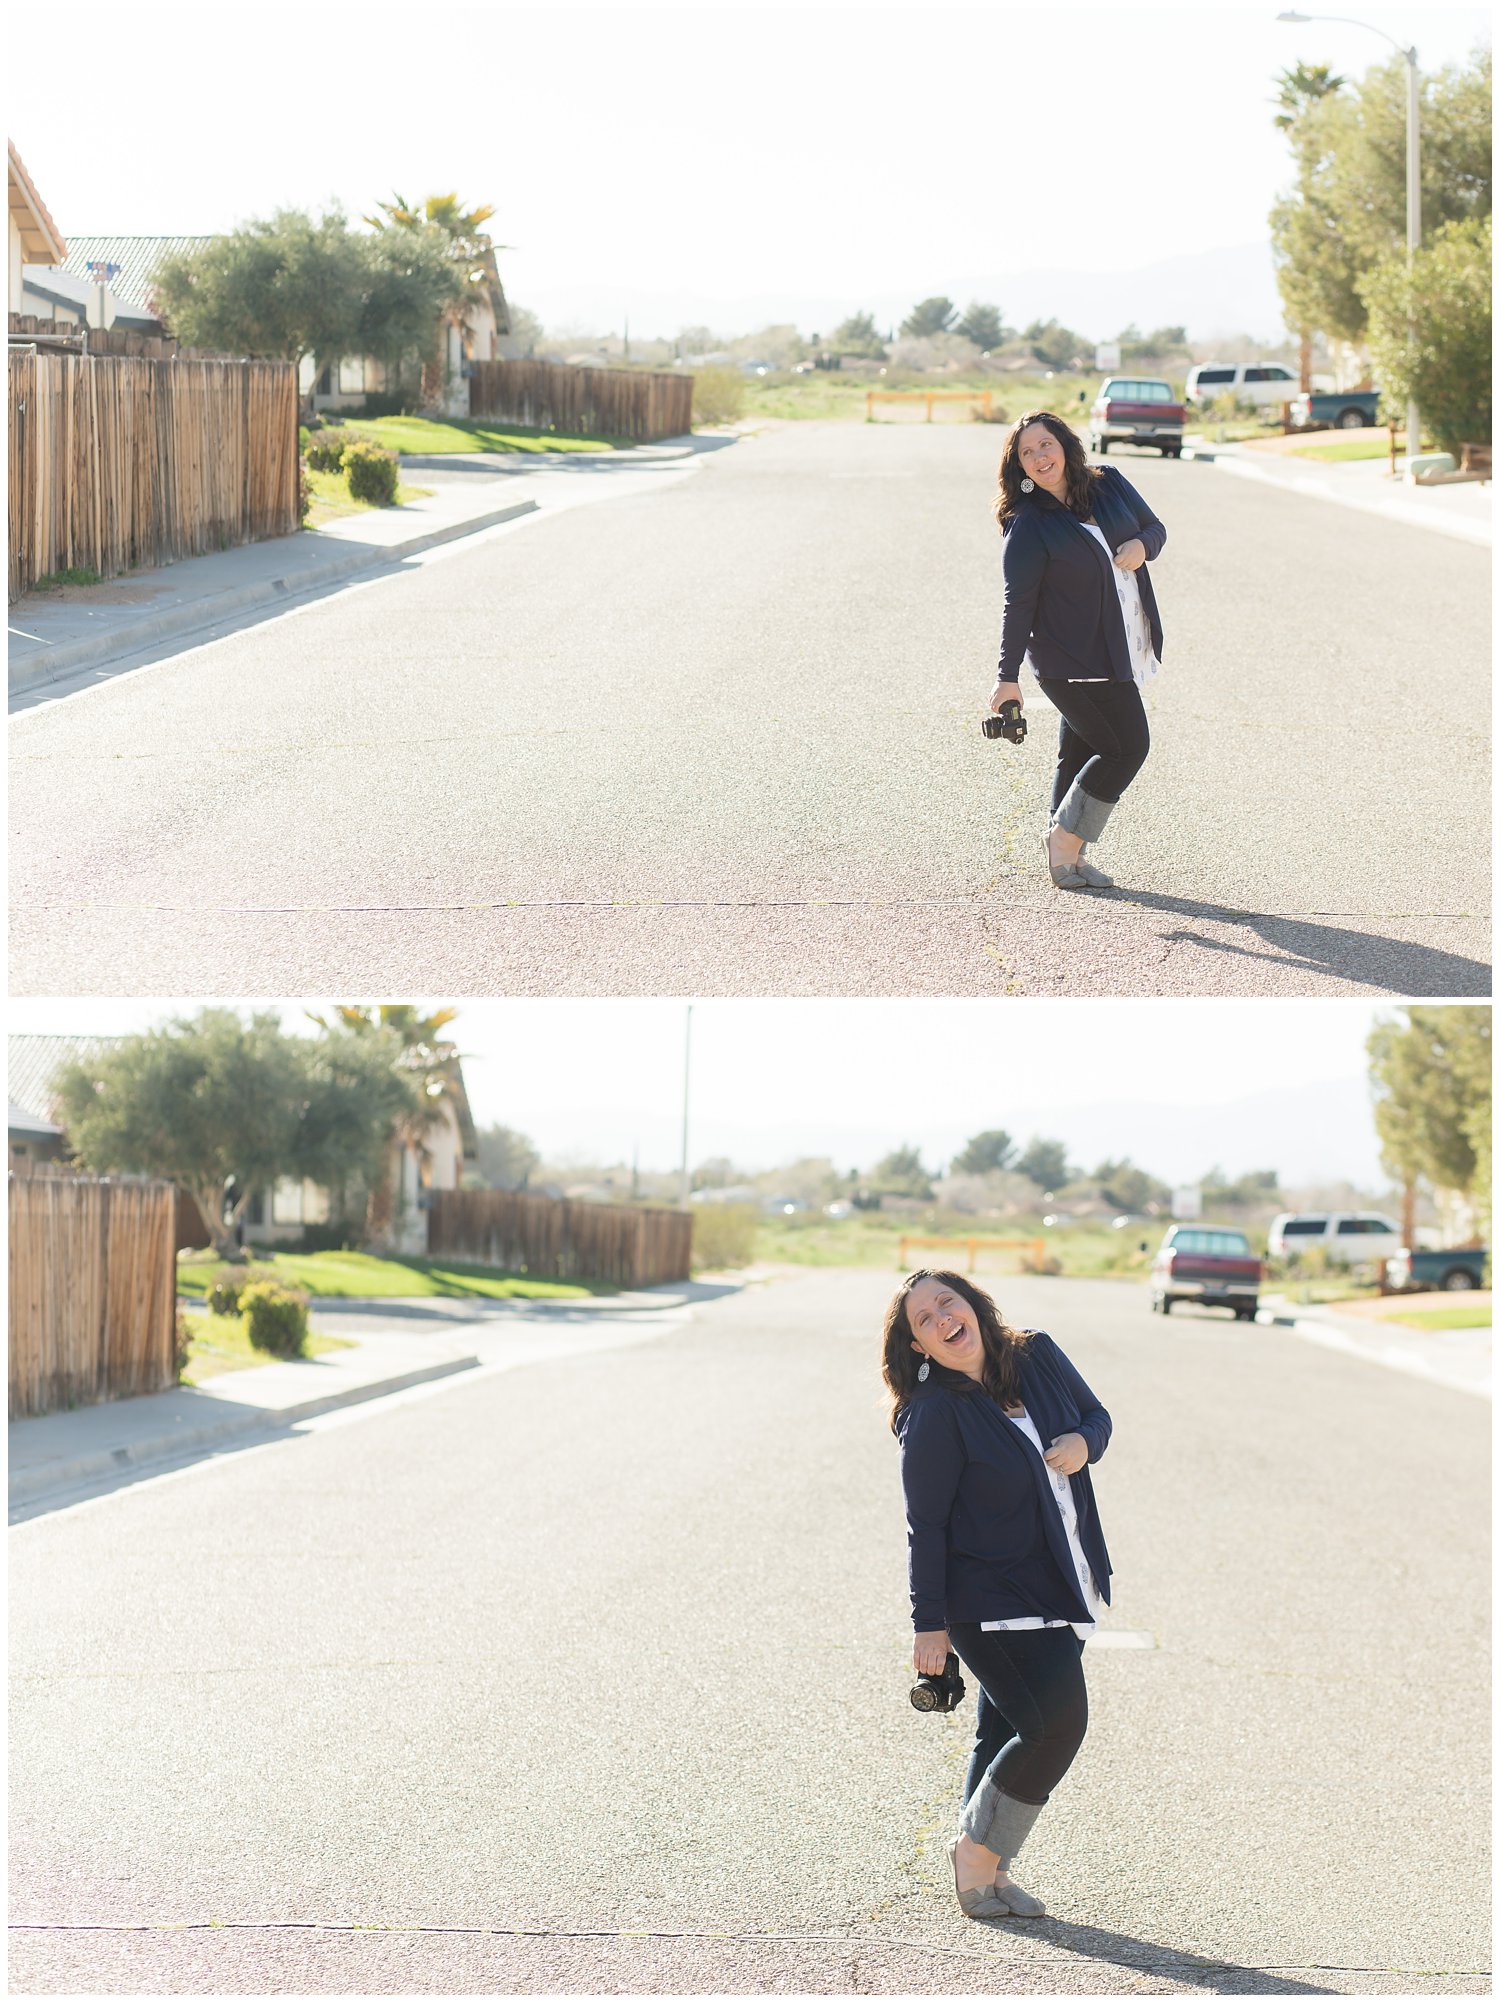
headshots dont have to be hard_cinnamonwolfephotography

She was talking about having consistent branded images of yourself on all of your social media platforms. I have known that this is something I want to do for a while now and I totally get the importance of it. When people visit your various sites its important for them to see YOU and to see a consistent version of YOU. 

For a few weeks I had been wrestling with the idea of doing this. While I don't mind being in front of the camera, I don't necessarily LOVE the way I look and don't feel very fancy most of the time. I wasn't sure how to go about getting headshots and taking them myself would be far too difficult. I was feeling a little stuck and like I might have to wait to do all of this until after we move. 

But then Katelyn was talking about some of her new shots she utilized when she recently updated her brand and she said something along these lines, "it doesn't have to be a big production...Michael took these of me out in front of our garage one afternoon." 

Lightbulb moment. 

Paul can take them. Why not? I've taught him the ins and outs of the camera. Even though he doesn't spend near the amount of time geeking out about all things photography as I do, I can still set him up and he can totally do this for me! 

Even better, I had a hair appointment scheduled this week!! Yeeawwww! 

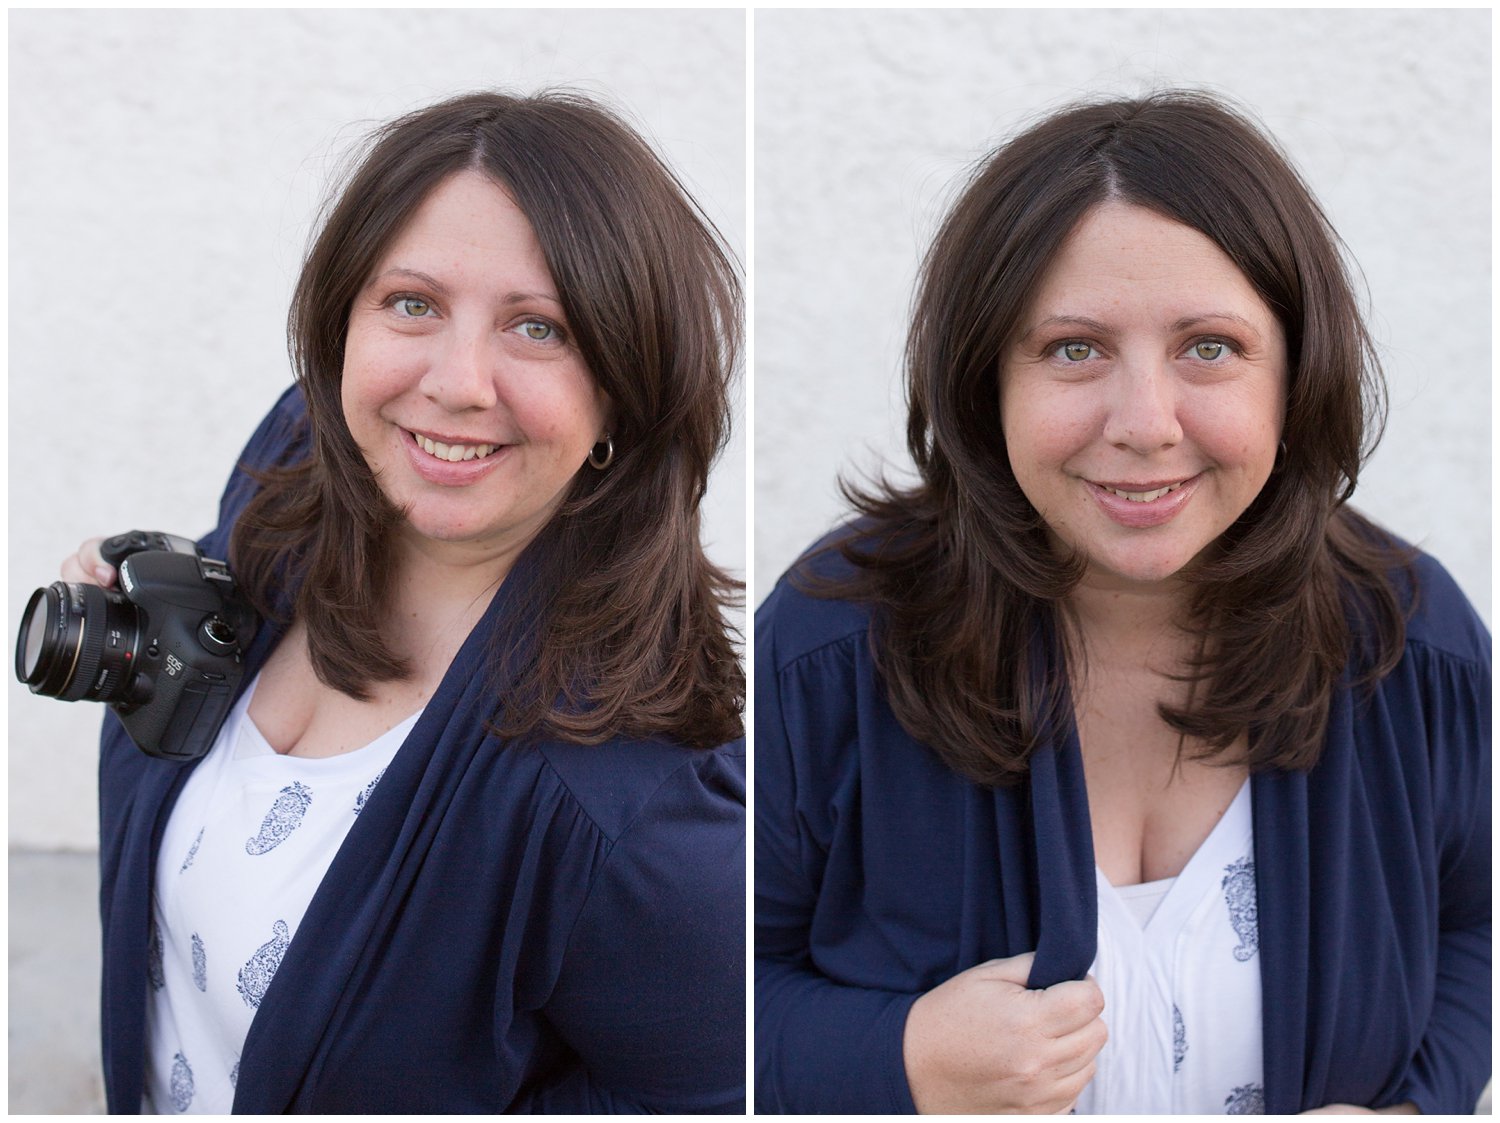
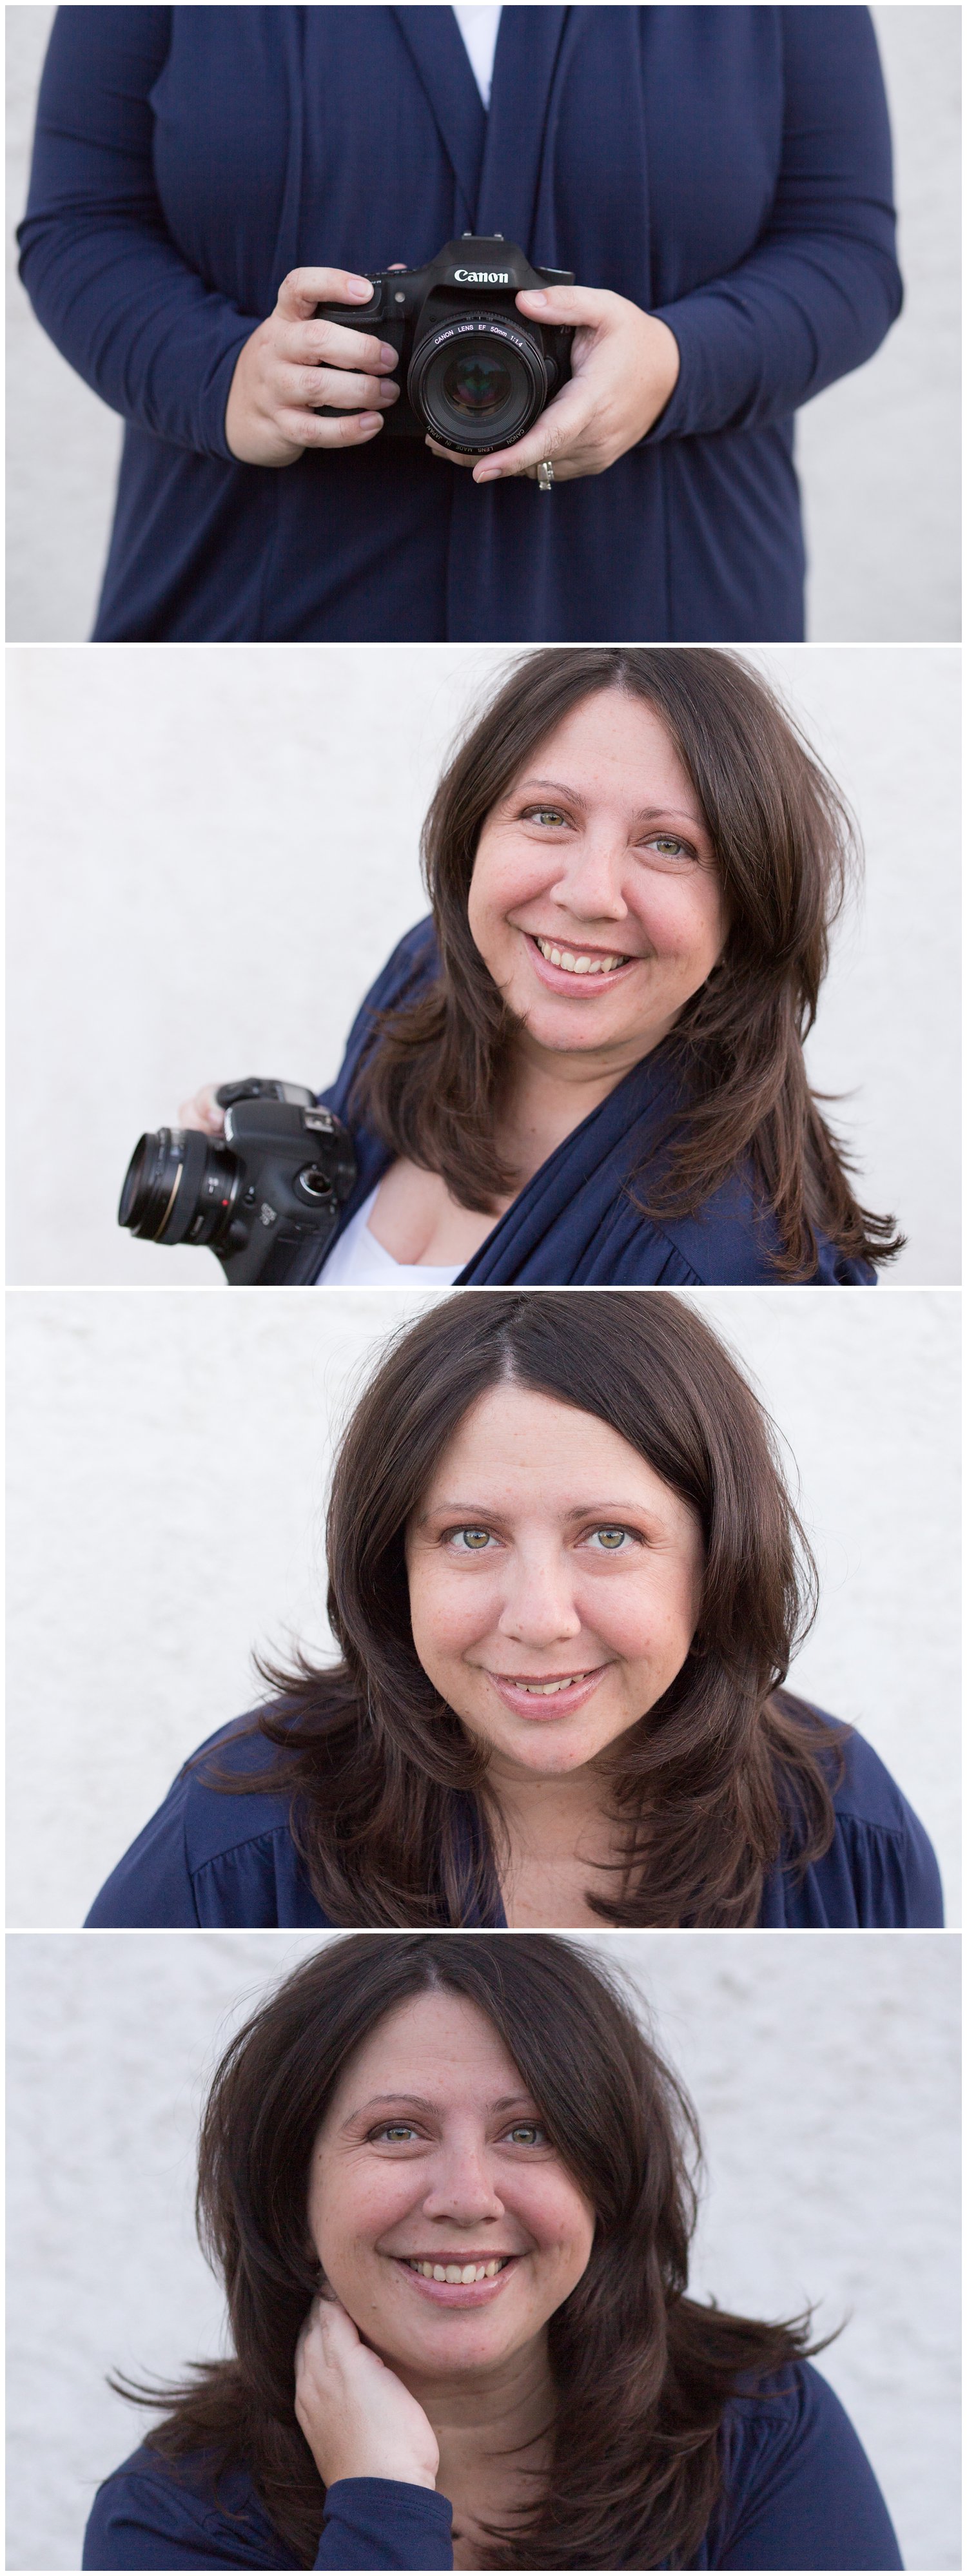
We did some practice shots during the weekend and then on Monday after my hair was all blown out and gorgeous (Esthela you are the best!!) he took some more of me. These were mostly all done in our backyard literally right outside the back door by our bedroom. 

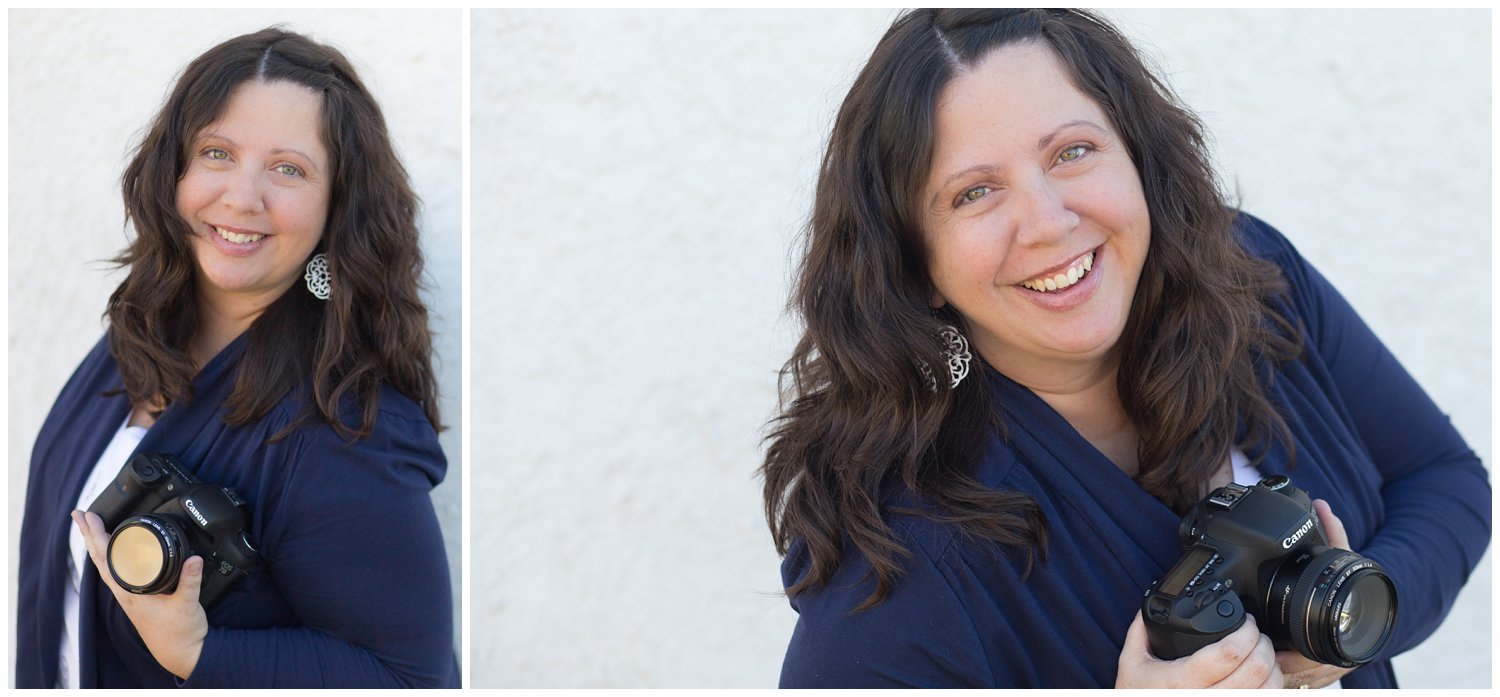
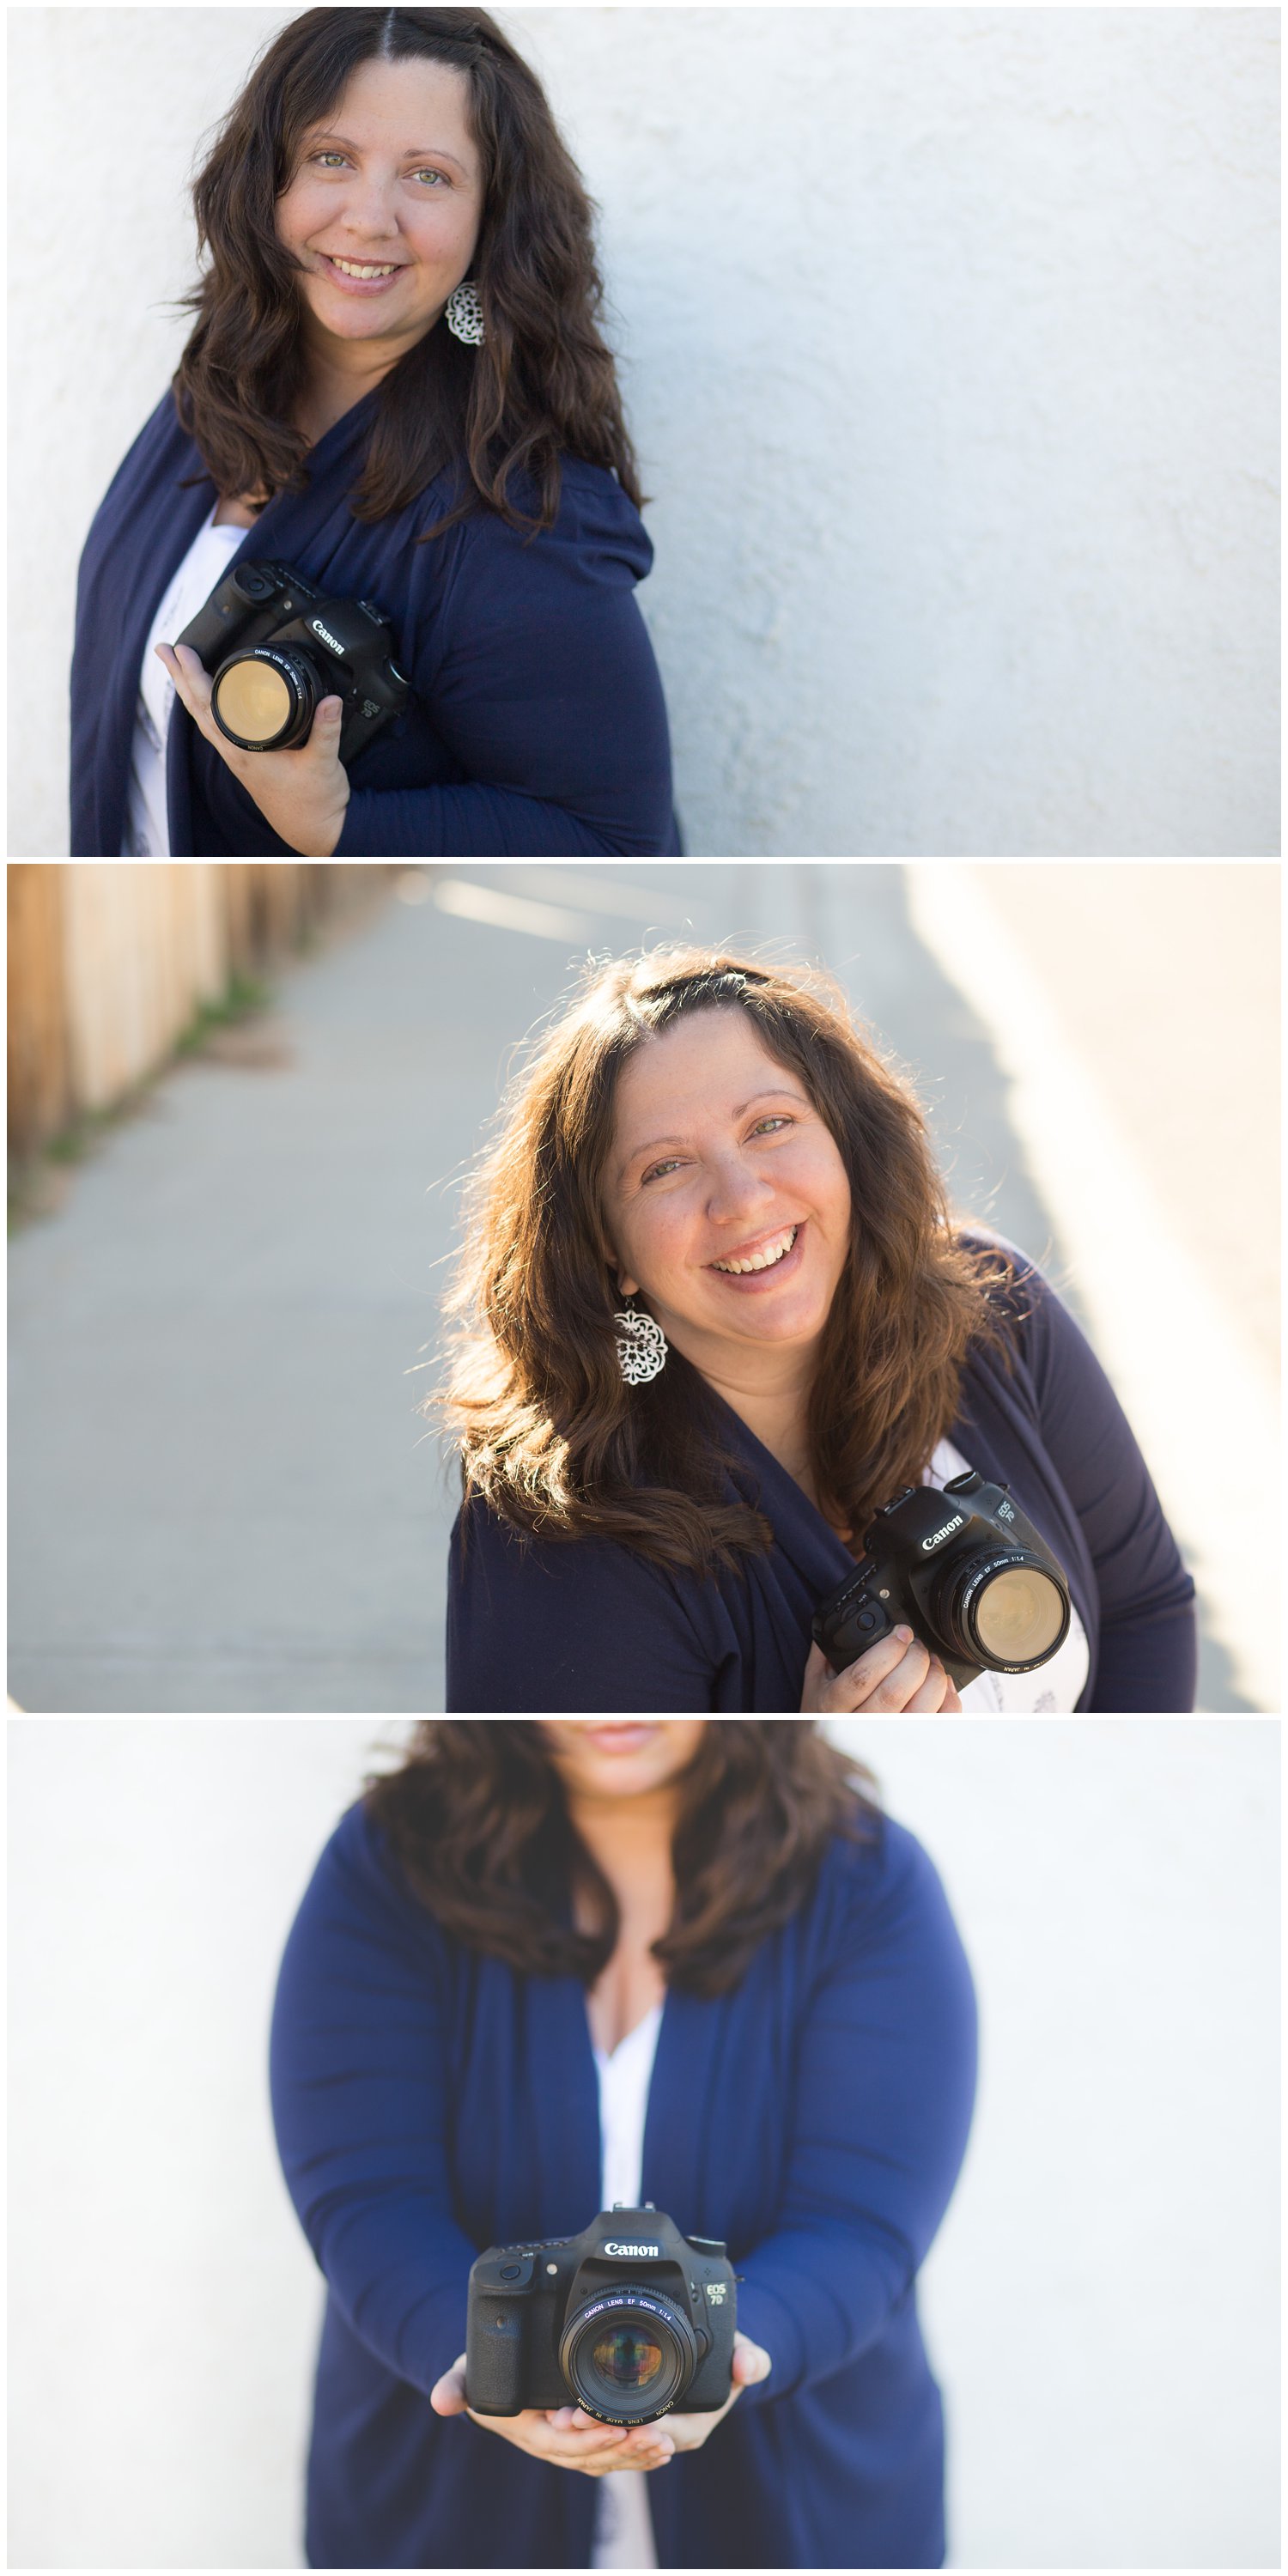
The photos towards the bottom were our "practice" photos which is why my hair is different. But I kind of like all of them and I plan on using a variety of these images all throughout my social media. 

It is so important for potential clients to get a consistent image of you wherever you are online and I really feel like this is a big step forward in that direction. 
Using Lightroom + Blogstomp together {to save you oodles of time!}

Small business owners need great resources and tools. When you are the one solely responsible for pretty much every aspect of running your business you do not have time to get bogged down with systems that are cumbersome and processes that eat up your time and energy. 

One of the best lessons I have learned within my first two years of business was to invest in finding solutions to the things that sucked away huge amounts of time but were still necessary. Once you find those solutions, stick with them! It can be very tempting to be constantly looking for the newest and best thing out there that might save you even just a little bit of time, but often the cost associated with changing systems is higher than sicking with what you already have (as long as it is working!) 

One of my absolute FAVORITE systems that I have in place currently is the combination of Lightroom (LR) and Blogstomp (BS). 

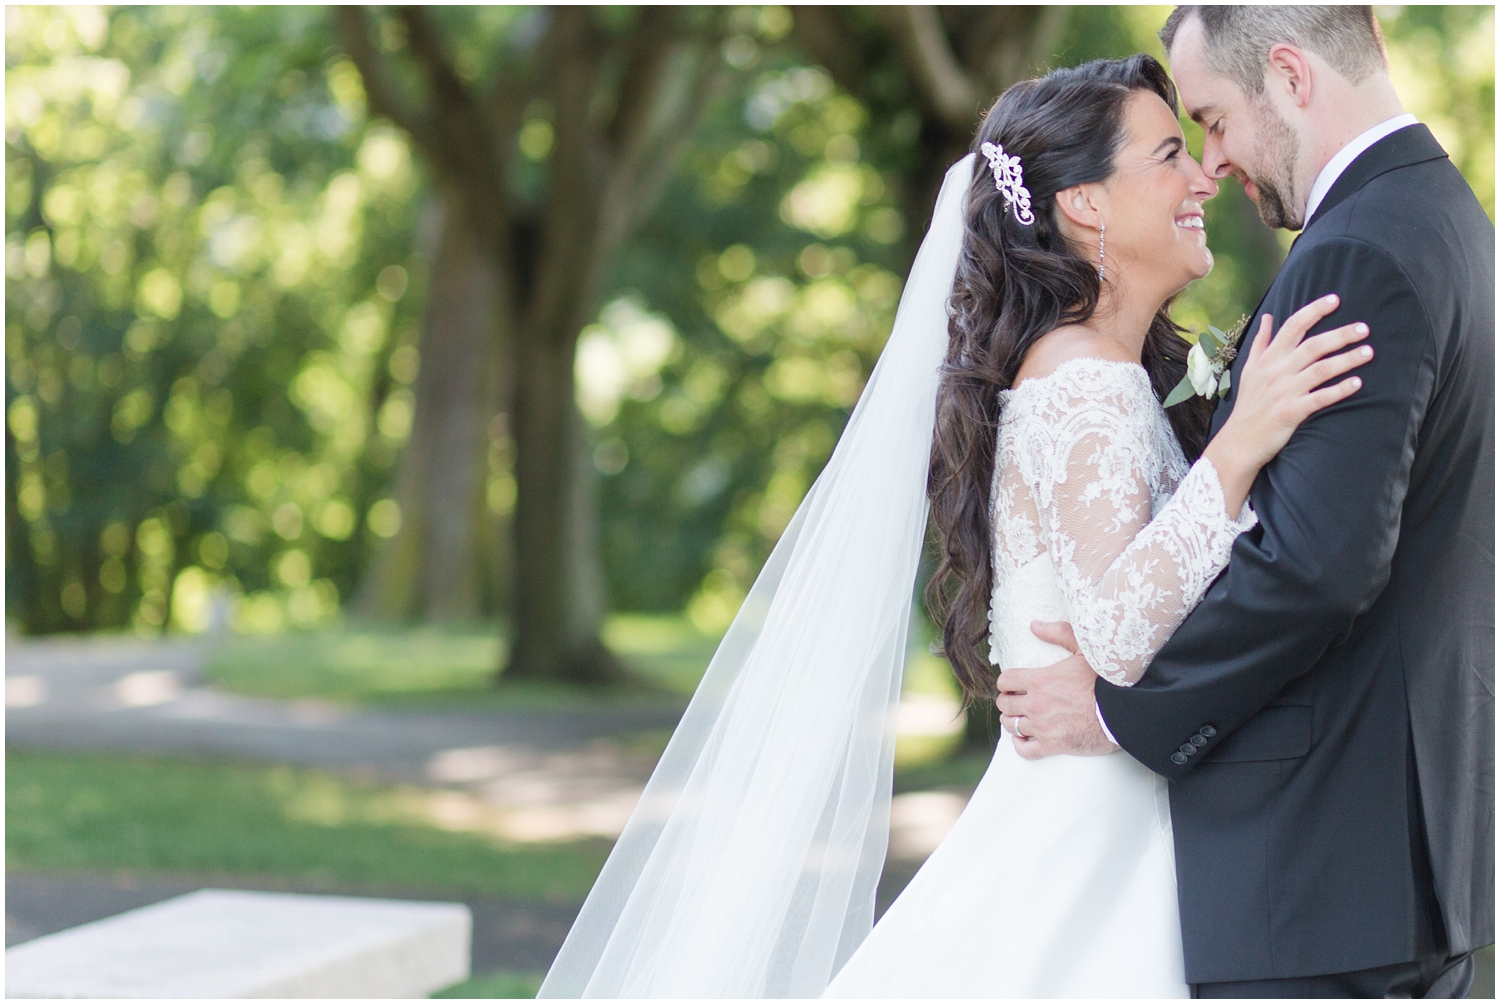
Lightroom plus Blogstomp | How to use Blogstomp

Blogging can be an overwhelming task for photographers (or any small biz owners). Figuring out your platform, resizing photos, using HTML code...all of it can just seem like too much when you are first starting out. 

Luckily I have a little bit of history with blogging so when I started my photography business, the process wasn't a huge transition for me. However, blogging sessions and representing my work online was certainly a struggle when I first started out. 

I liked the ability to put images side by side or in a template type format but I just couldn't figure out an easy way to do this. You can find or buy tons of photoshop templates online but opening them in PS, resizing and embedding all of the images and then saving in a way and format that would look good online was just such a time drainer. I needed to find another way. 

Enter BlogStomp. 

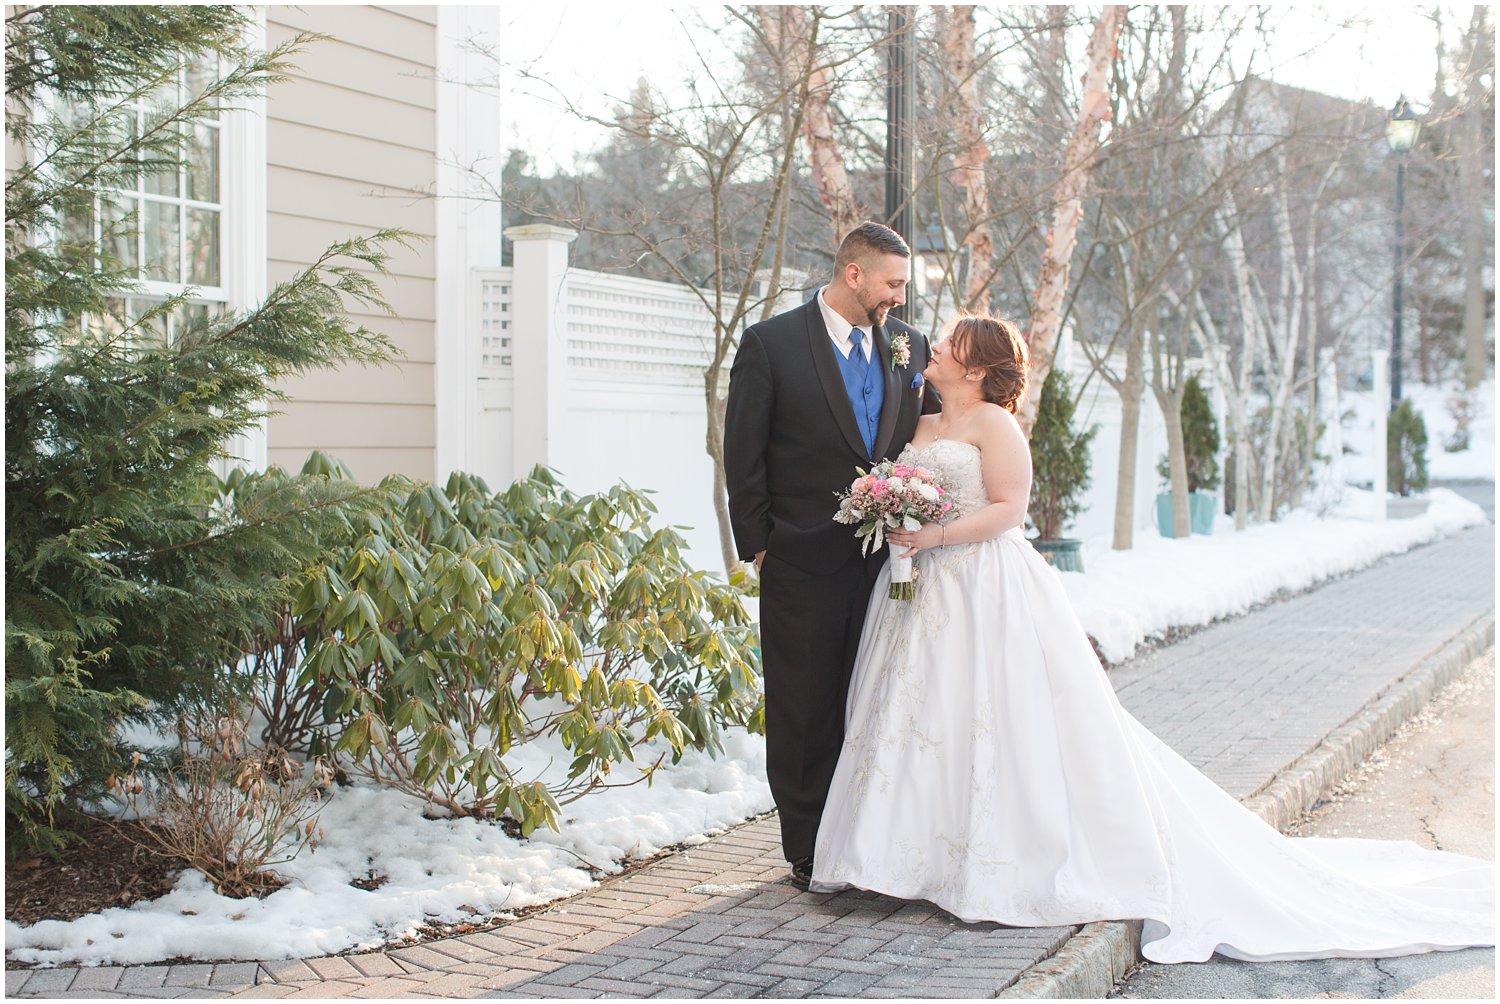
Lightroom plus Blogstomp - Cinnamon Wolfe Photography

Once I discovered Blogstomp everything changed. For the better!! I am saving HOURS AND HOURS of time!!

Exporting capabilities in LR are fantastic as you can export at various sizes and lengths and with or without watermarks. However, if you needed the images in various formats or sizes, you have to export multiple times. Previously I was exporting my images three or four times from LR so I could use the various sizes and with or without watermark for the various different platforms I needed the images (for clients, for facebook, for instagram, for my blog). 

Blogstomp gives you the ability to resize and style your images in one click. You copy full resolution images into the program, it resizes and crunches pixels for you and then you just "stomp" the images into collages or with a watermark (or both) in one easy step. 

What I do now is export all of my images from LR ONCE. Then I select which images I want to show on the blog and put those in BS and stomp out the images (horizontally and paired vertically). Then I choose a couple of images that I might want to show on facebook and stomp them at ideal size for fb and include a watermark. Then I am DONE. 

I can upload all of my blog images into a gallery on my Squarespace blog so the flow of images is seamless and everything is sized perfectly. No more fiddling around with photoshop templates. 

Now that I've already exported my full resolution images out of LR so if I ever need an image from that session for whatever reason, it is ready to go and I don't have to go back into LR to change export settings to whatever else I need. 

This combination of tools has literally saved me HOURS and HOURS of time and has made blogging so simple for me. I used to dread it because of how much time it would take to get the images represented online the way I wanted, but now it takes me about 5 minutes to get a blog post up. I hear so many photographers who DON'T blog for exactly this reason, so if this is you...then invest the $50 on BS, get to blogging!! 

***I am not associated with Blogstomp in ANY way, I simply love their program and how many hours of time it has saved me!

Check out more info about all of my gear HERE

If you have used blogstomp, post a link to one of your posts below so we can see how awesome it looks! OR the first time you use it to create a blog post, come back and link to your post and tell me how fast you were able to create the post! Happy blogging!